free to be able to rate and comment on reports (as well as access 1:25000 mapping).
This walk was to be Chris's third in 6 days, maybe pushing it a bit but he wants to regain his fitness as we have already planned our annual four day away break in Wasdale from where - as everyone knows - quite a long climb is required to leave the place if heading for the high fells.
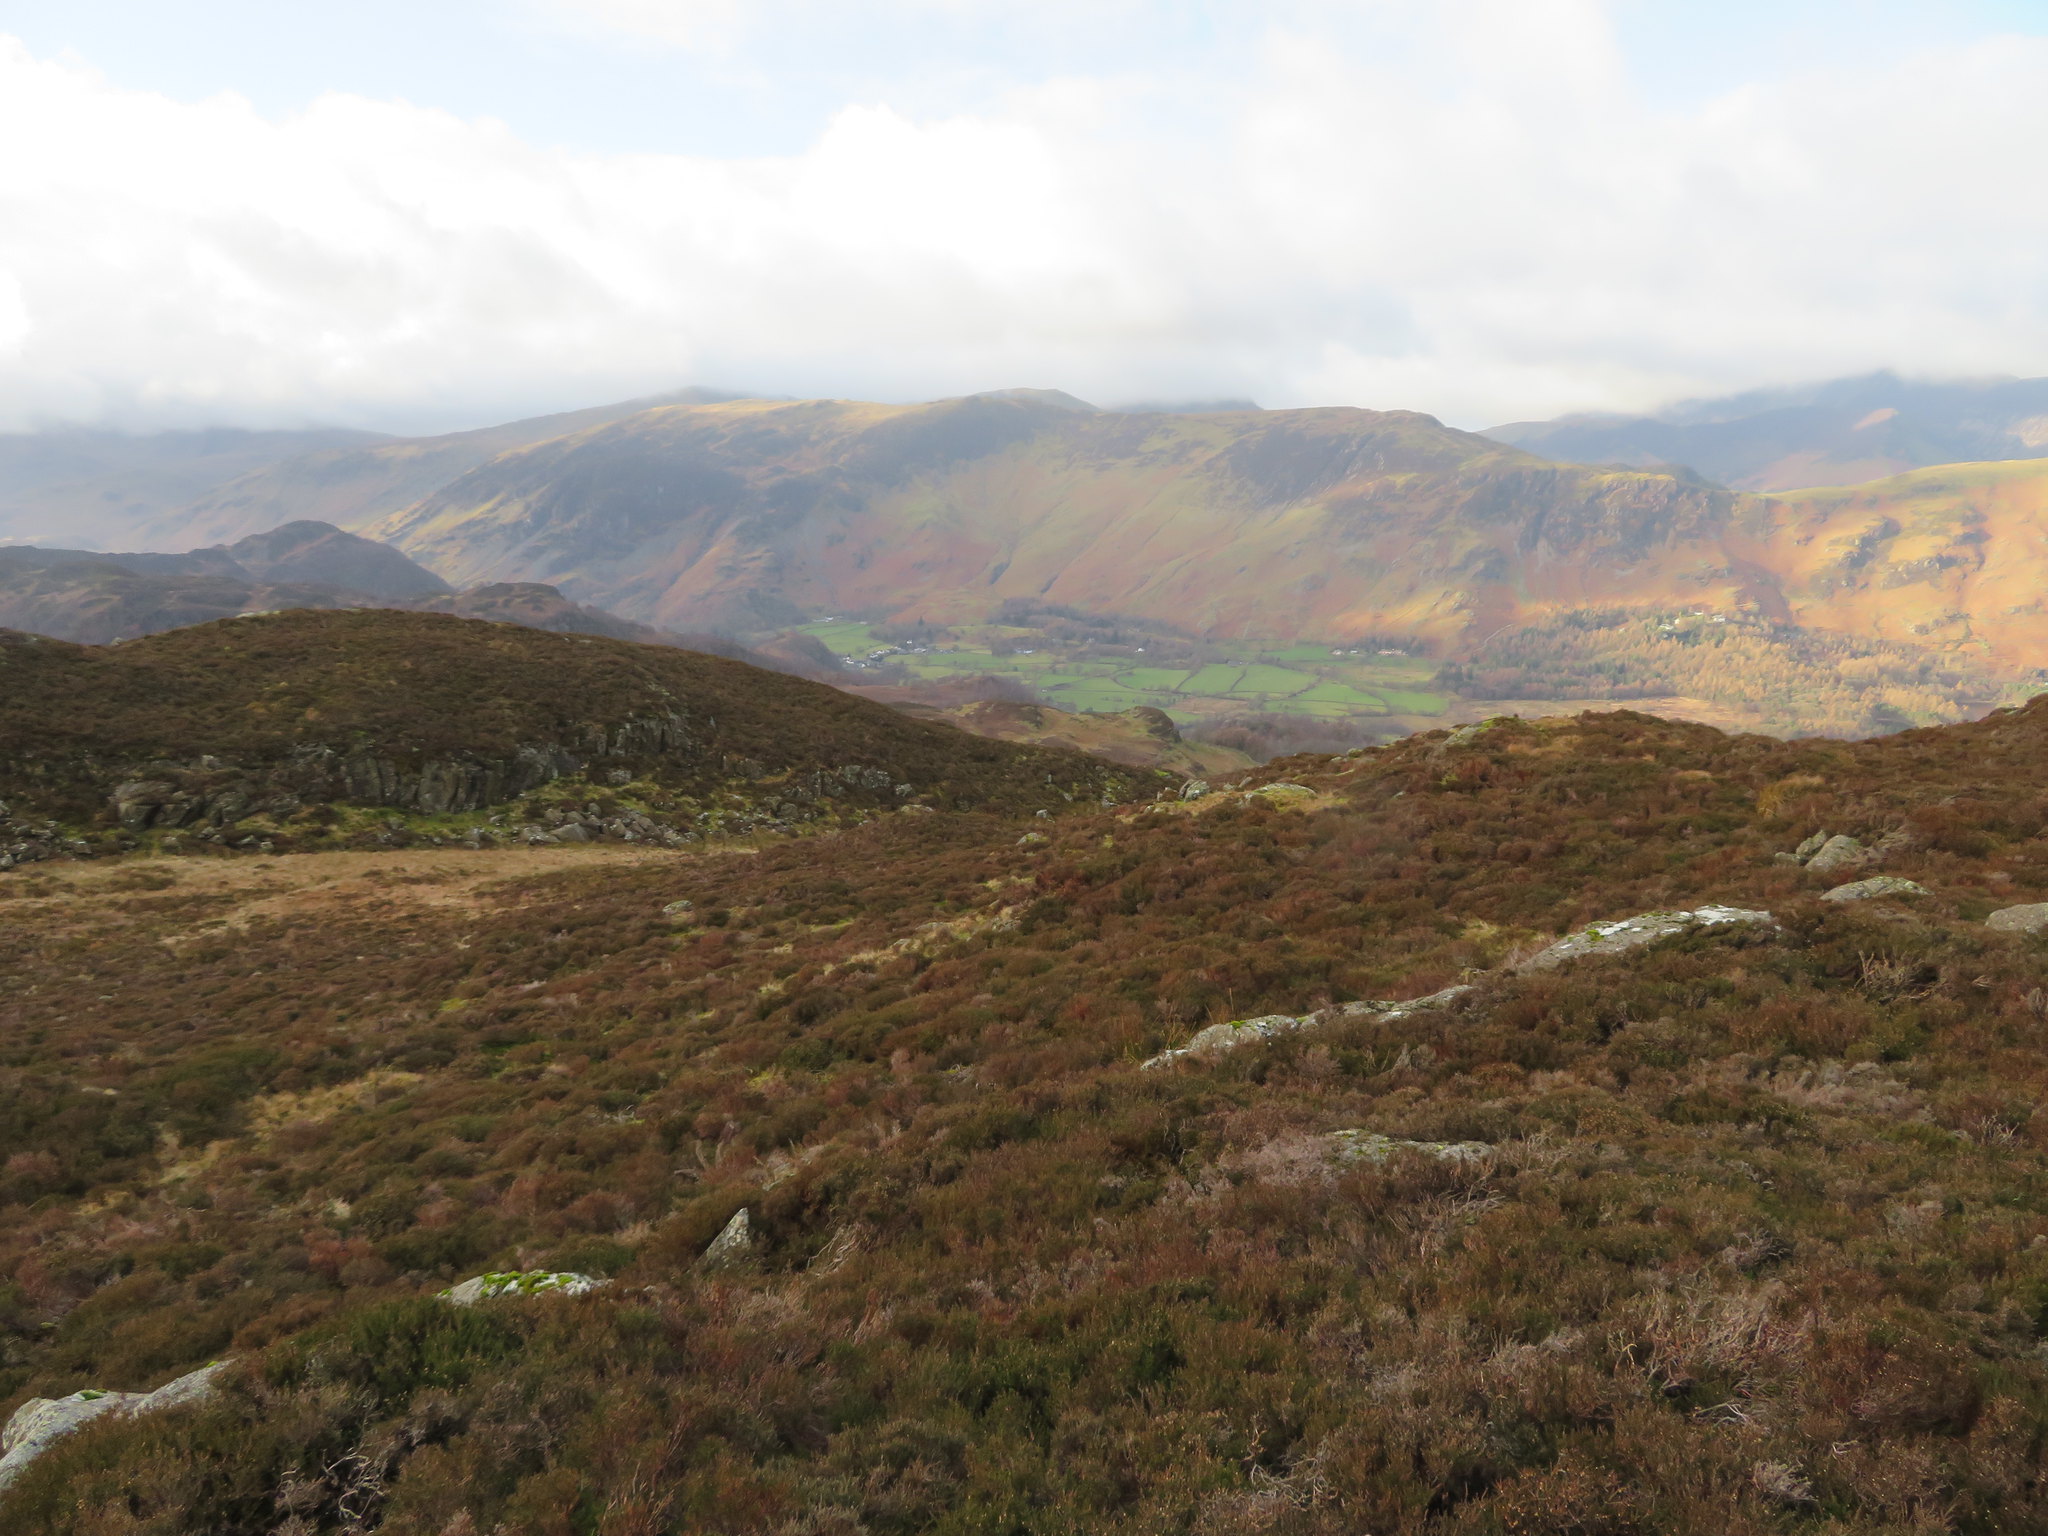
To keep this walk short and sweet my first thoughts were to park in the Great Wood car park and take the easy path up below Walla Crag and pick up the track to Rakefoot from where we would take the easy walk to Walla Crag and then from there onto Bleaberry Fell from where we would leave by following Brockle Beck back down to Rakefoot or simply return by our outward route. But on producing the route to Chris he questioned why we weren't fitting in High Seat as apart from Ullscarf it would clear up this line of the Central Fells. I explained that it would put an extra 2 miles on the walk doing an out and back again but he was adamant that he would at least like to have a go at it. So a change of route and starting point was to be had as I wanted to cut down on the total height gain therefore making it less of a challenge than it needed to be. Starting from the NT car park at Ashness Bridge would save around 250 feet of climb, not a lot in the big scheme of things but just now anything saved will be a bonus.
The plan now then was to take the path alongside Barrow Beck to the waterfalls and then continue climbing alongside - or near enough - Ashness Gill to finally arrive at High Seat from where we would review the situation before continuing on to Bleaberry Fell and Walla Crag.
So this is how it went. The large car park - NY269196 - was all but empty apart from 2 other cars; it was cold and cloudy though no rain was forecast. There was also a cold breeze, that along with the wet conditions that I knew existed above and beyond Dodd encouraged us to don our over trousers before we set out that may make us rather warm on the climb up to the top of Dodd from the car park but easier to do than now than later.
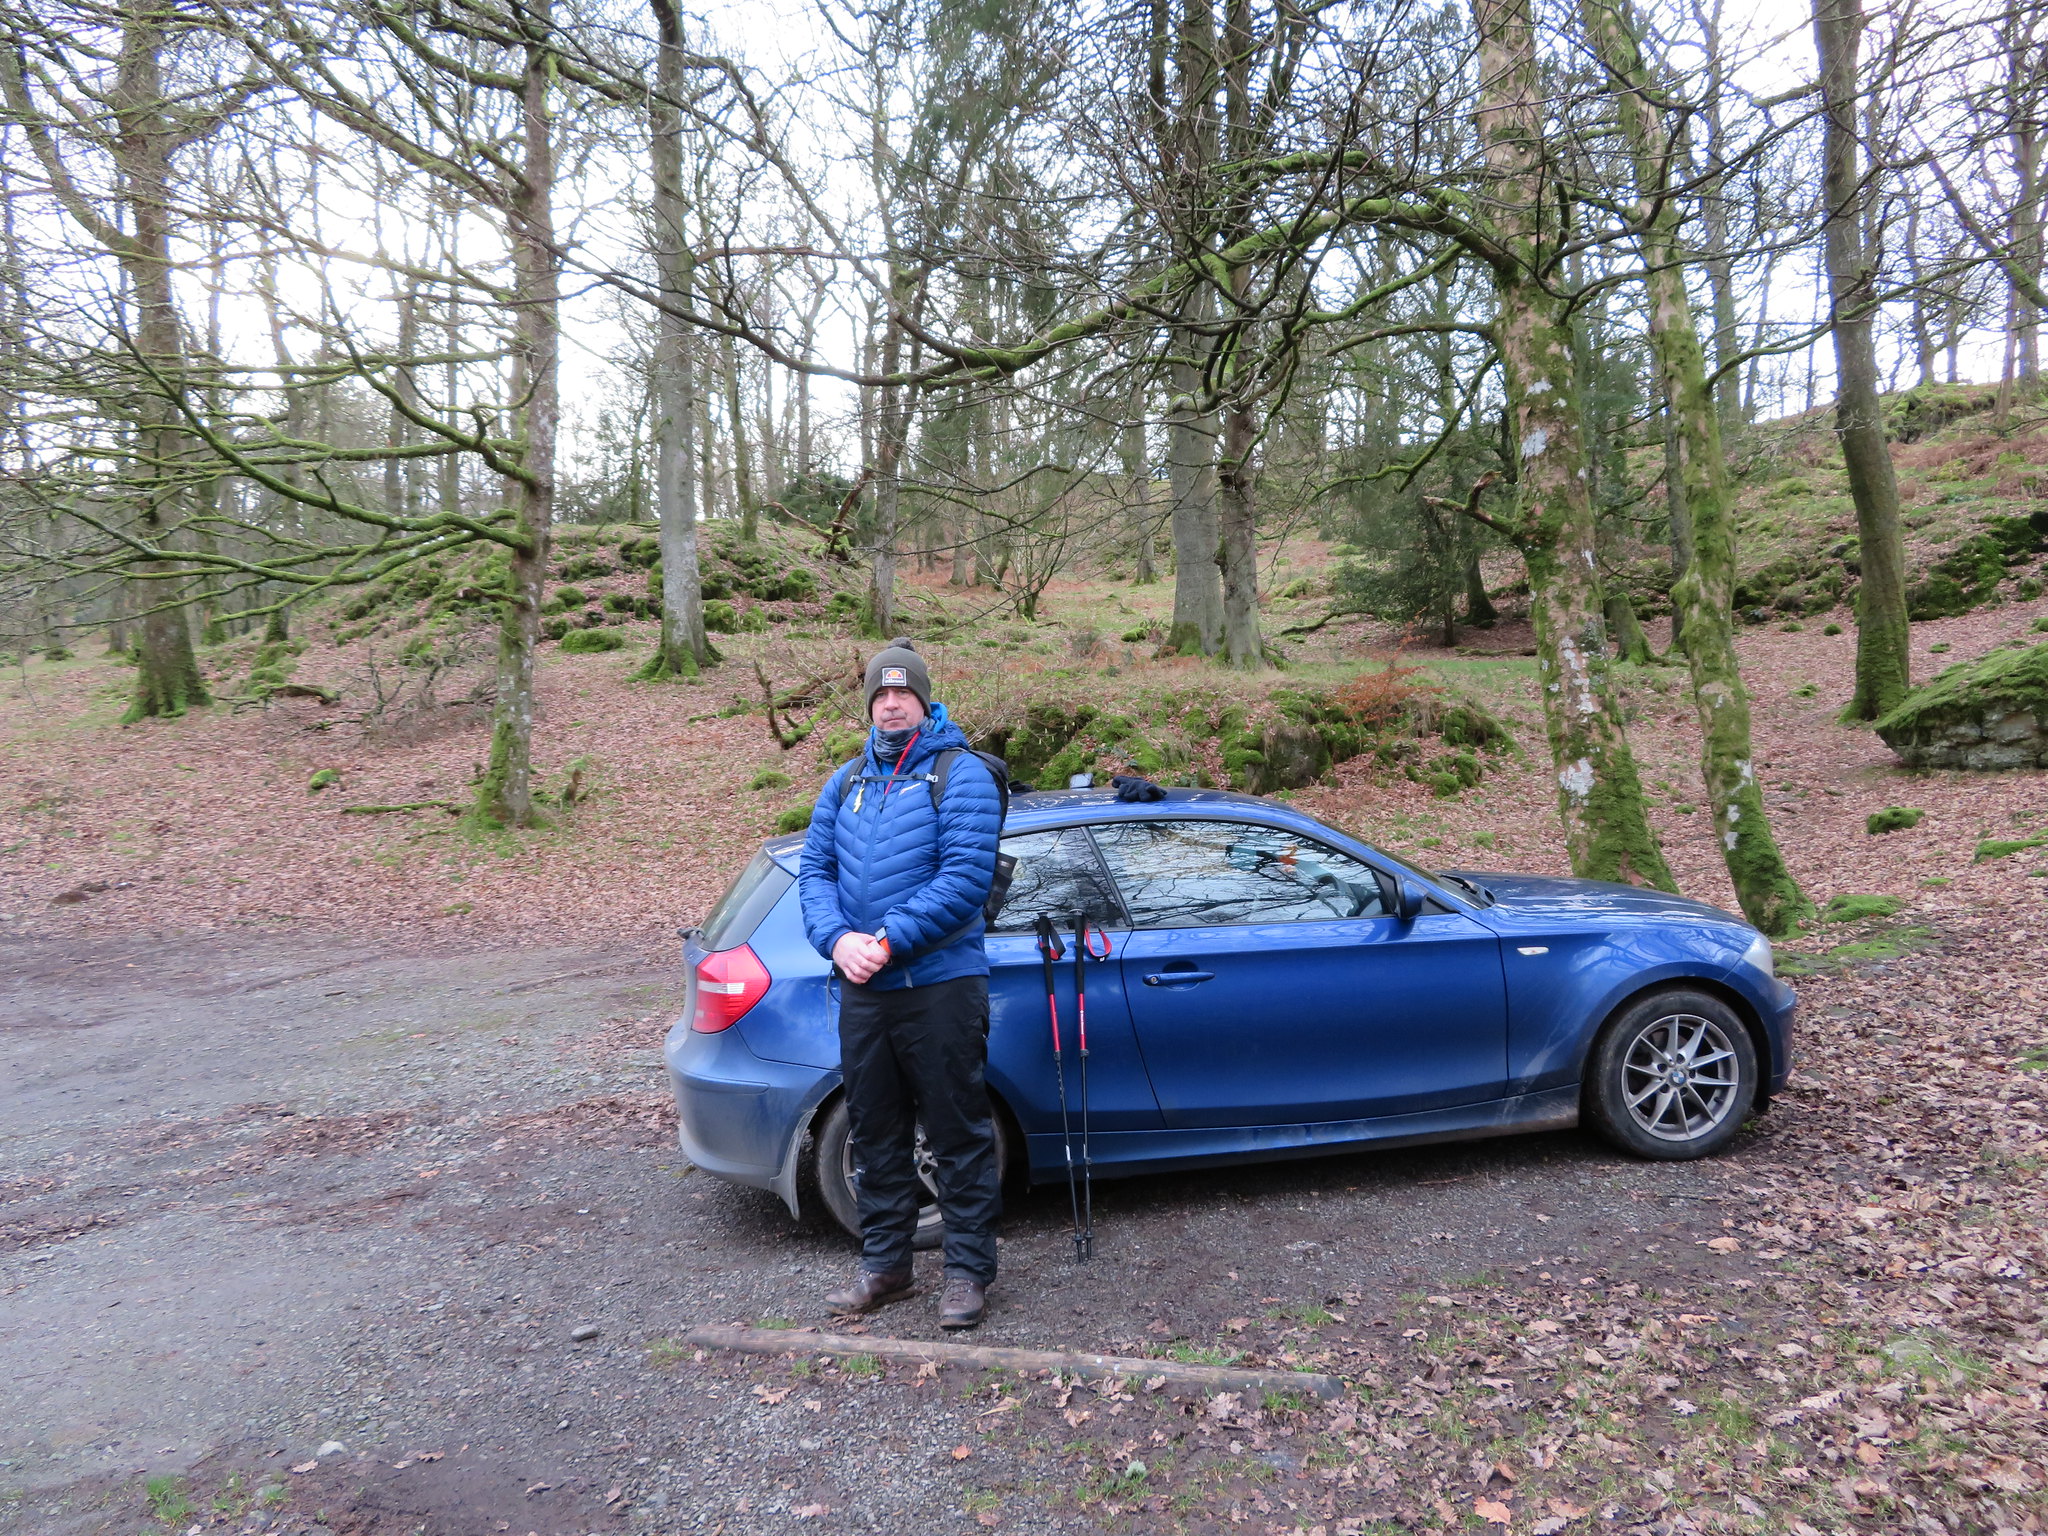 Ashness Bridge NT car park
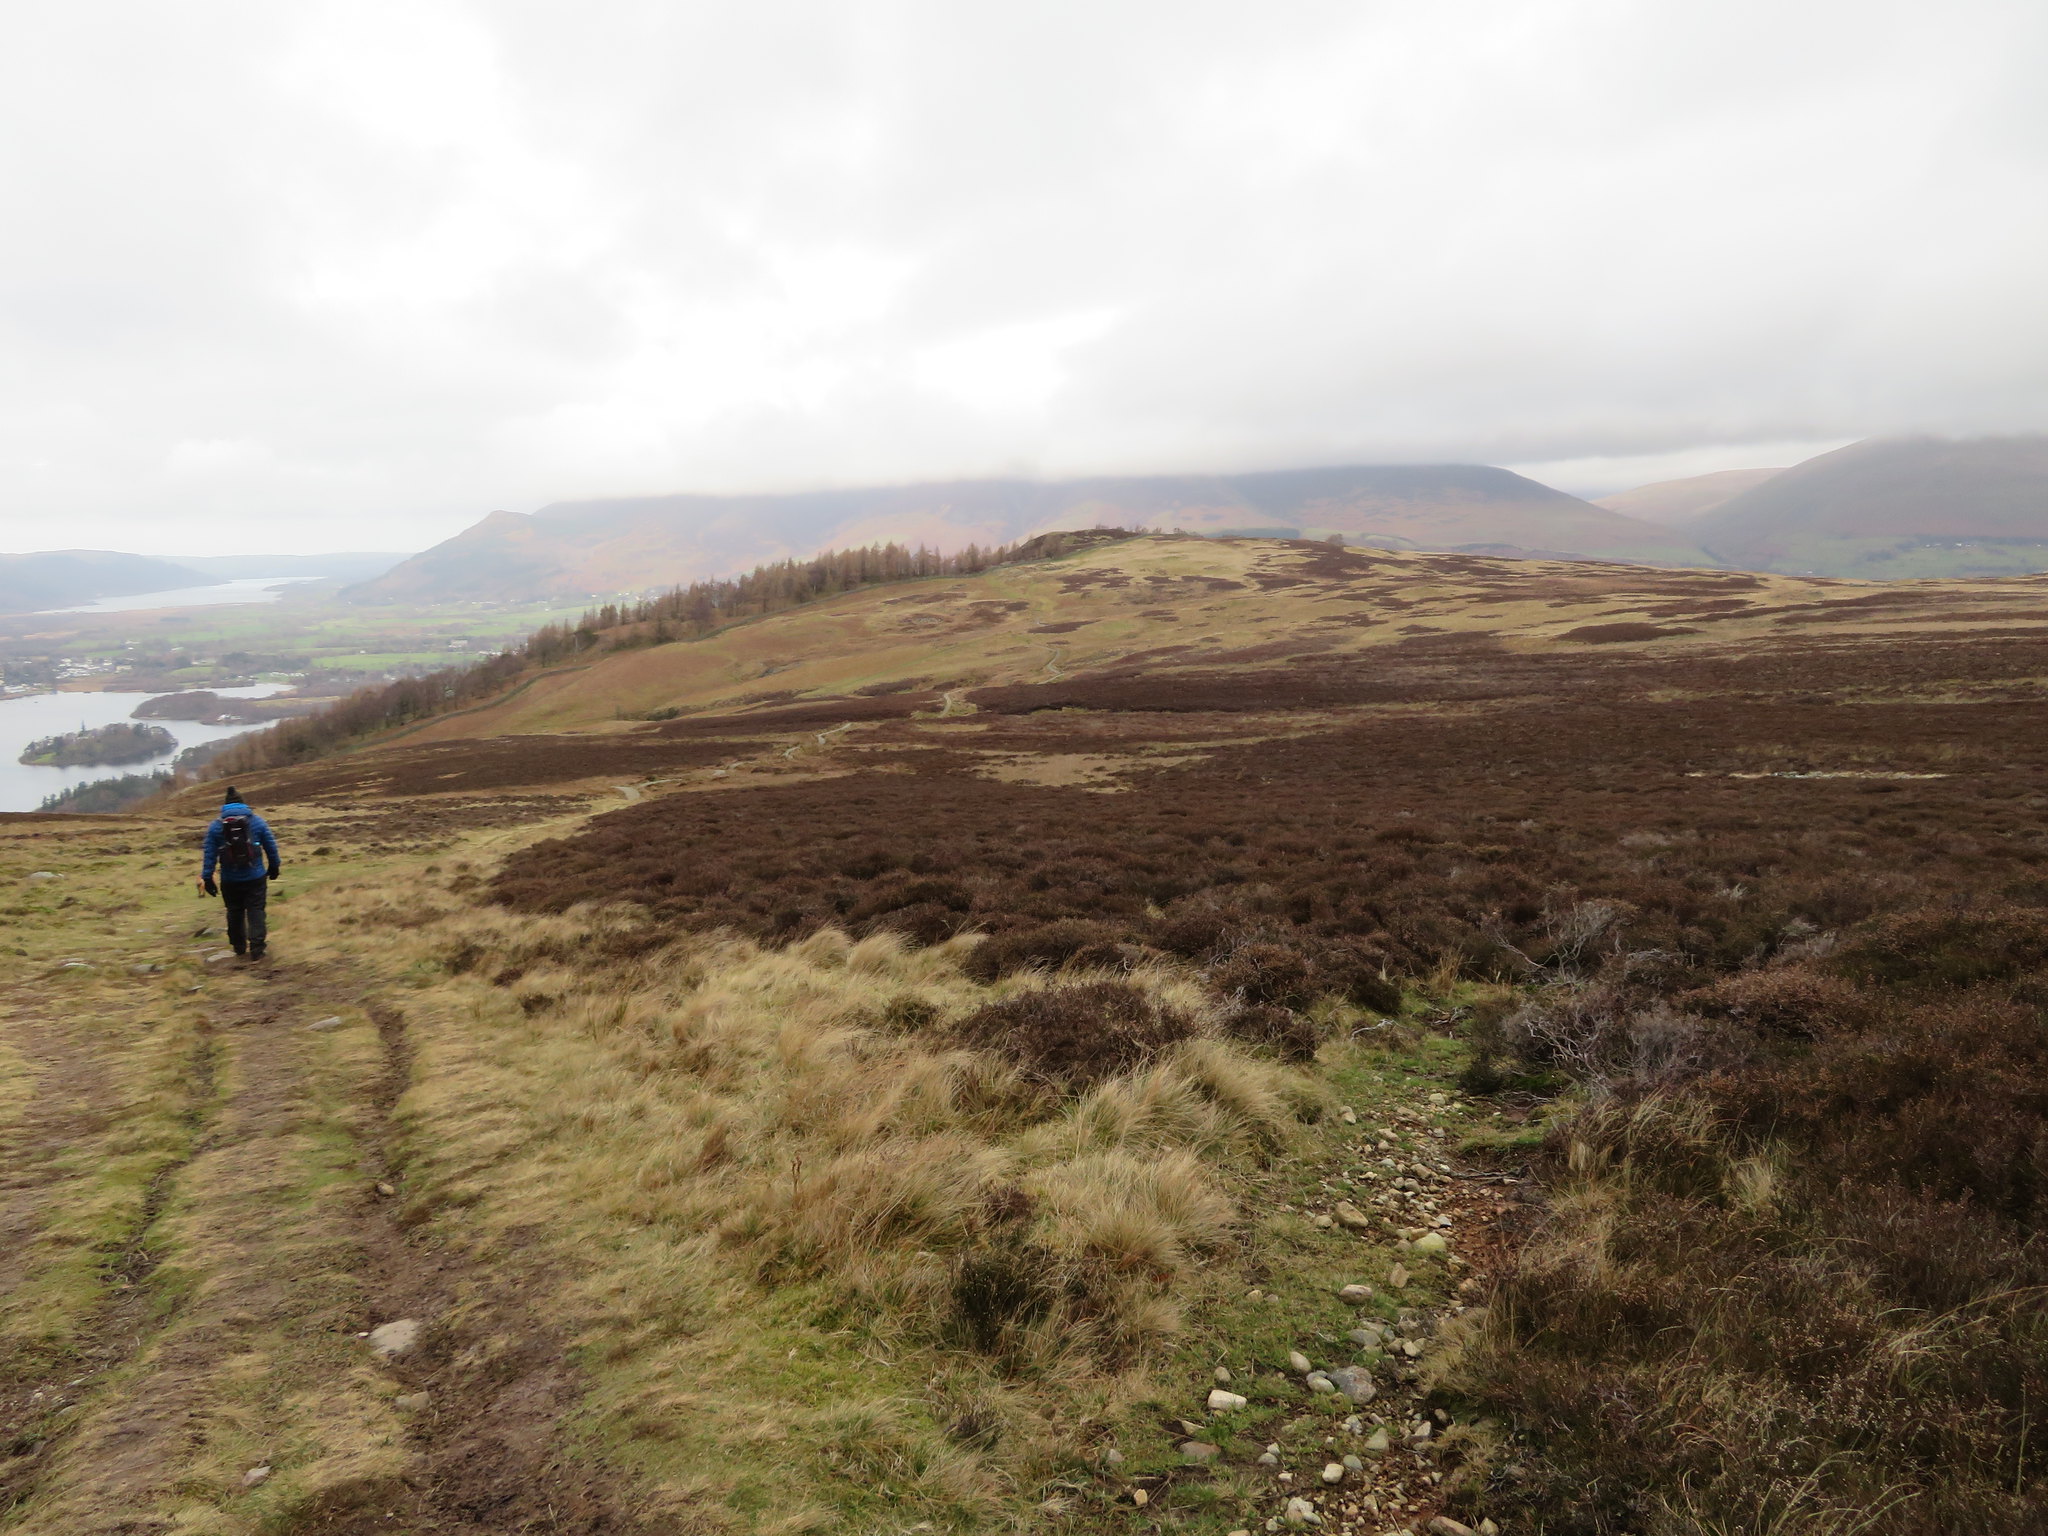
 The path begins almost directly across from the car park, slightly left and across the metalled lane and you're just above the famous Ashness Bridge with the clear waters of Barrow Beck tumbling over and through the rocky channel that helps speed its way down to Derwent Water. An easy incline starts the path on its way up the fellside as it follows the line of the dry stone wall amongst the dead bracken and after a few minutes of climbing the sun spattered ridge of Maiden Moor to High Spy appeared over the tops of the trees below us.
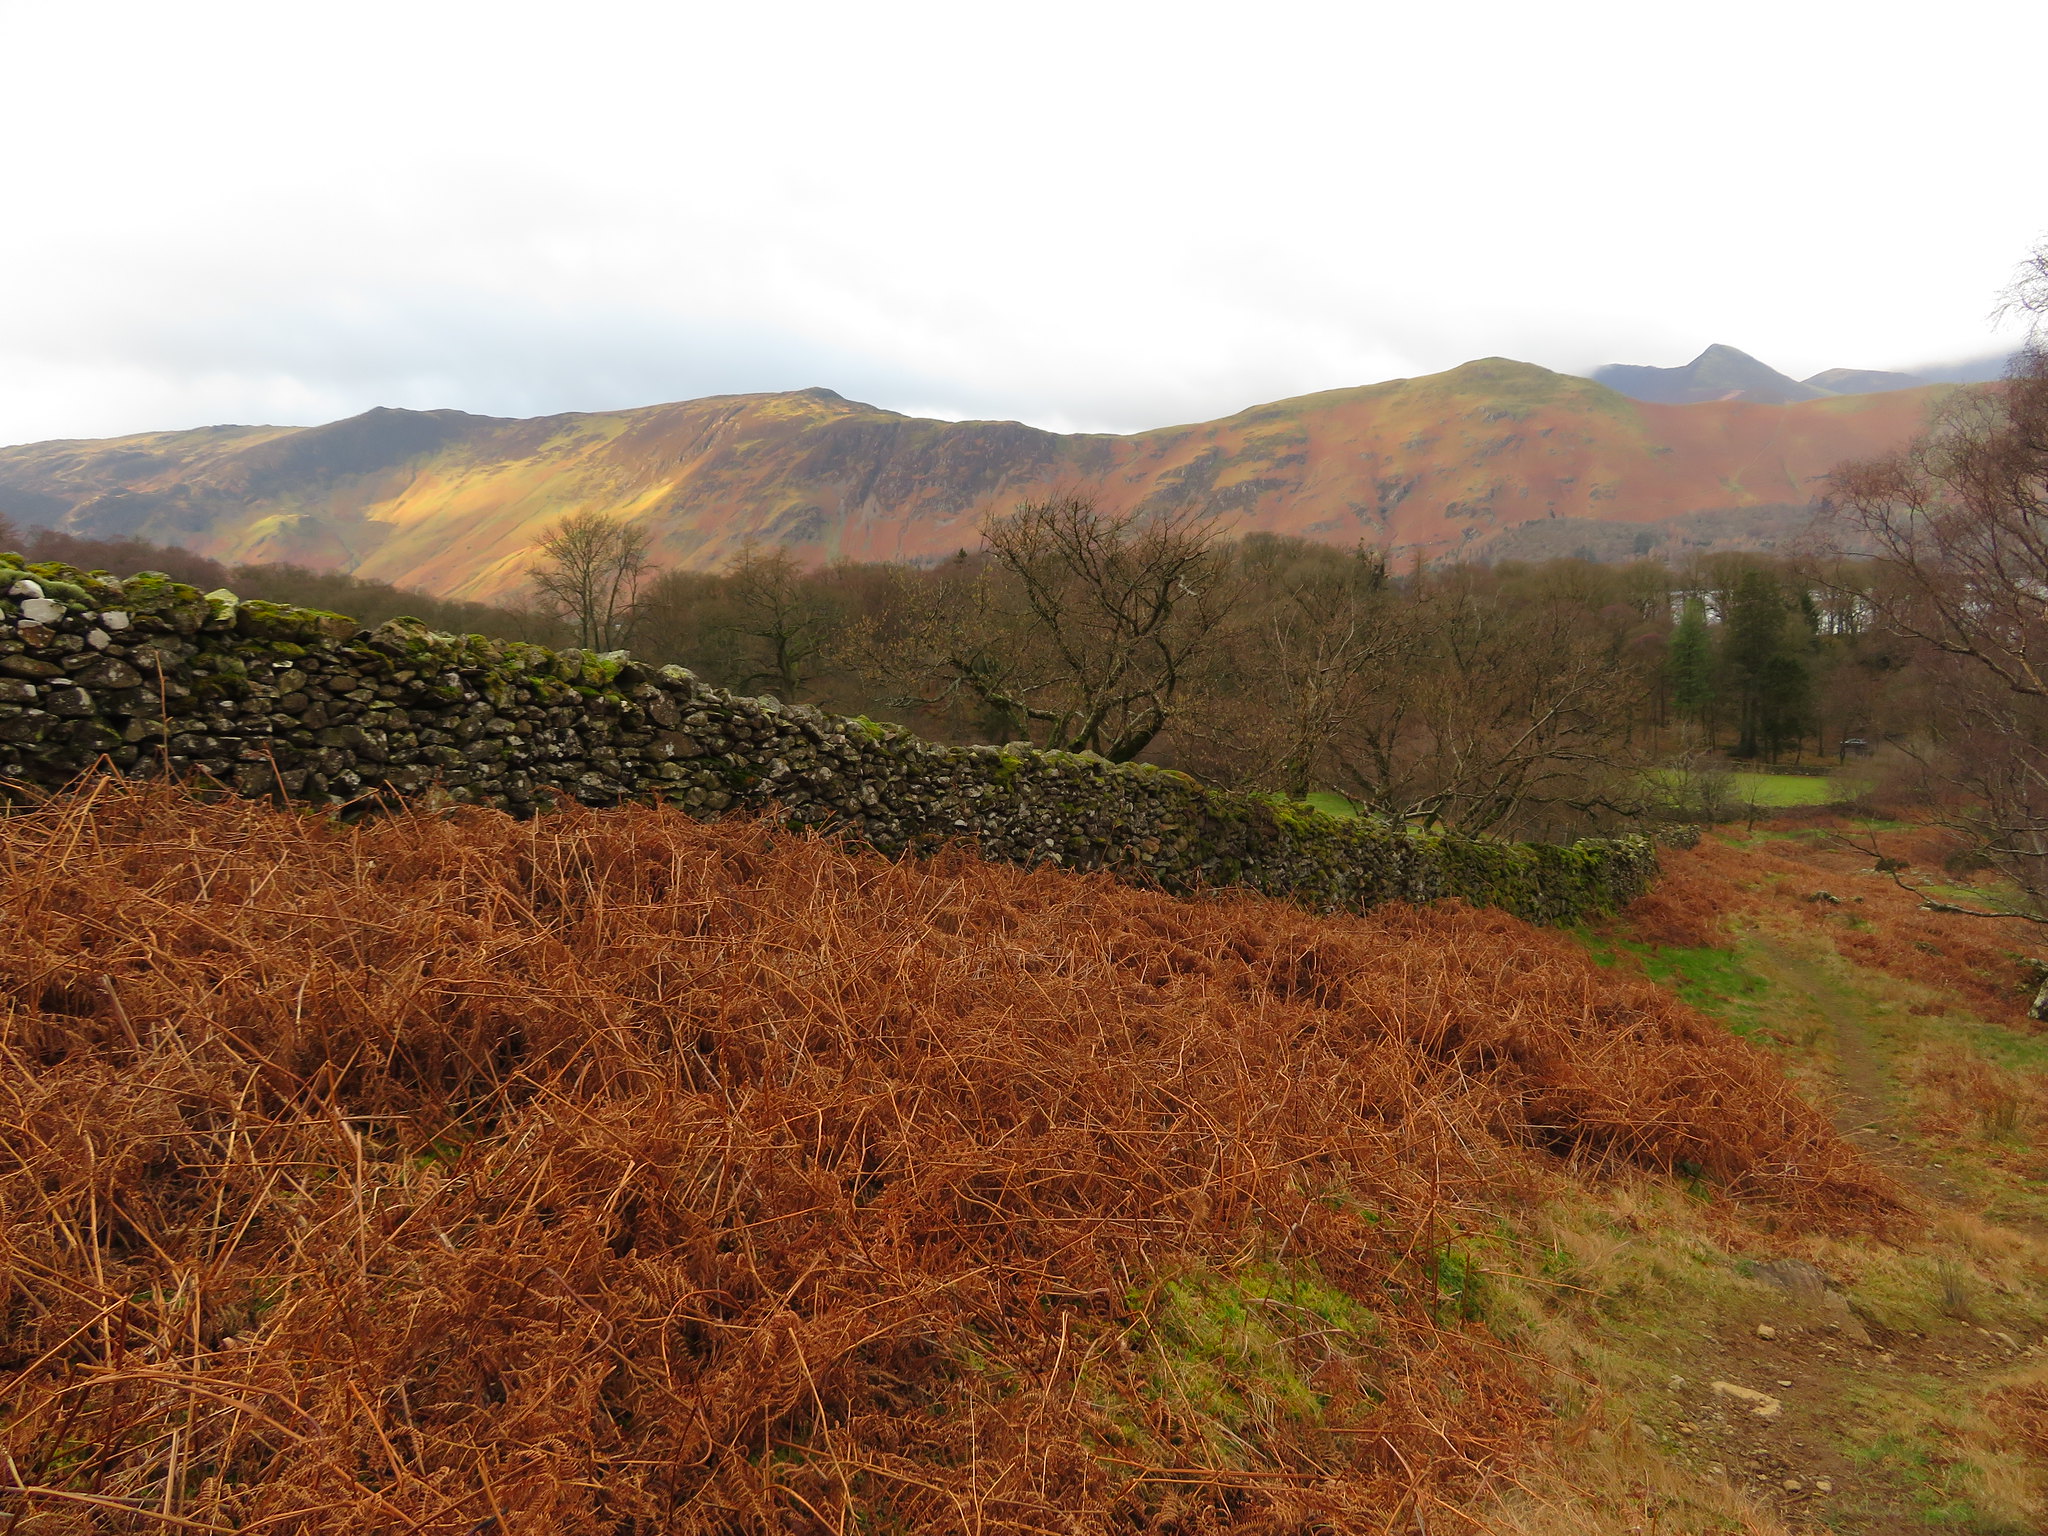 The Maiden Moor ridge now in full view
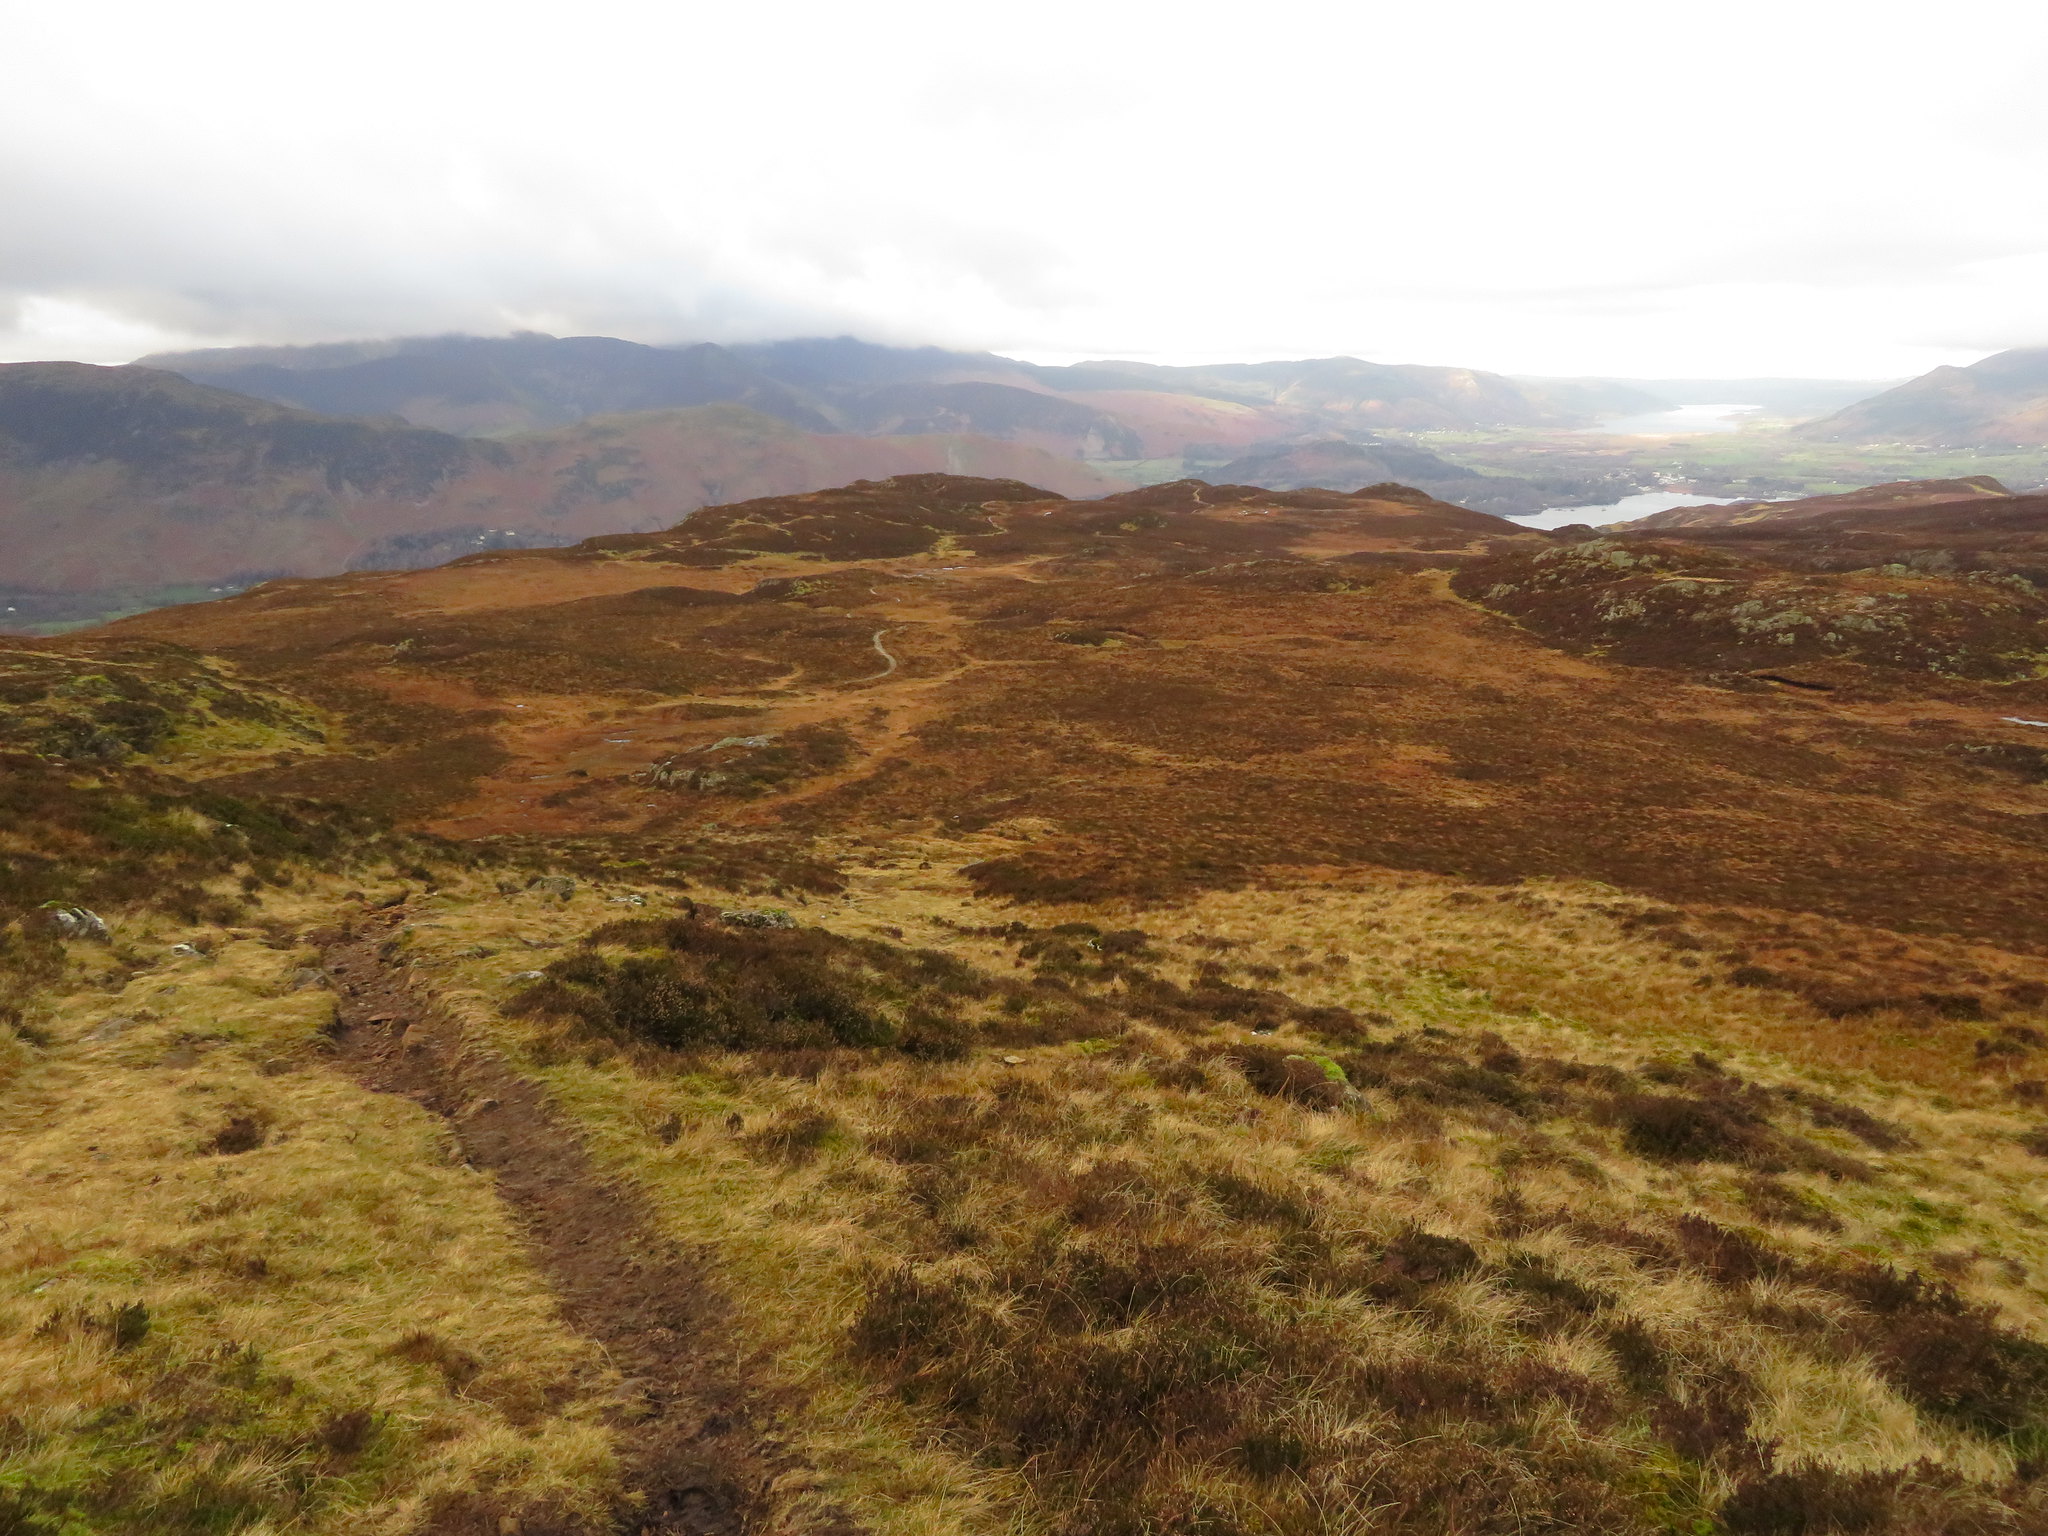
 Derwent Water is always in view but as we climbed higher the watery view opened up below us with a fair stretch of it and a hint of Bassenthwaite Lake away in the distance, the hills of the Coledale Round over to the northwest. The path steepens as we climb and Chris is taking it steady using both of his poles to assist progress.
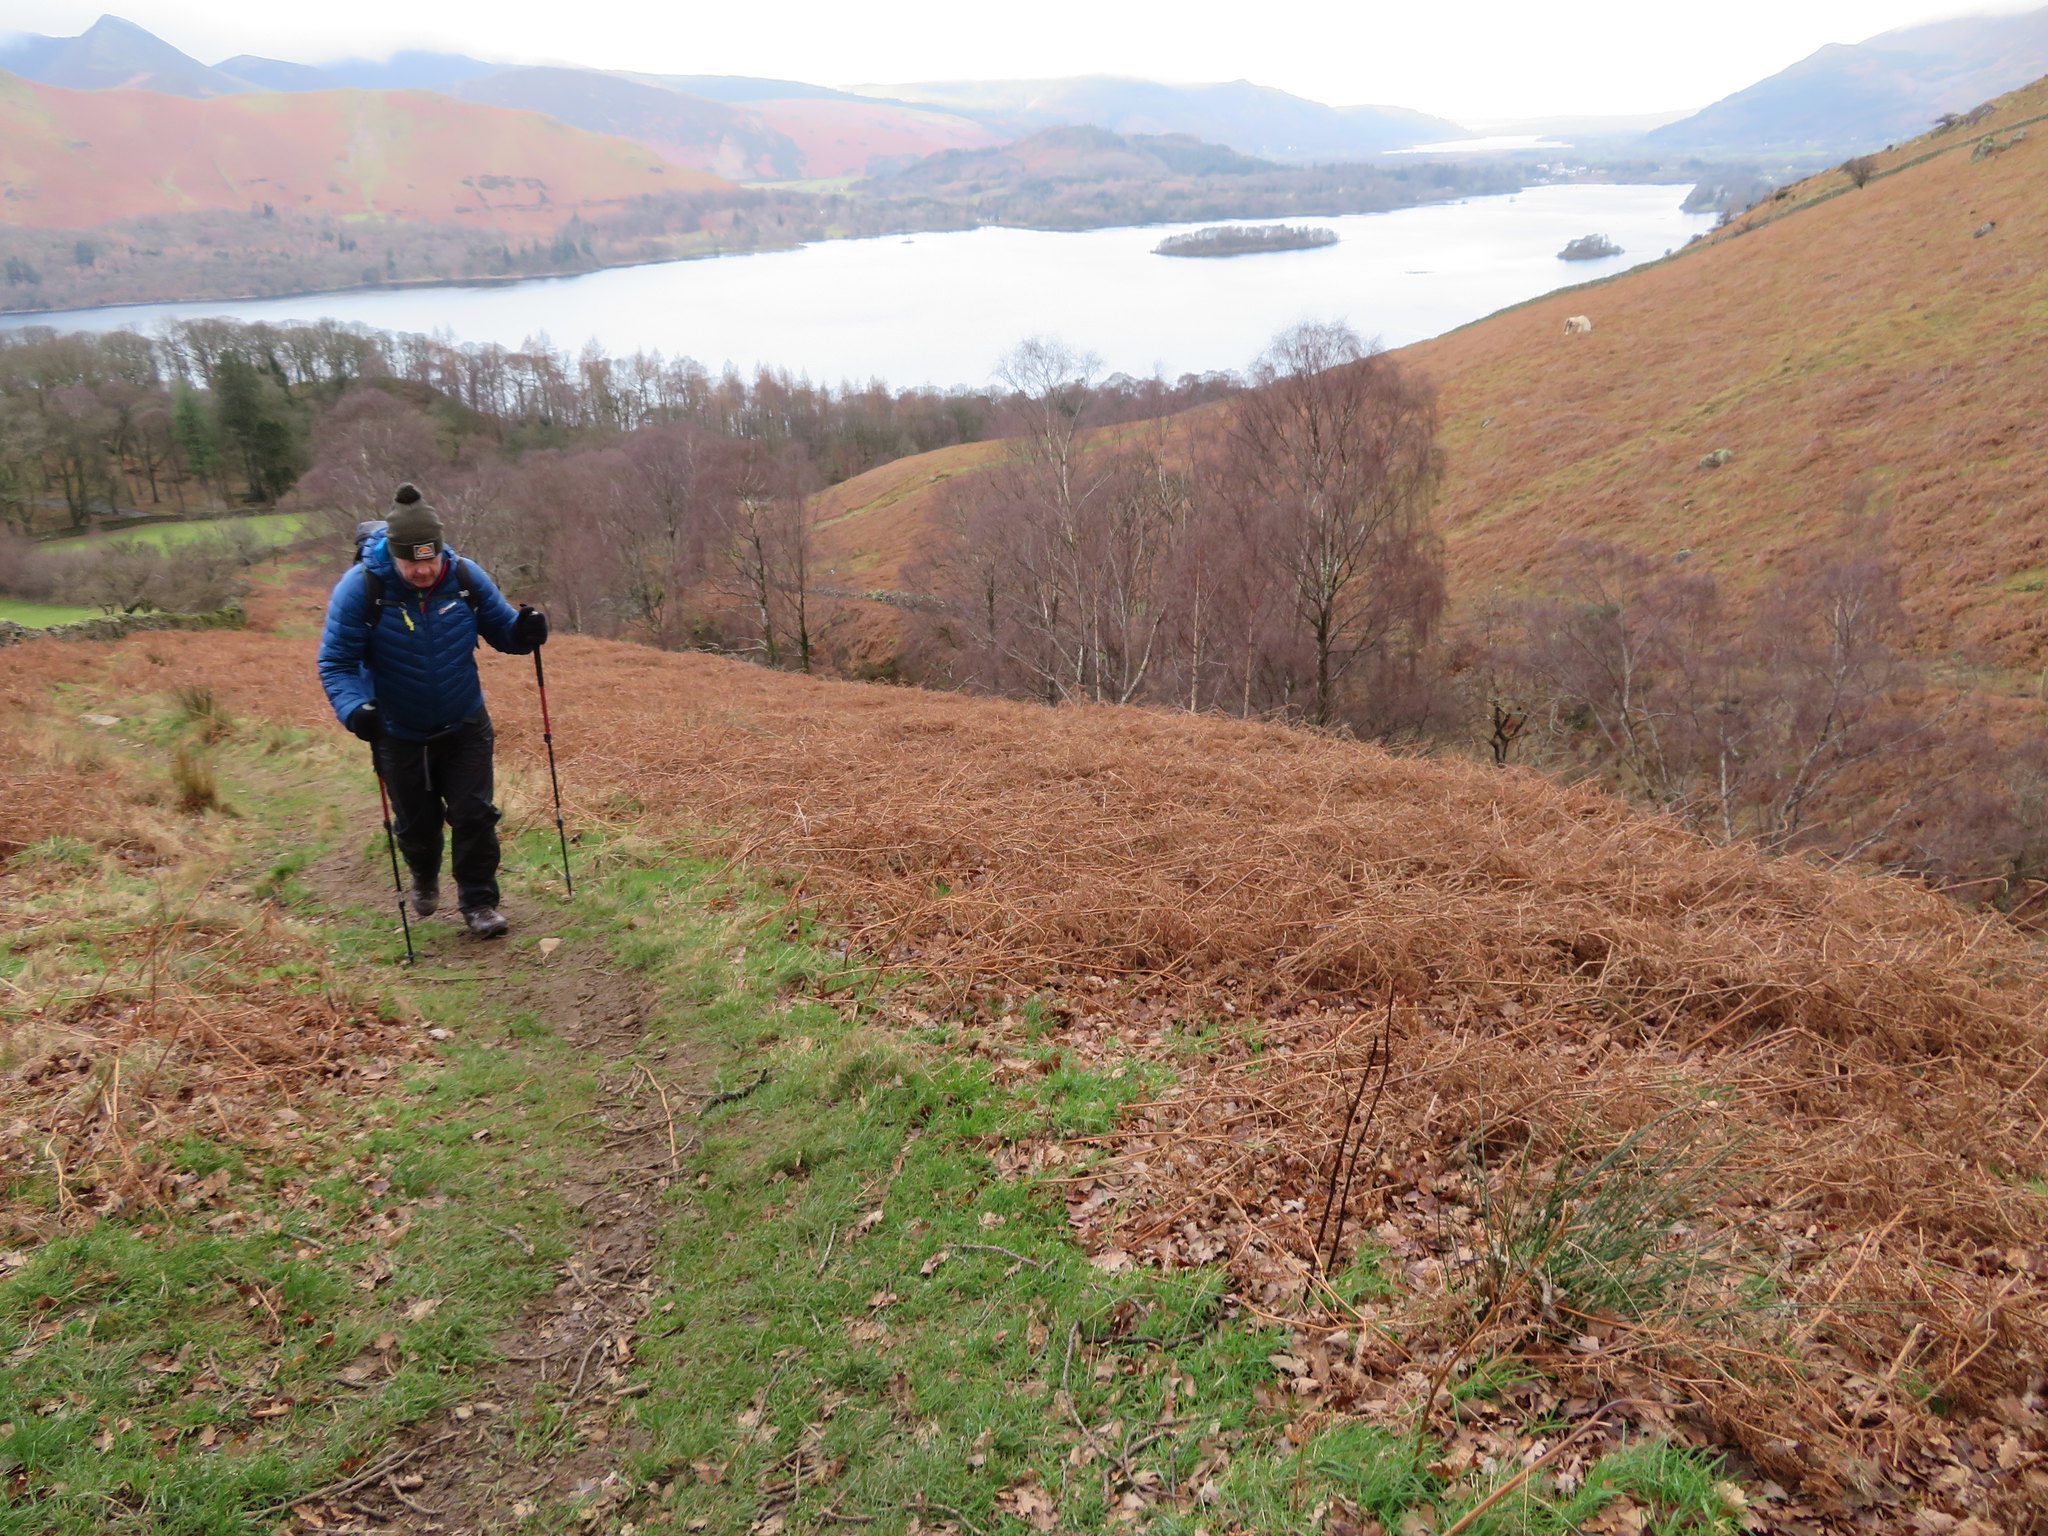 A bit of a struggle at the 250 metre contour
 Upon reaching a lonesome tree the wall is replaced by a post and wire fence, this is where we had a moment to take some photos and get the breathing back to normal. Now following the fence the path gets ever steeper and as we got quite a bit of height between us and aforementioned tree the vista across Derwent Water opened up and we could now see that despite the all pervading cloud cover Bassenthwaite Lake was bathed in sunlight.
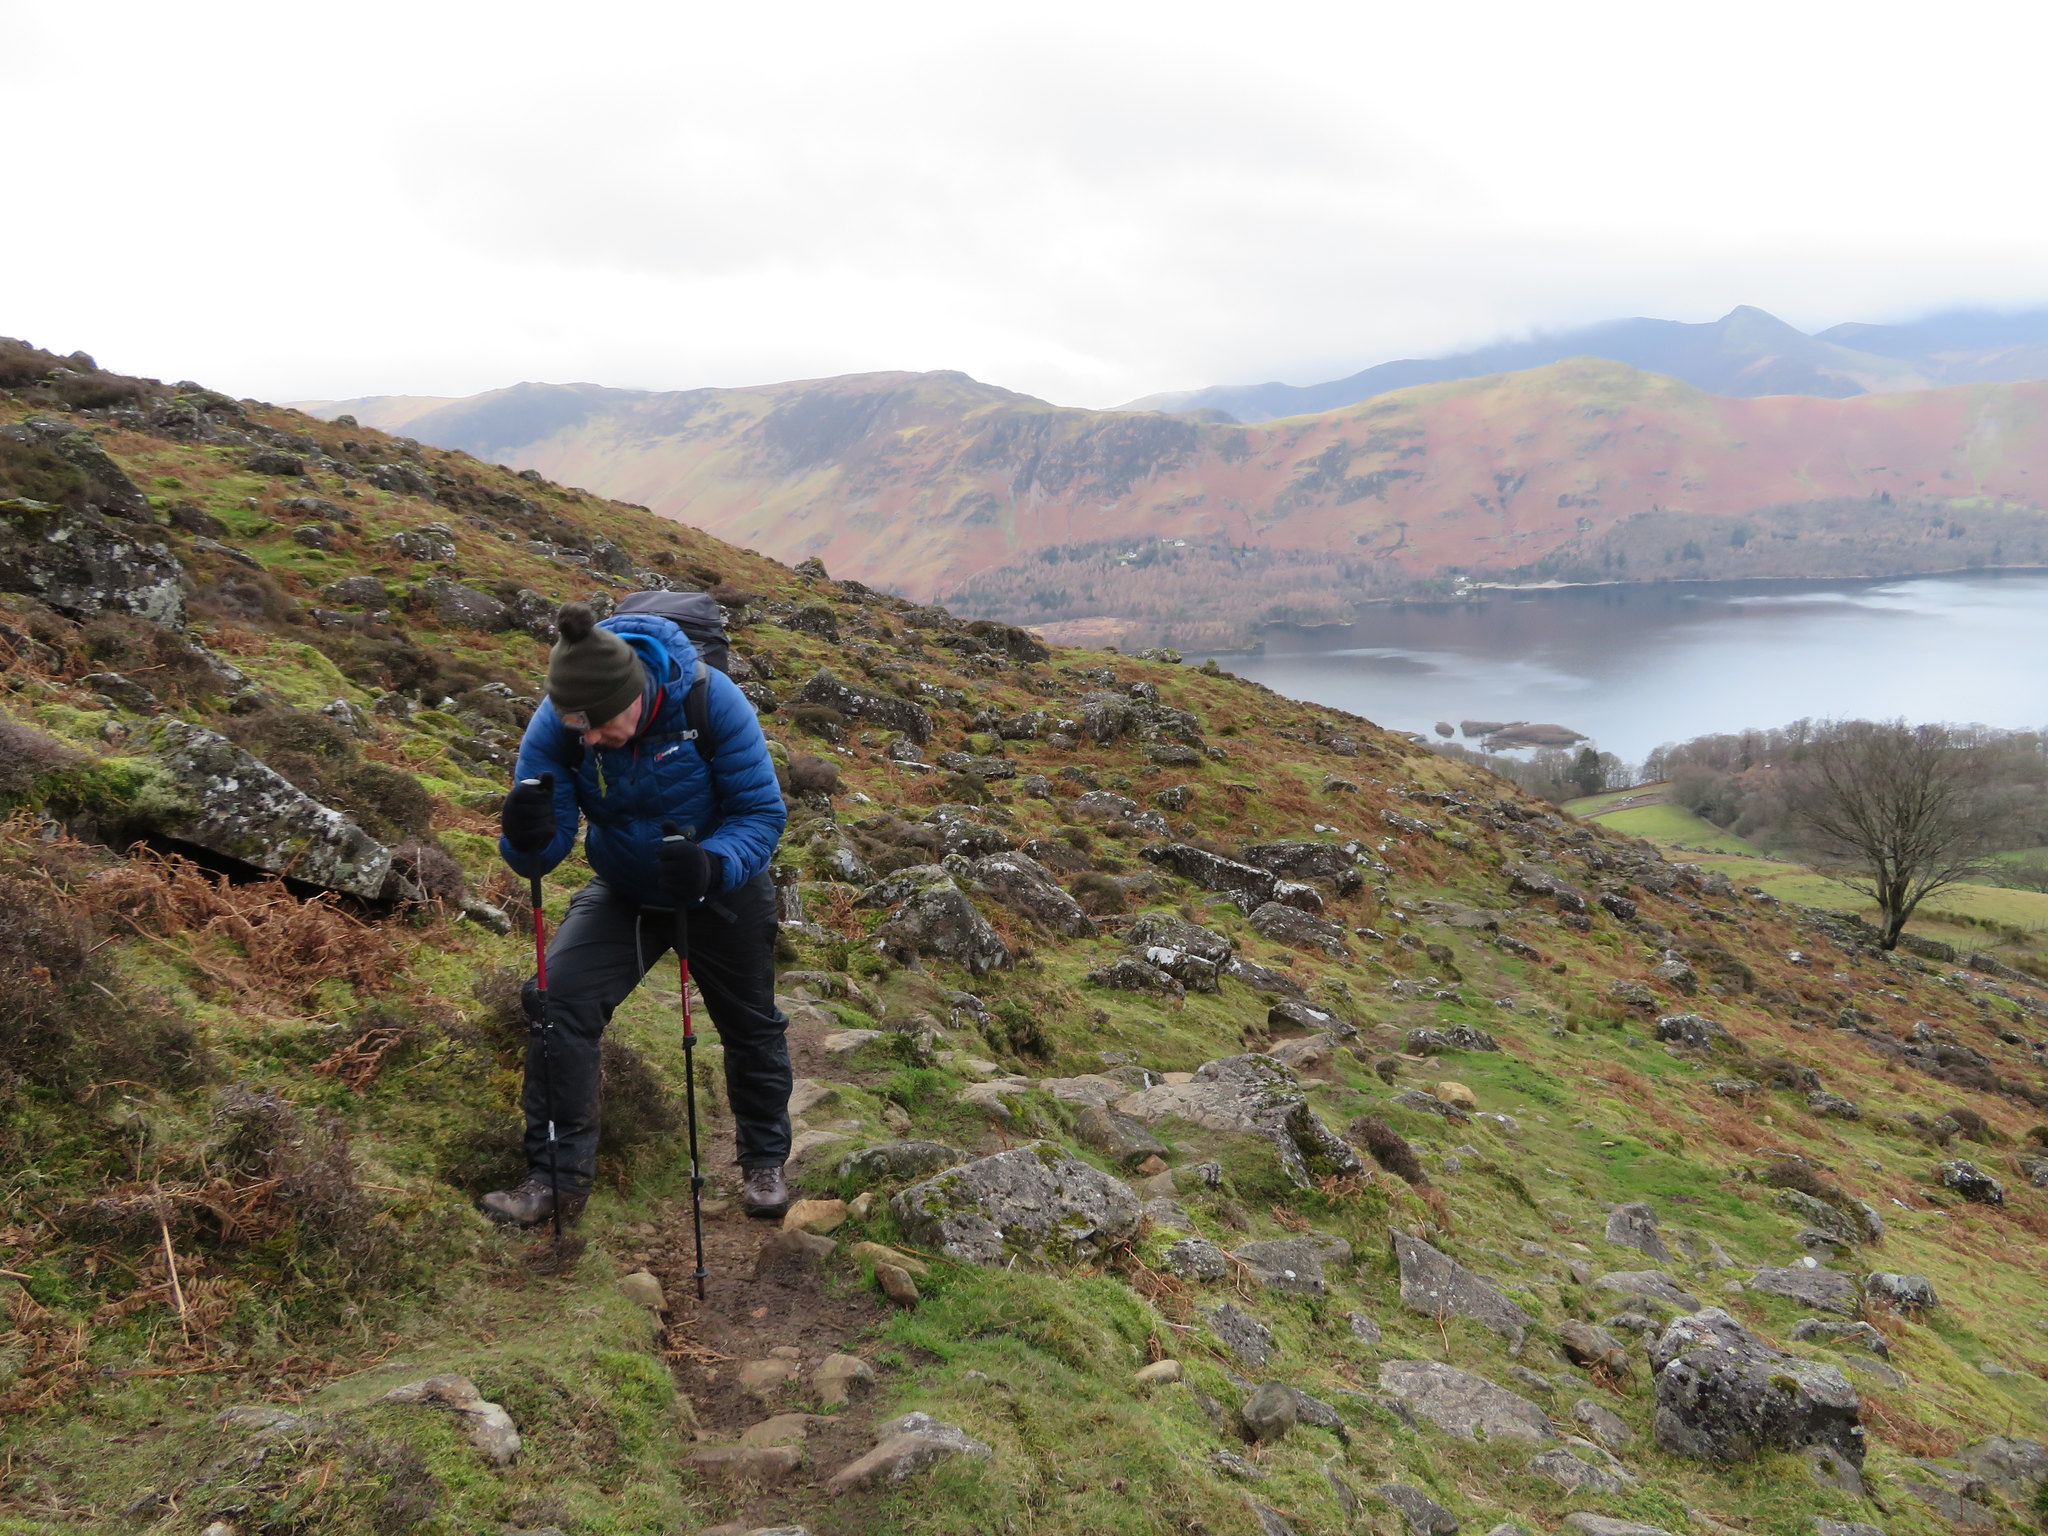
 A cloudy Derwent Water and a sun kissed Bassenthwaite
 Onwards we climbed along the still steepening path and it's not often that Chris is looking at my rear end as it's usually the other way round, today he is, but the path does ease off a little as we reach the gate stile under the lower slopes of Dodd where the path gets a little rockier for a while. The path as well as getting steeper has slowly moved away from Barrow Beck only to swing back towards it after we have passed through the gate. The path is not too bad once the base of Dodd is rounded, quite level but very rocky. Chris was making good progress but a halt was needed and as soon as we arrive at the top of the waterfall that's where we'll have a break before the sharp climb up to the cairn on the north side of Dodd.
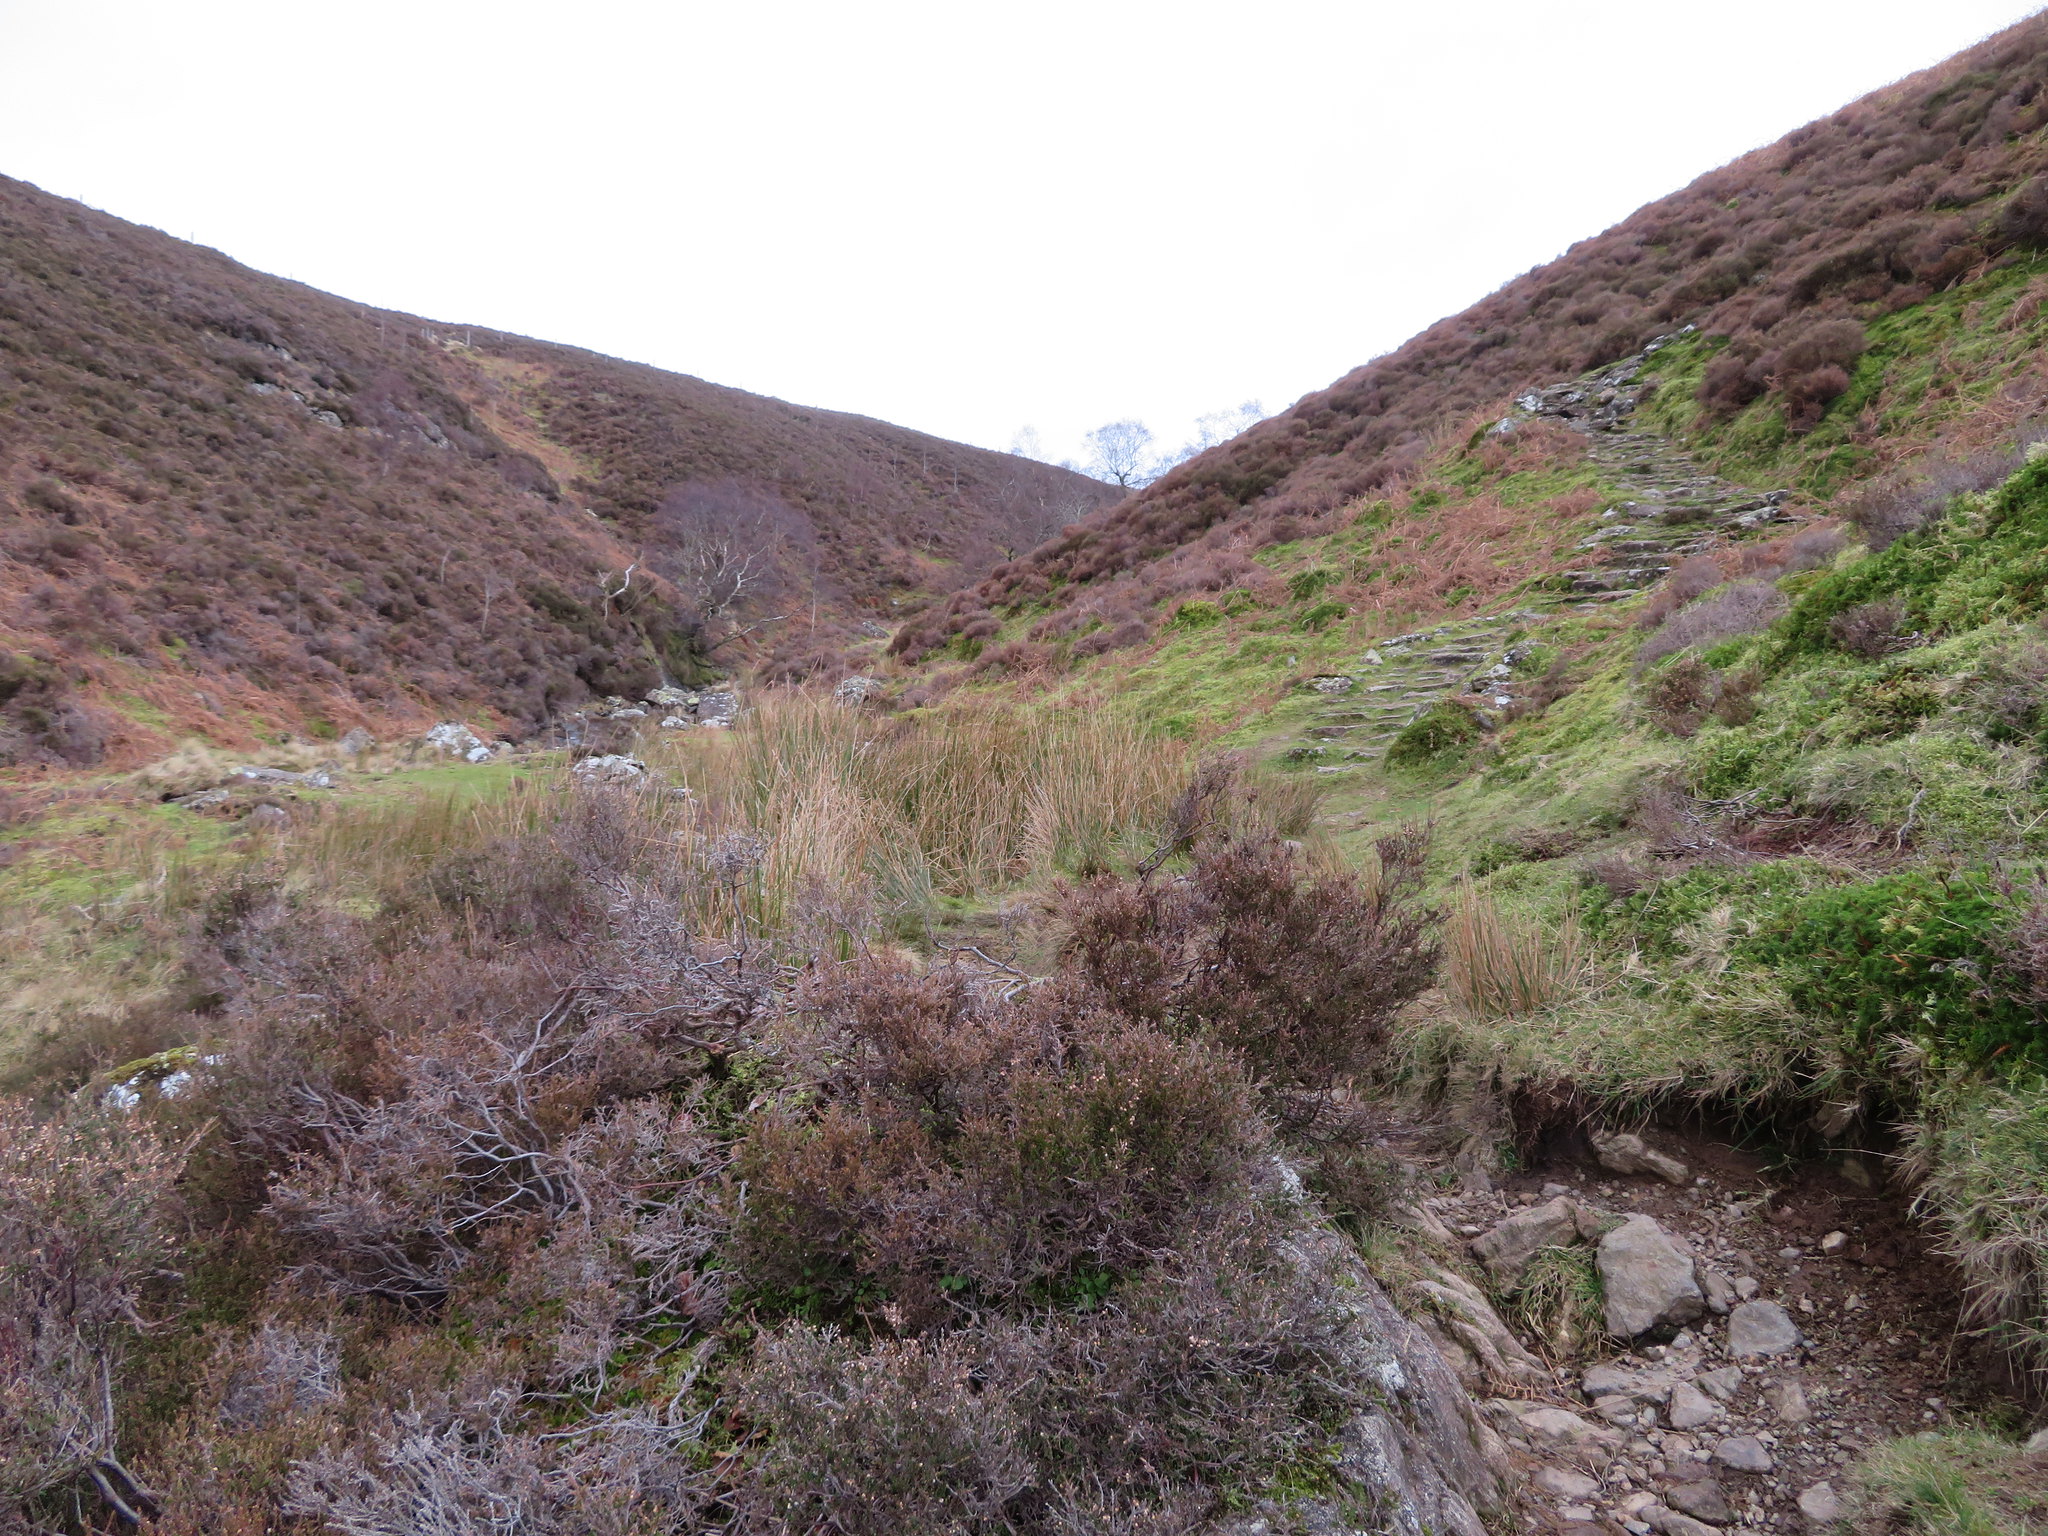
 A rock strewn path below the crag under Dodd
 A bit of a rest by the old wall whilst Sonny plays in the waters of the now Ashness Gill before we embark upon starting the climb up the stone pitched section of path…
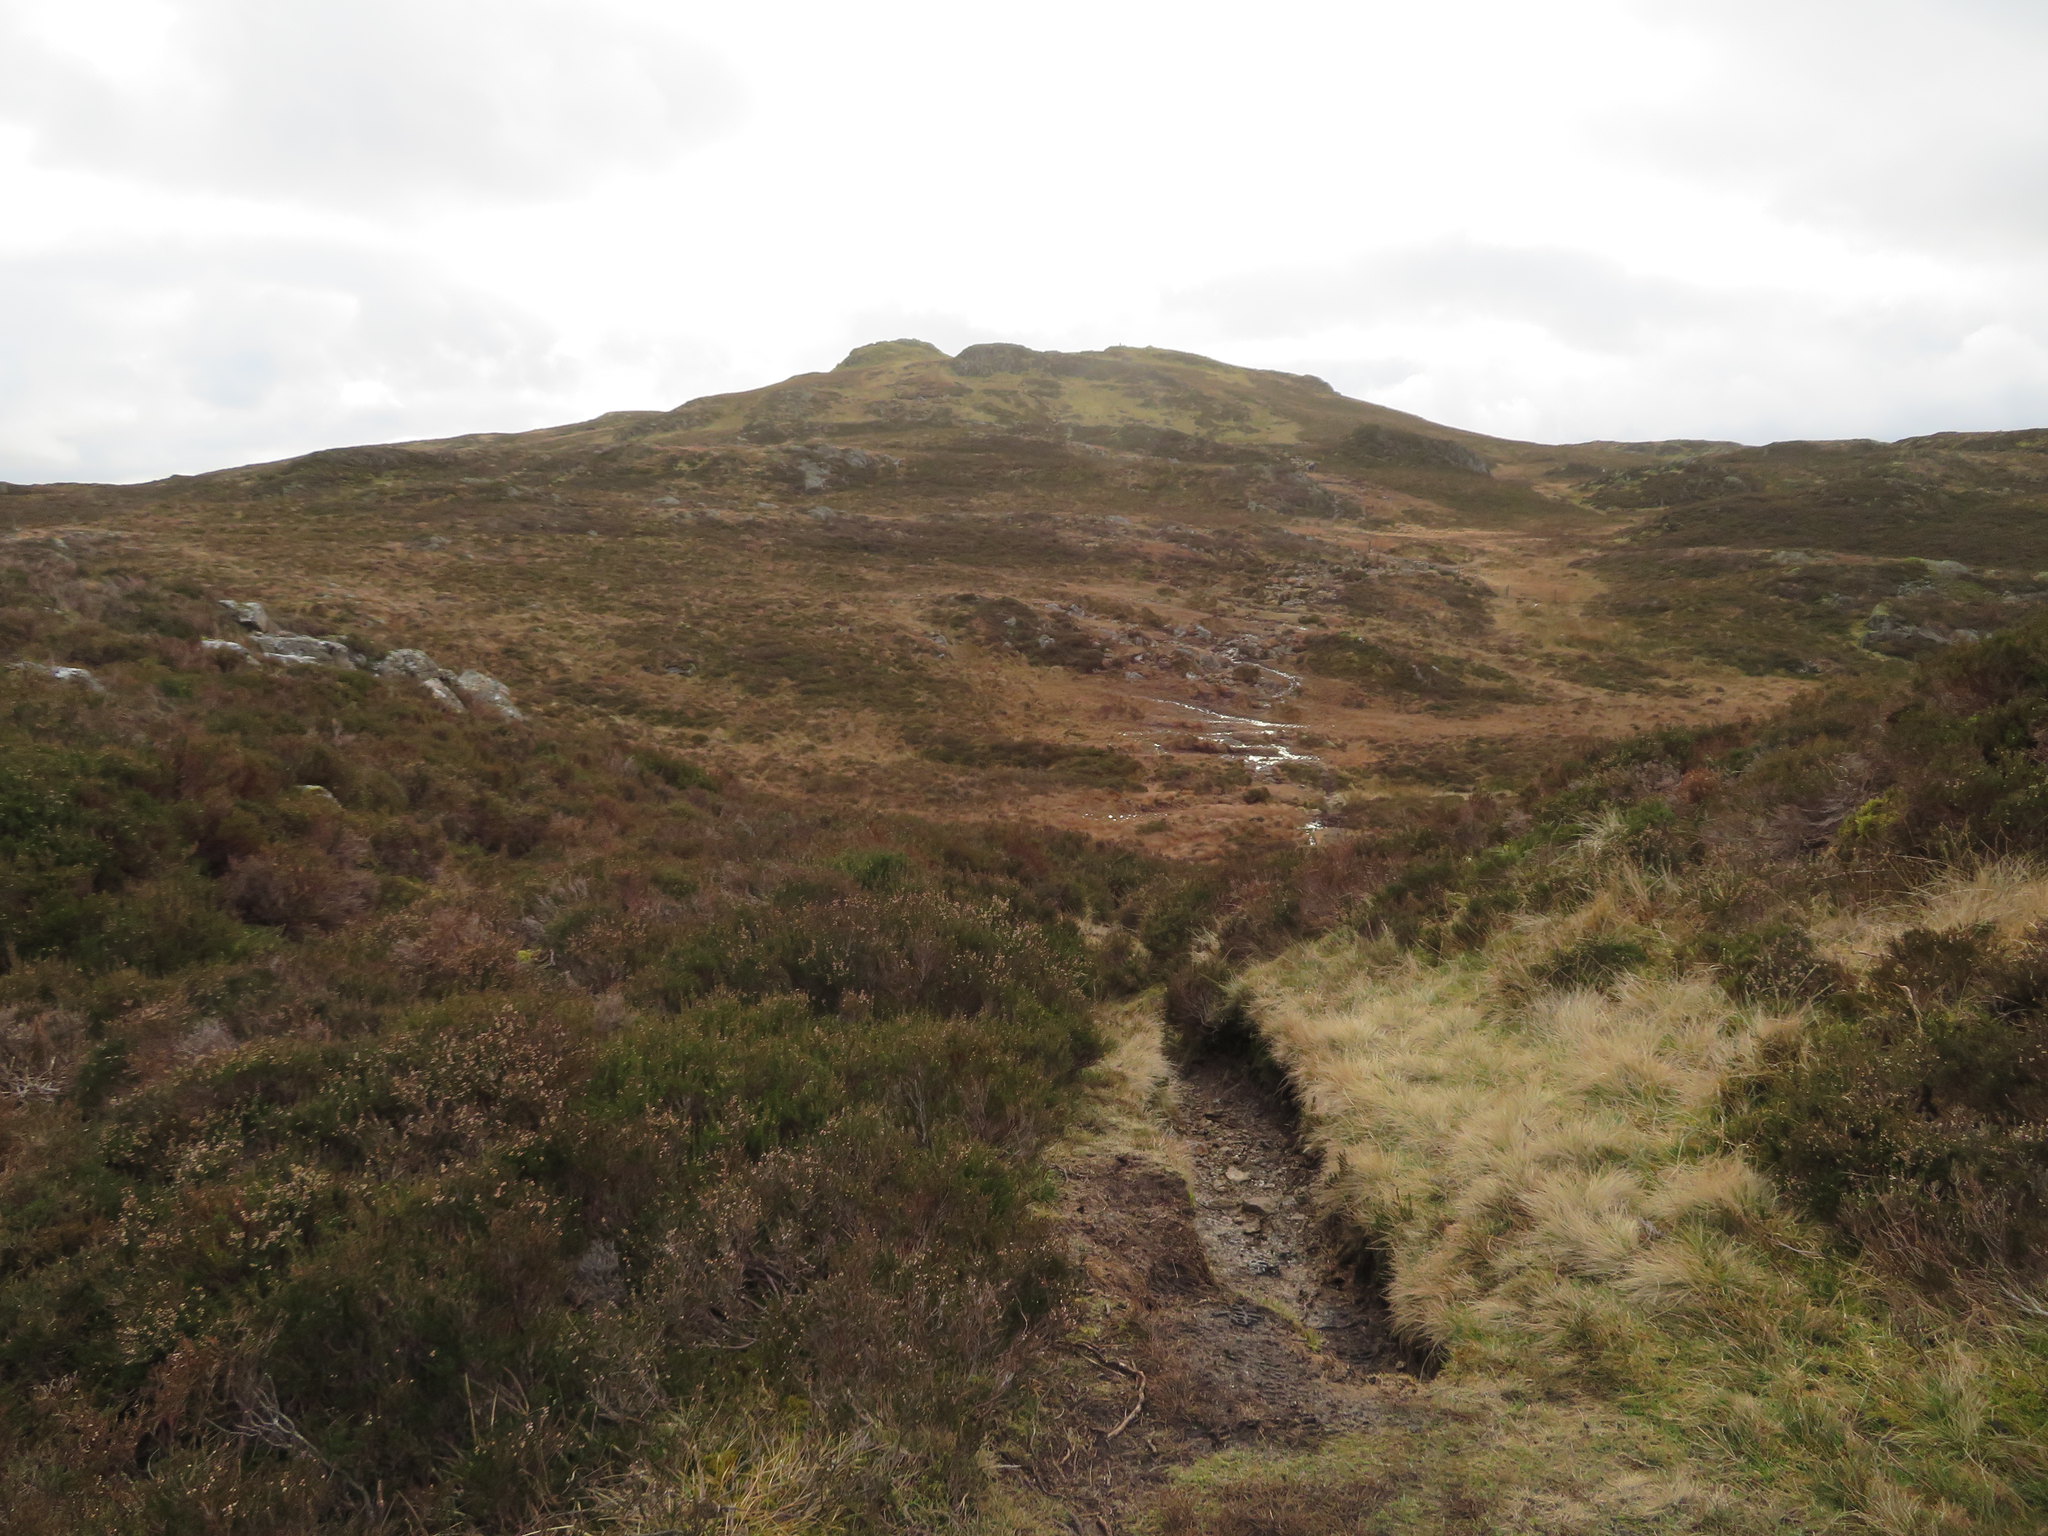
 Start of the climb up Dodd
 to gain the summit of this nasty bit of work that more or less lies midway between Ashness Bridge and High Seat, a little teaser to climb from the easier section of path to the next one above Dodd. Fifteen minutes and a few drops of sweat later we were stood on the top by the fairly substantial cairn from where the views are very good indeed, or would have been but for the cloud that had dropped significantly lower since we had set off.
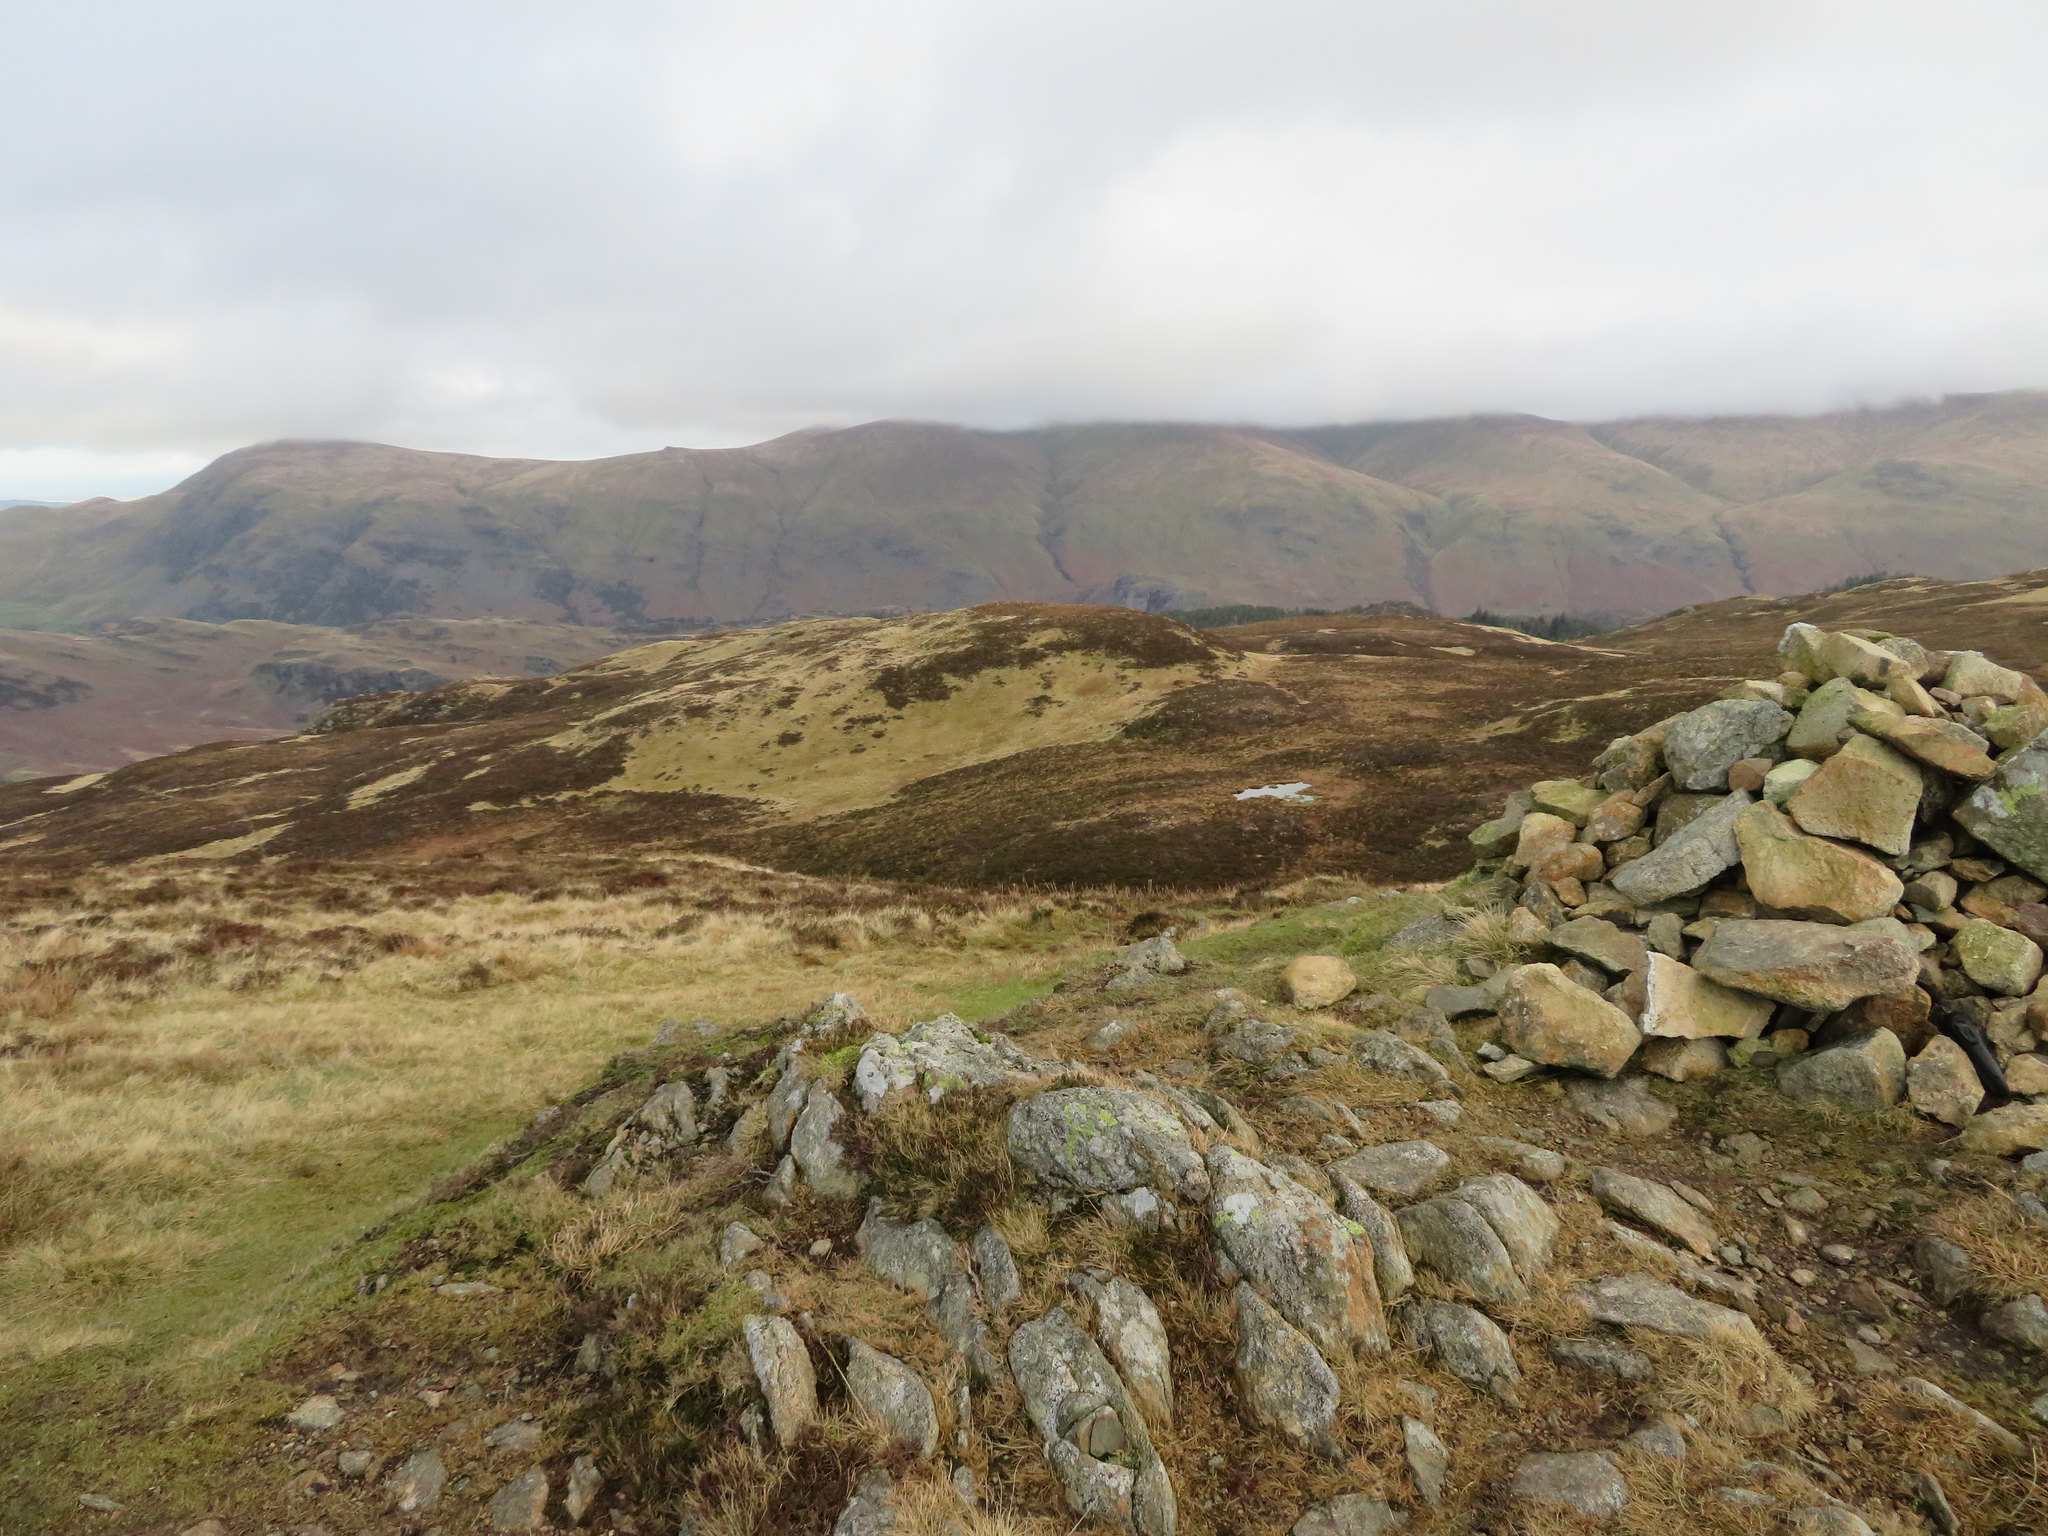
 Low cloud over Skiddaw
 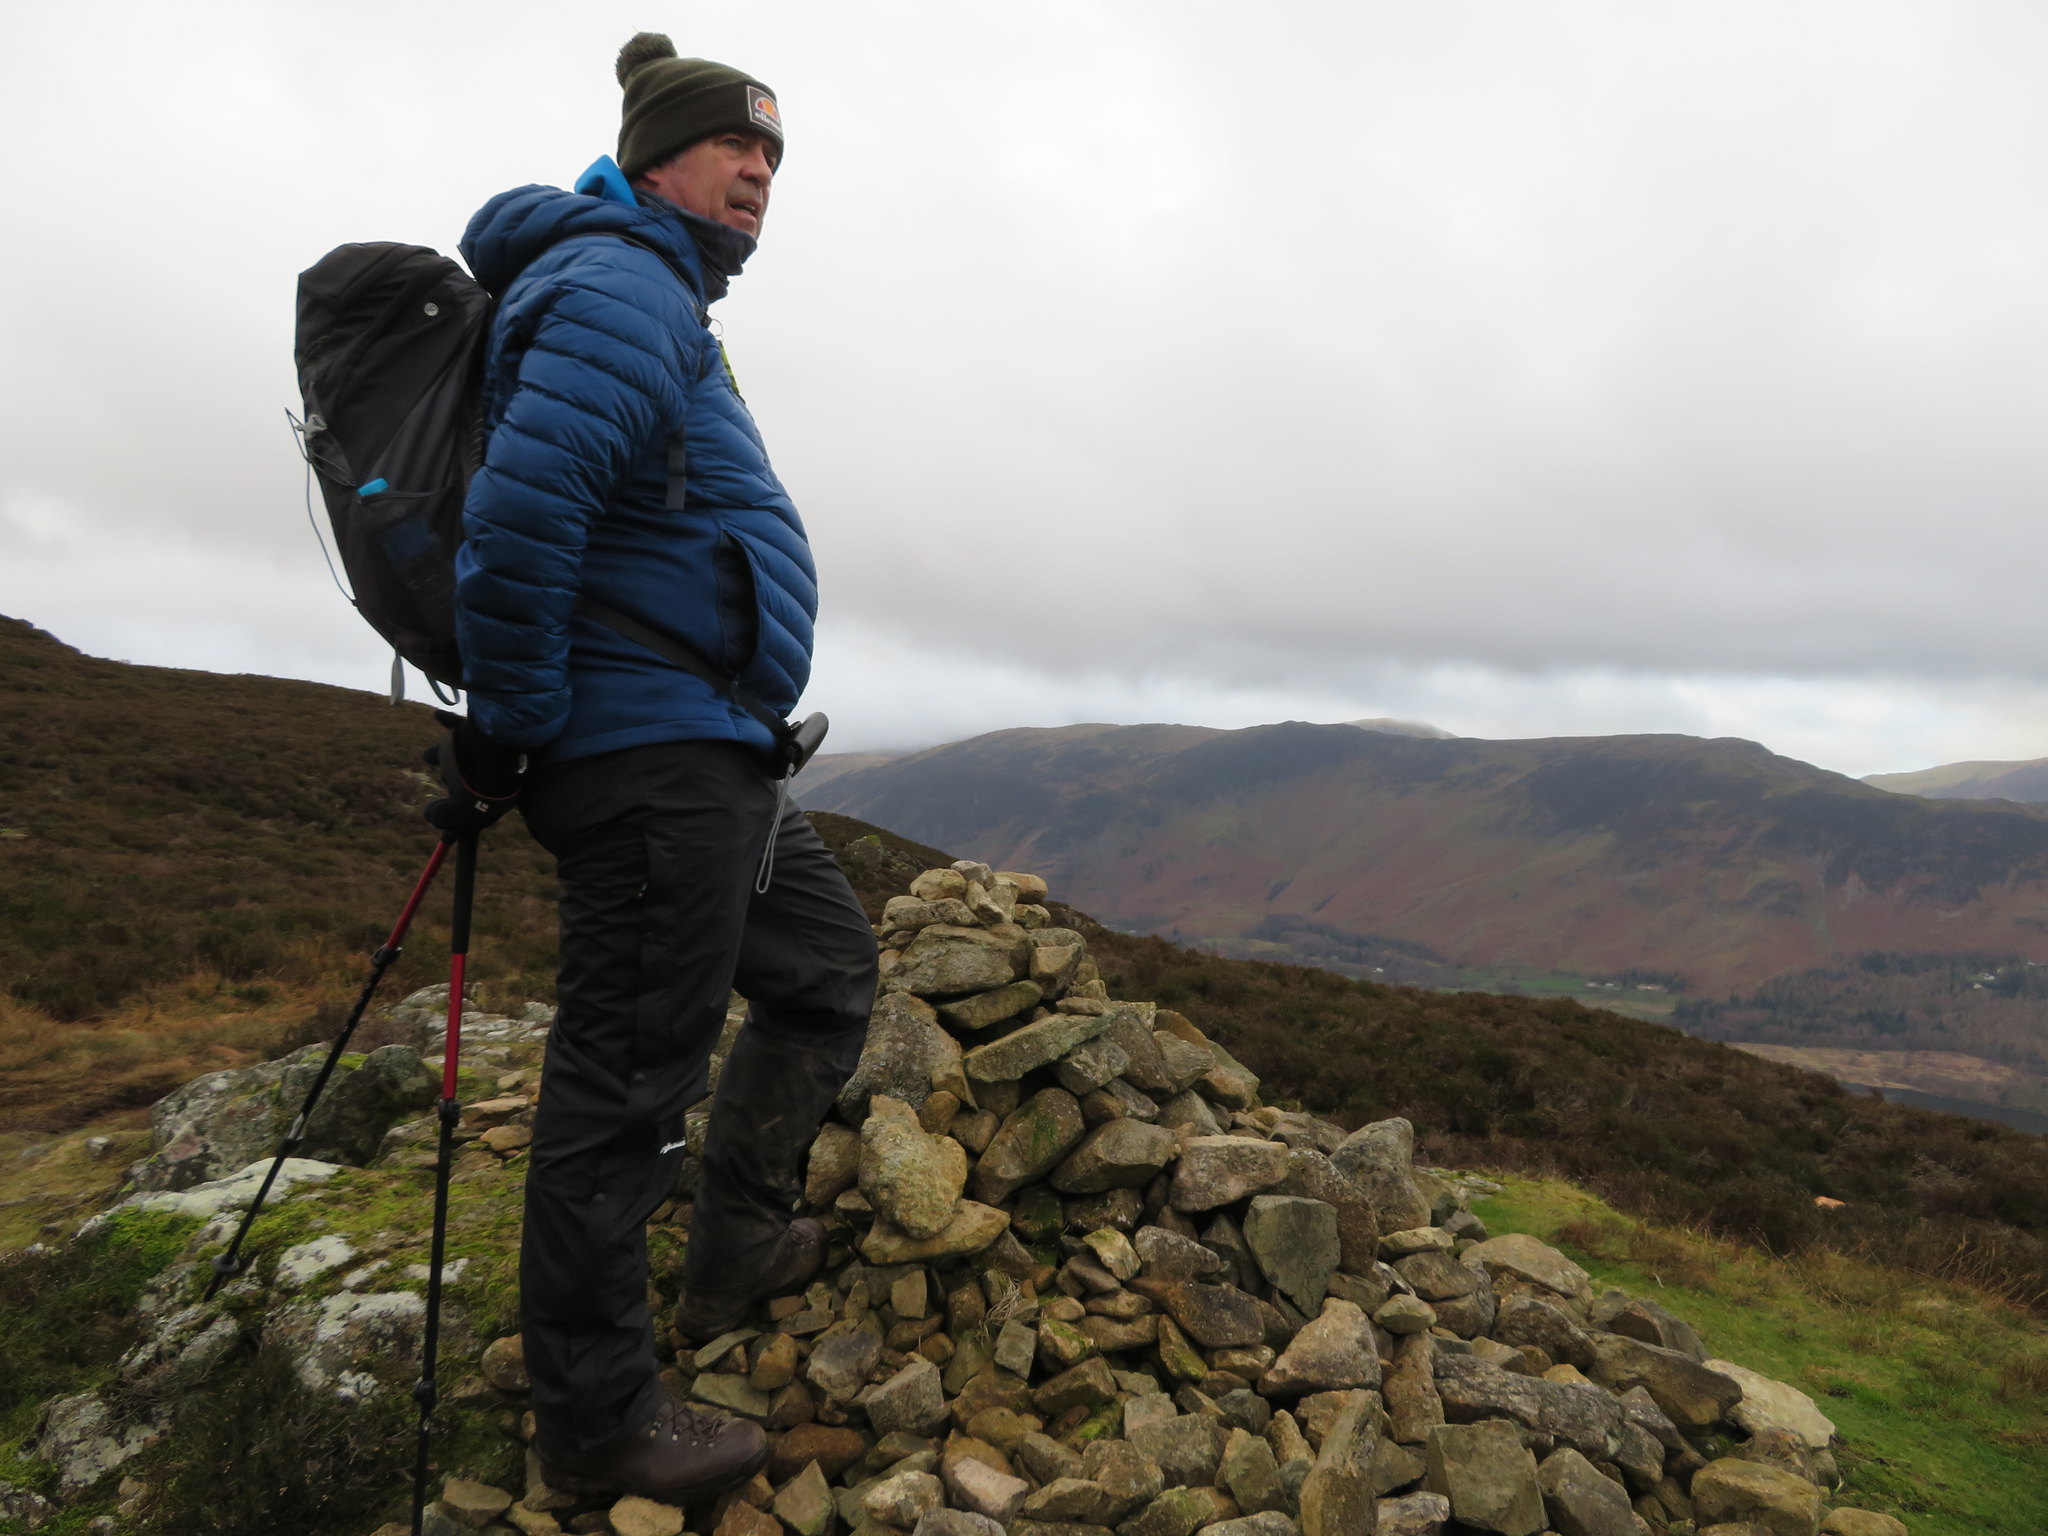 Maiden Moor - High Spy and Dale Head from Dodd
I was glad that this first, and worst, of the climbing was over as it had taken its toll of Chris's resources, but the going is a lot easier from this point and it wouldn't be long, or far, to the place where we would have a long break and get some food and drink in us.
As we swung around to enjoy what views were available the massive bulk of the Skiddaw range was half buried in a bank of cloud that ran its full length and then all the way on to do the same with Blencathra.
 Skiddaw and Blencathra under cloud behind Brown Knotts
 Of the three of us on this walk Sonny is the one with the most energy, he never stopped running up and down, round and about. You ever hated a dog!
A bit more to the northwest was this.
 A sunlit northwest from Dodd
 Leaving this place of delightful views we now continued on a more user friendly path that now gently rises and runs through the heather for a while and after about another 15 minutes or so we could now see into the Jaws of Borrowdale.
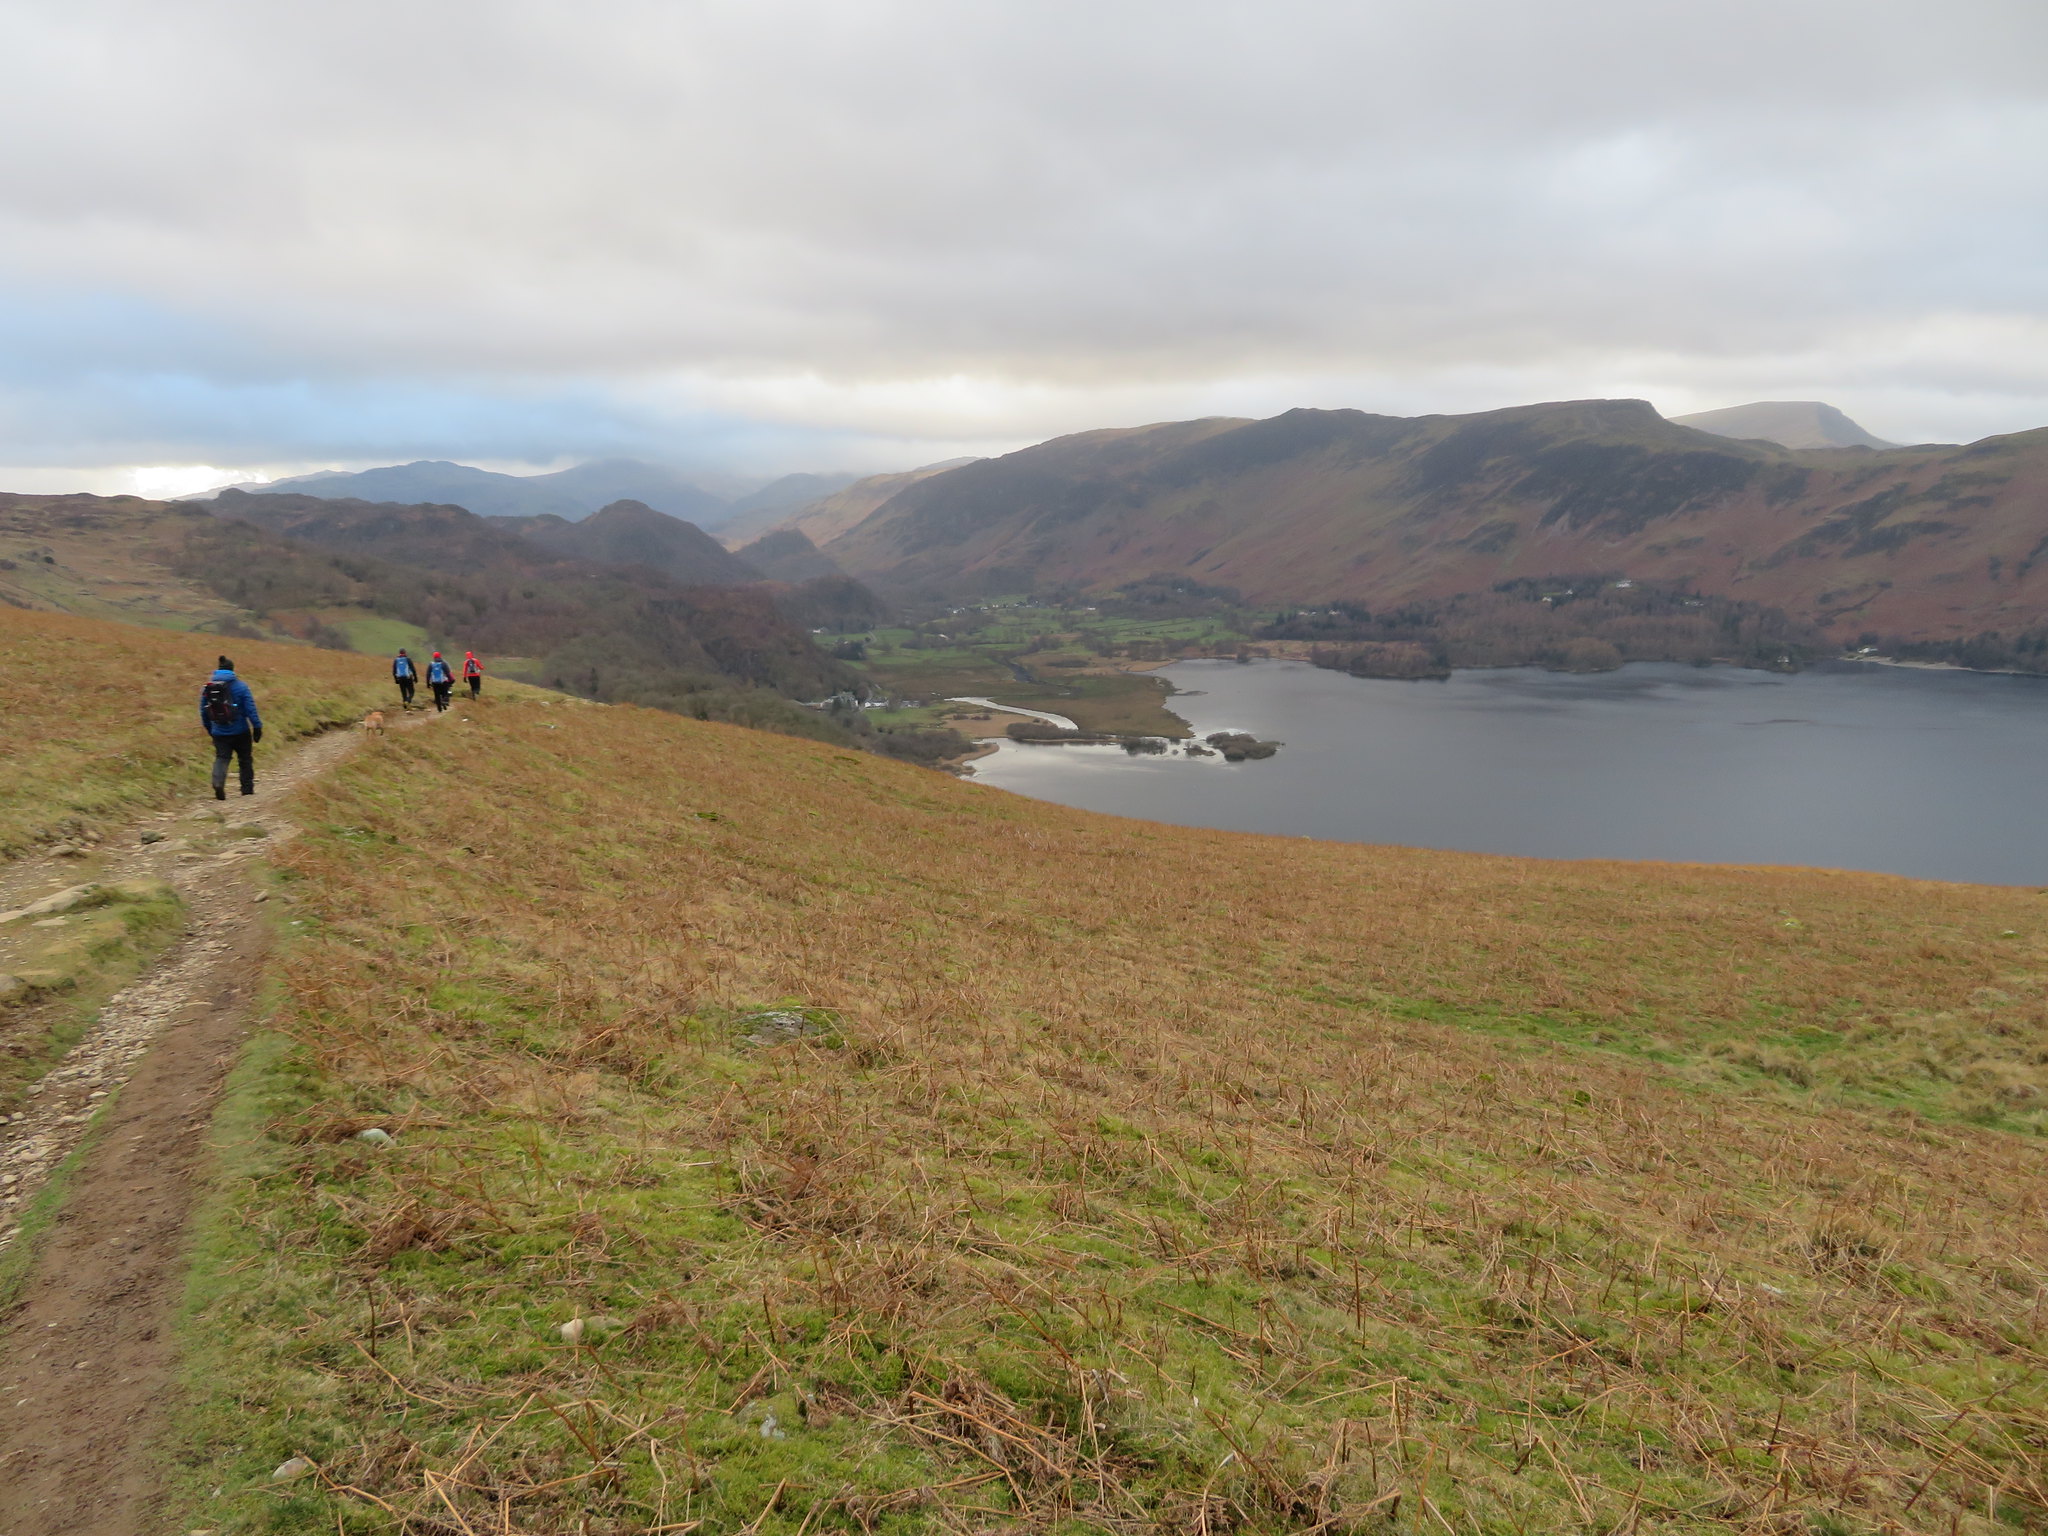
 Maiden Moor behind Borrowdale with King's How and Great Crag to the left
 A couple more minutes saw us looking at High Seat and our place of residence for a well earned break.
 Time for a break
 After a decent break of around 20 minutes we were off again to leave the path of grass to soon pick up the section of well made up path that lies between the start of this firm stretch and its termination at the start of the wide soft area that runs all the way to the foot of the easy climb to High Seat where it then returns to a well made up path of stone.
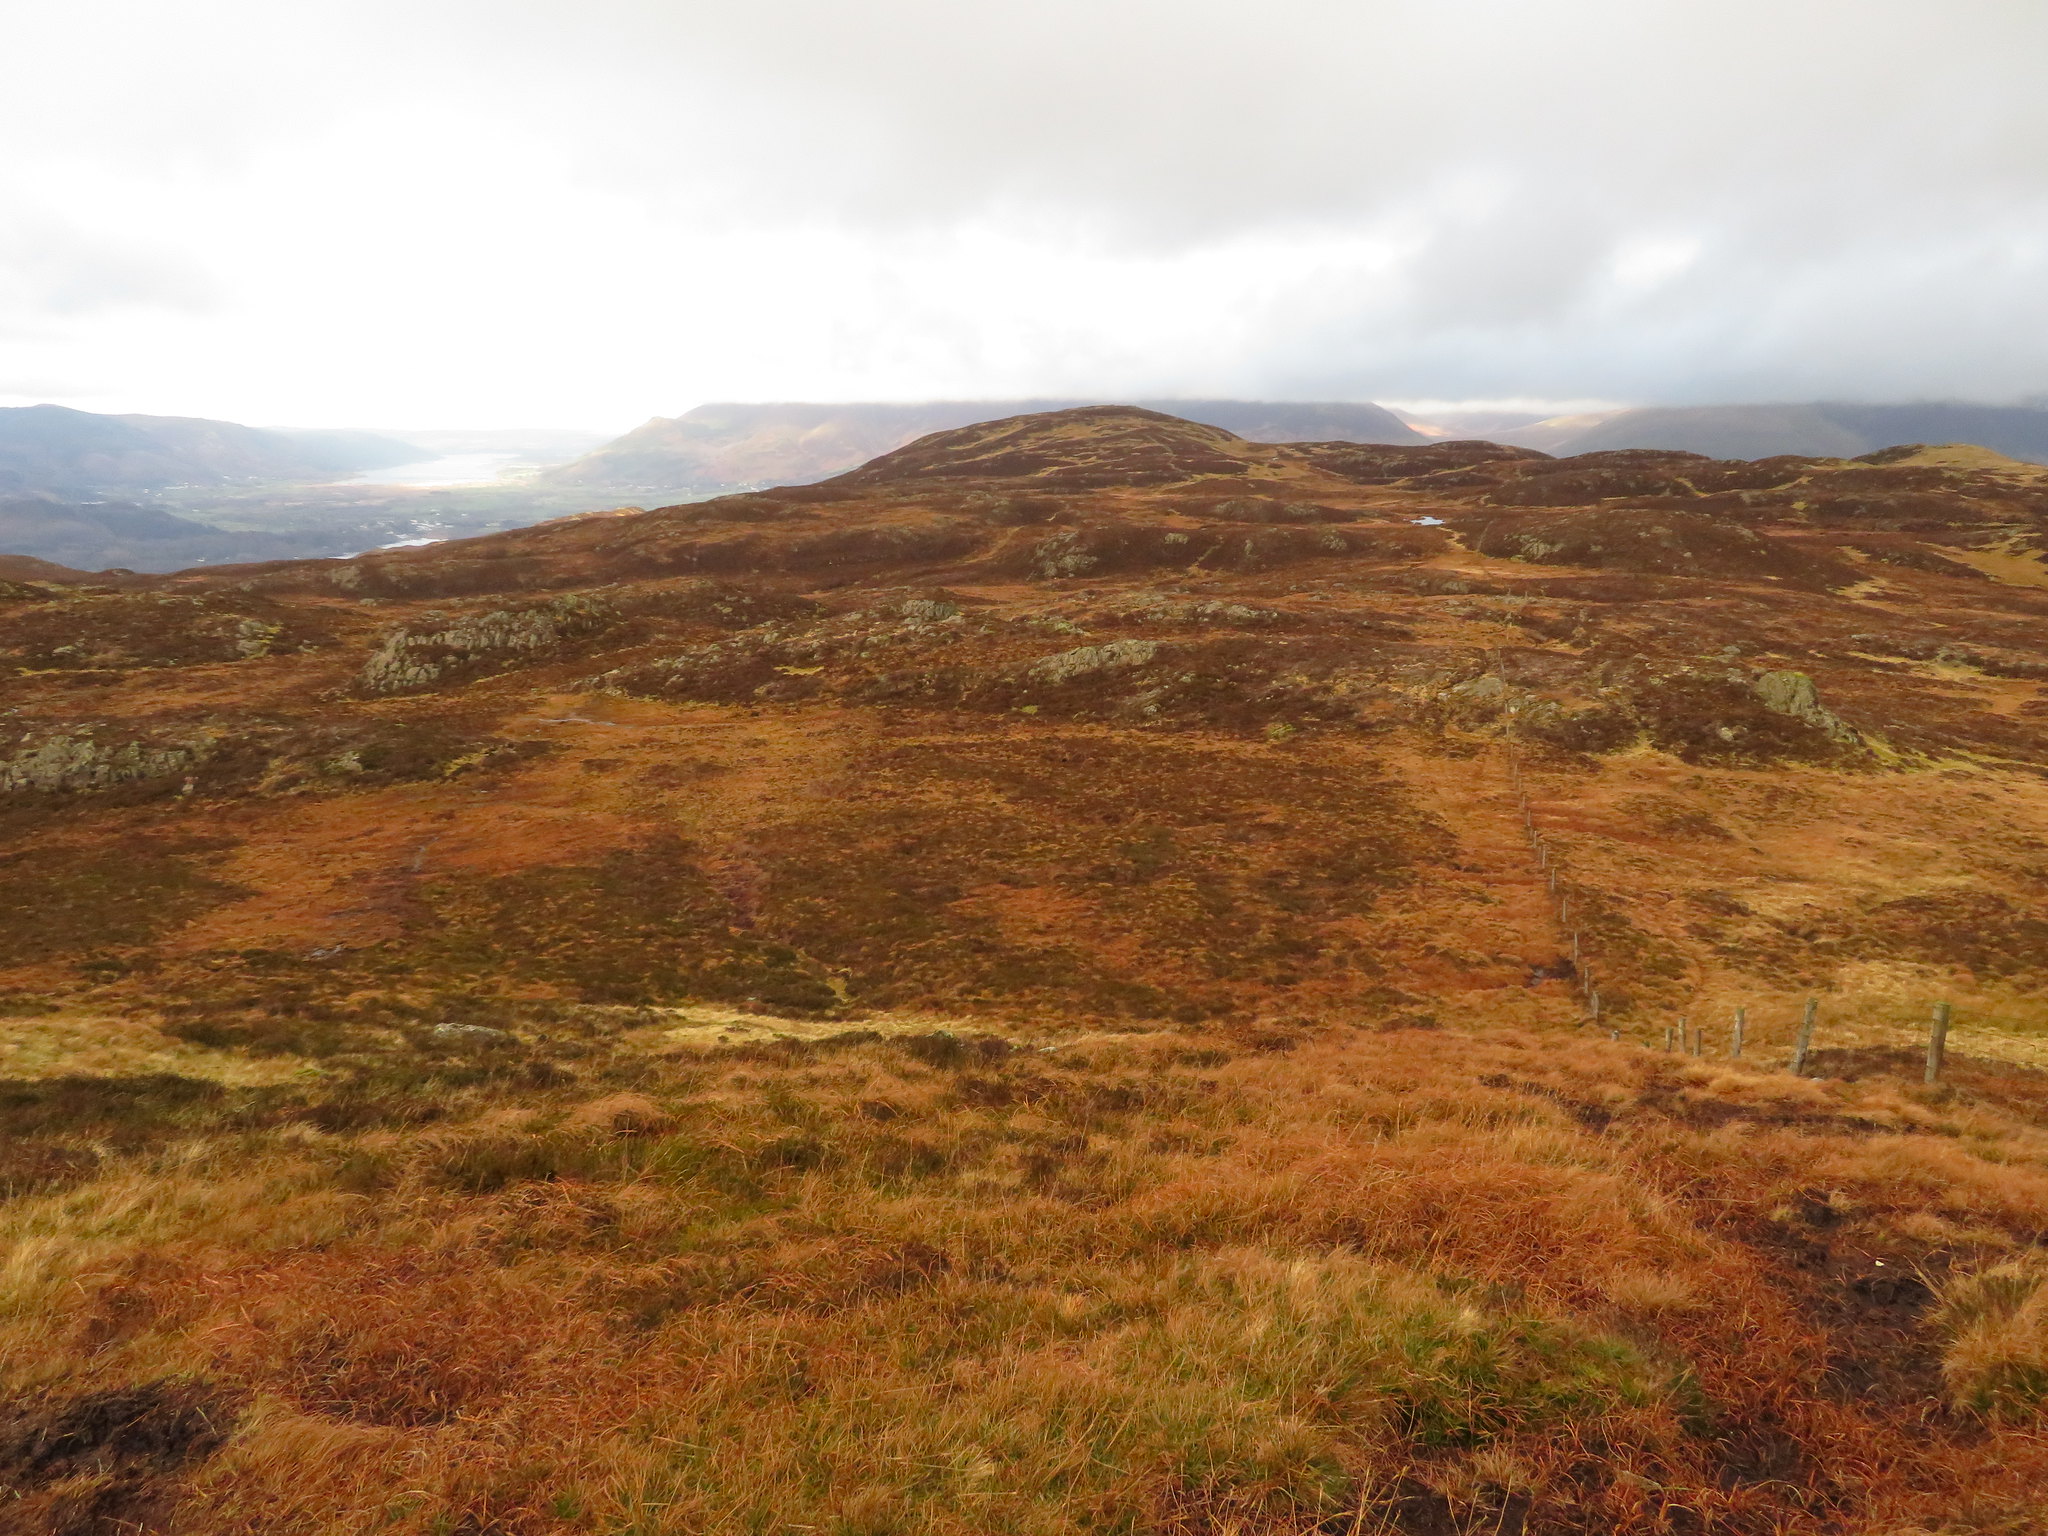
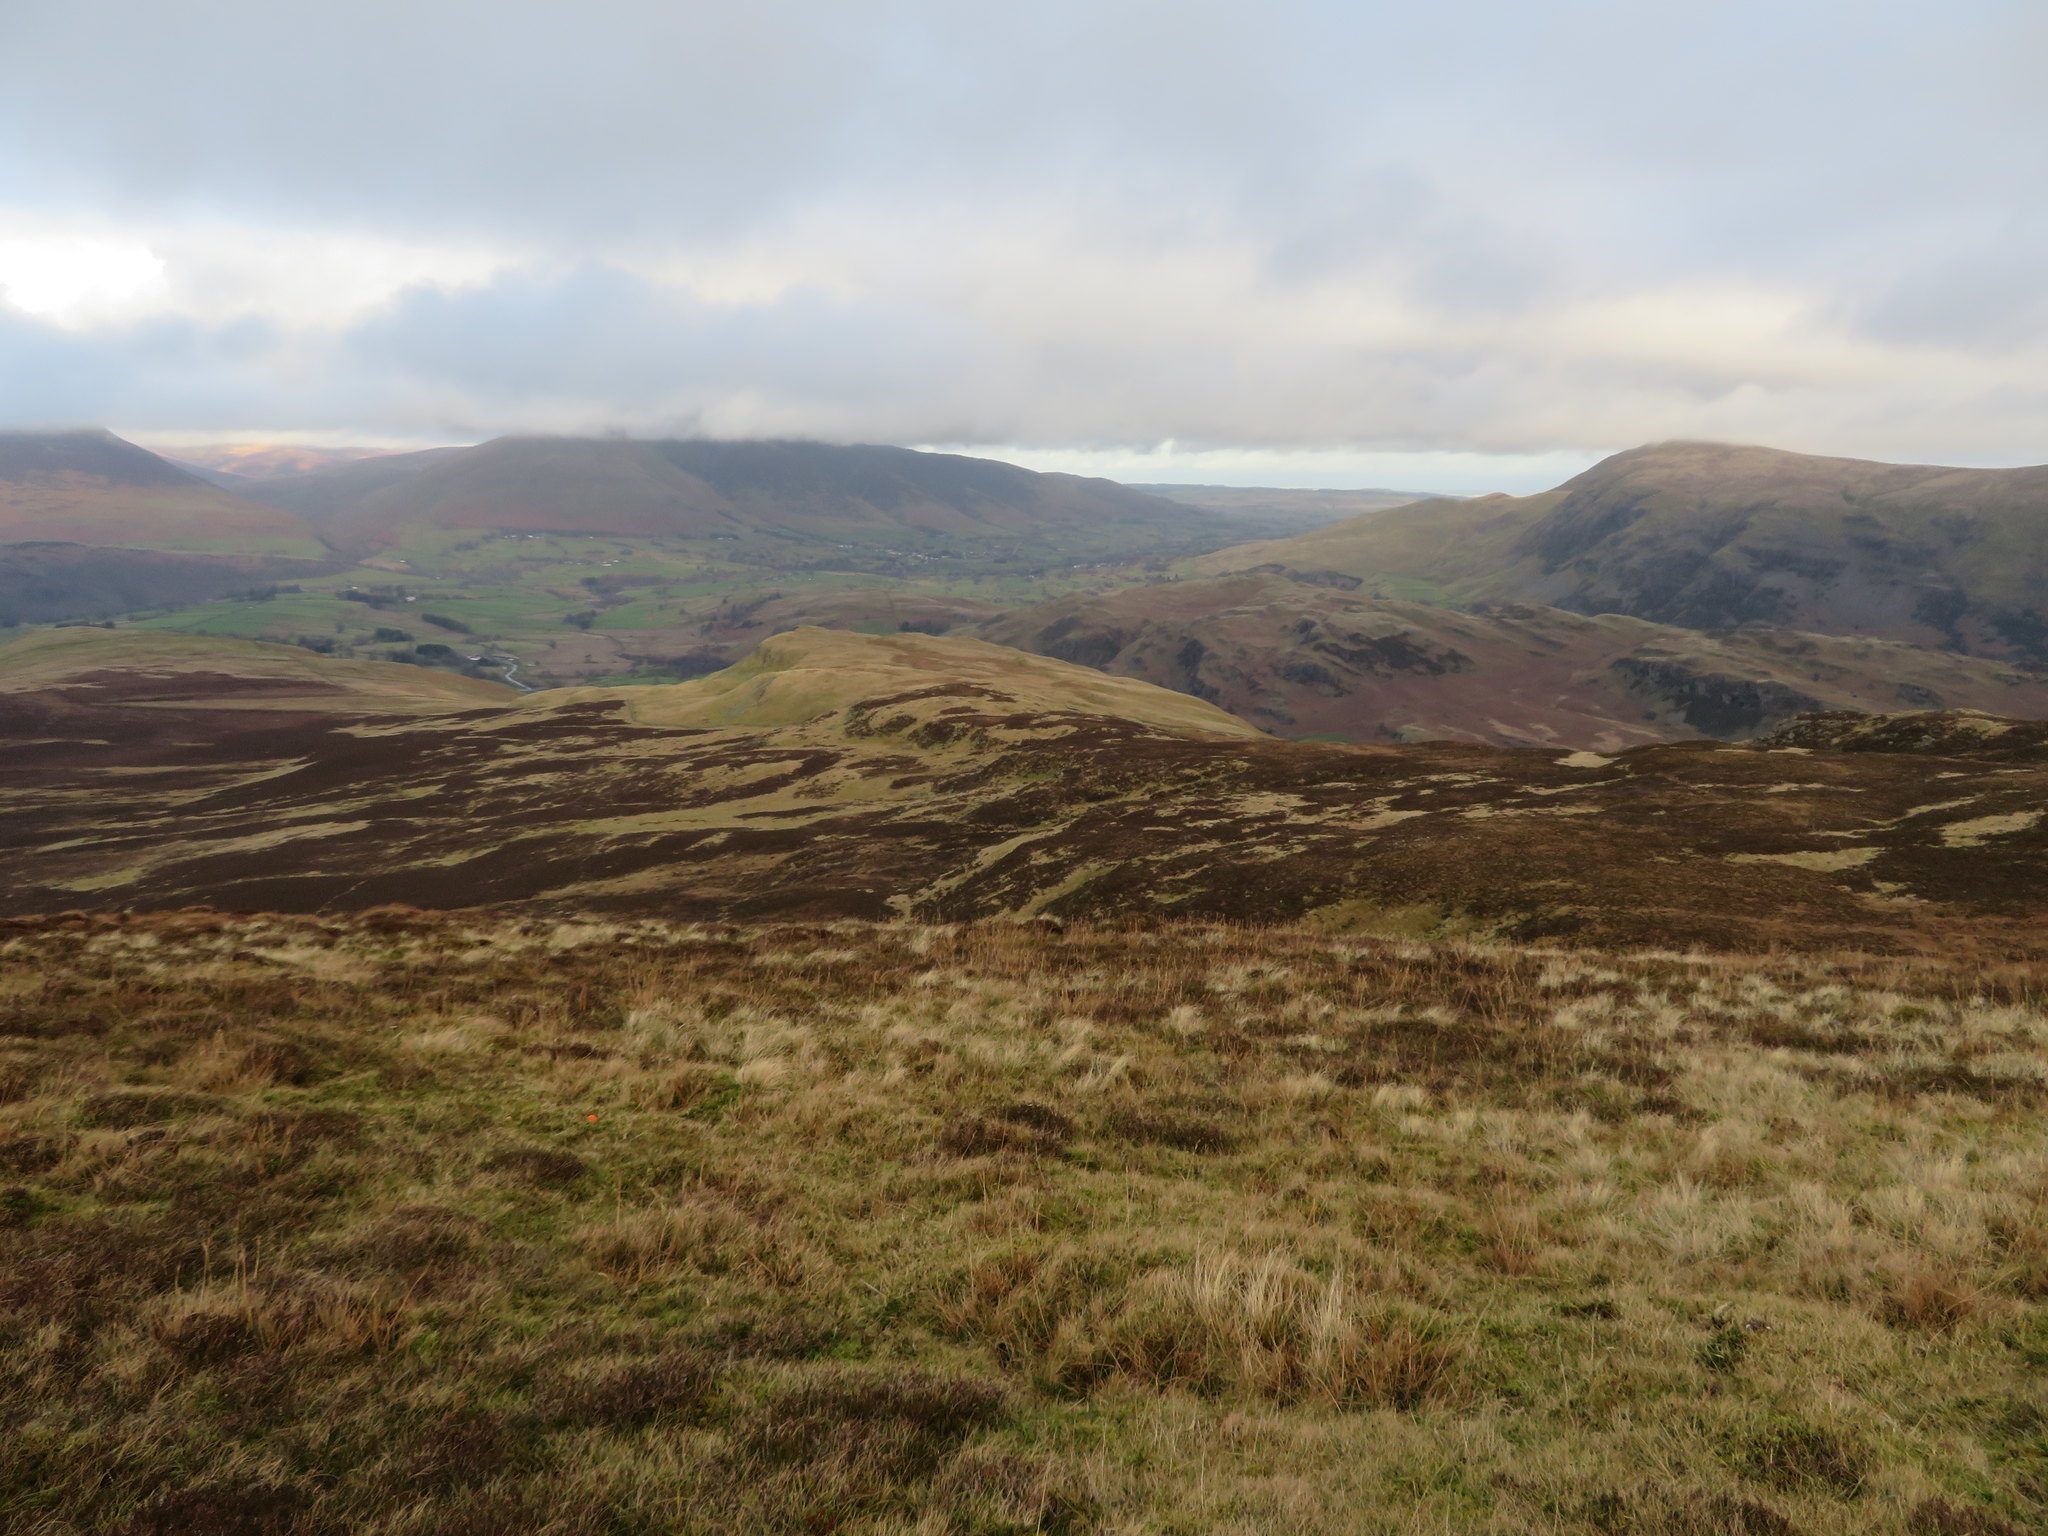
 A view northwest over Dodd to Bassenthwaite
A good view of our second hill was to be seen over to the north…
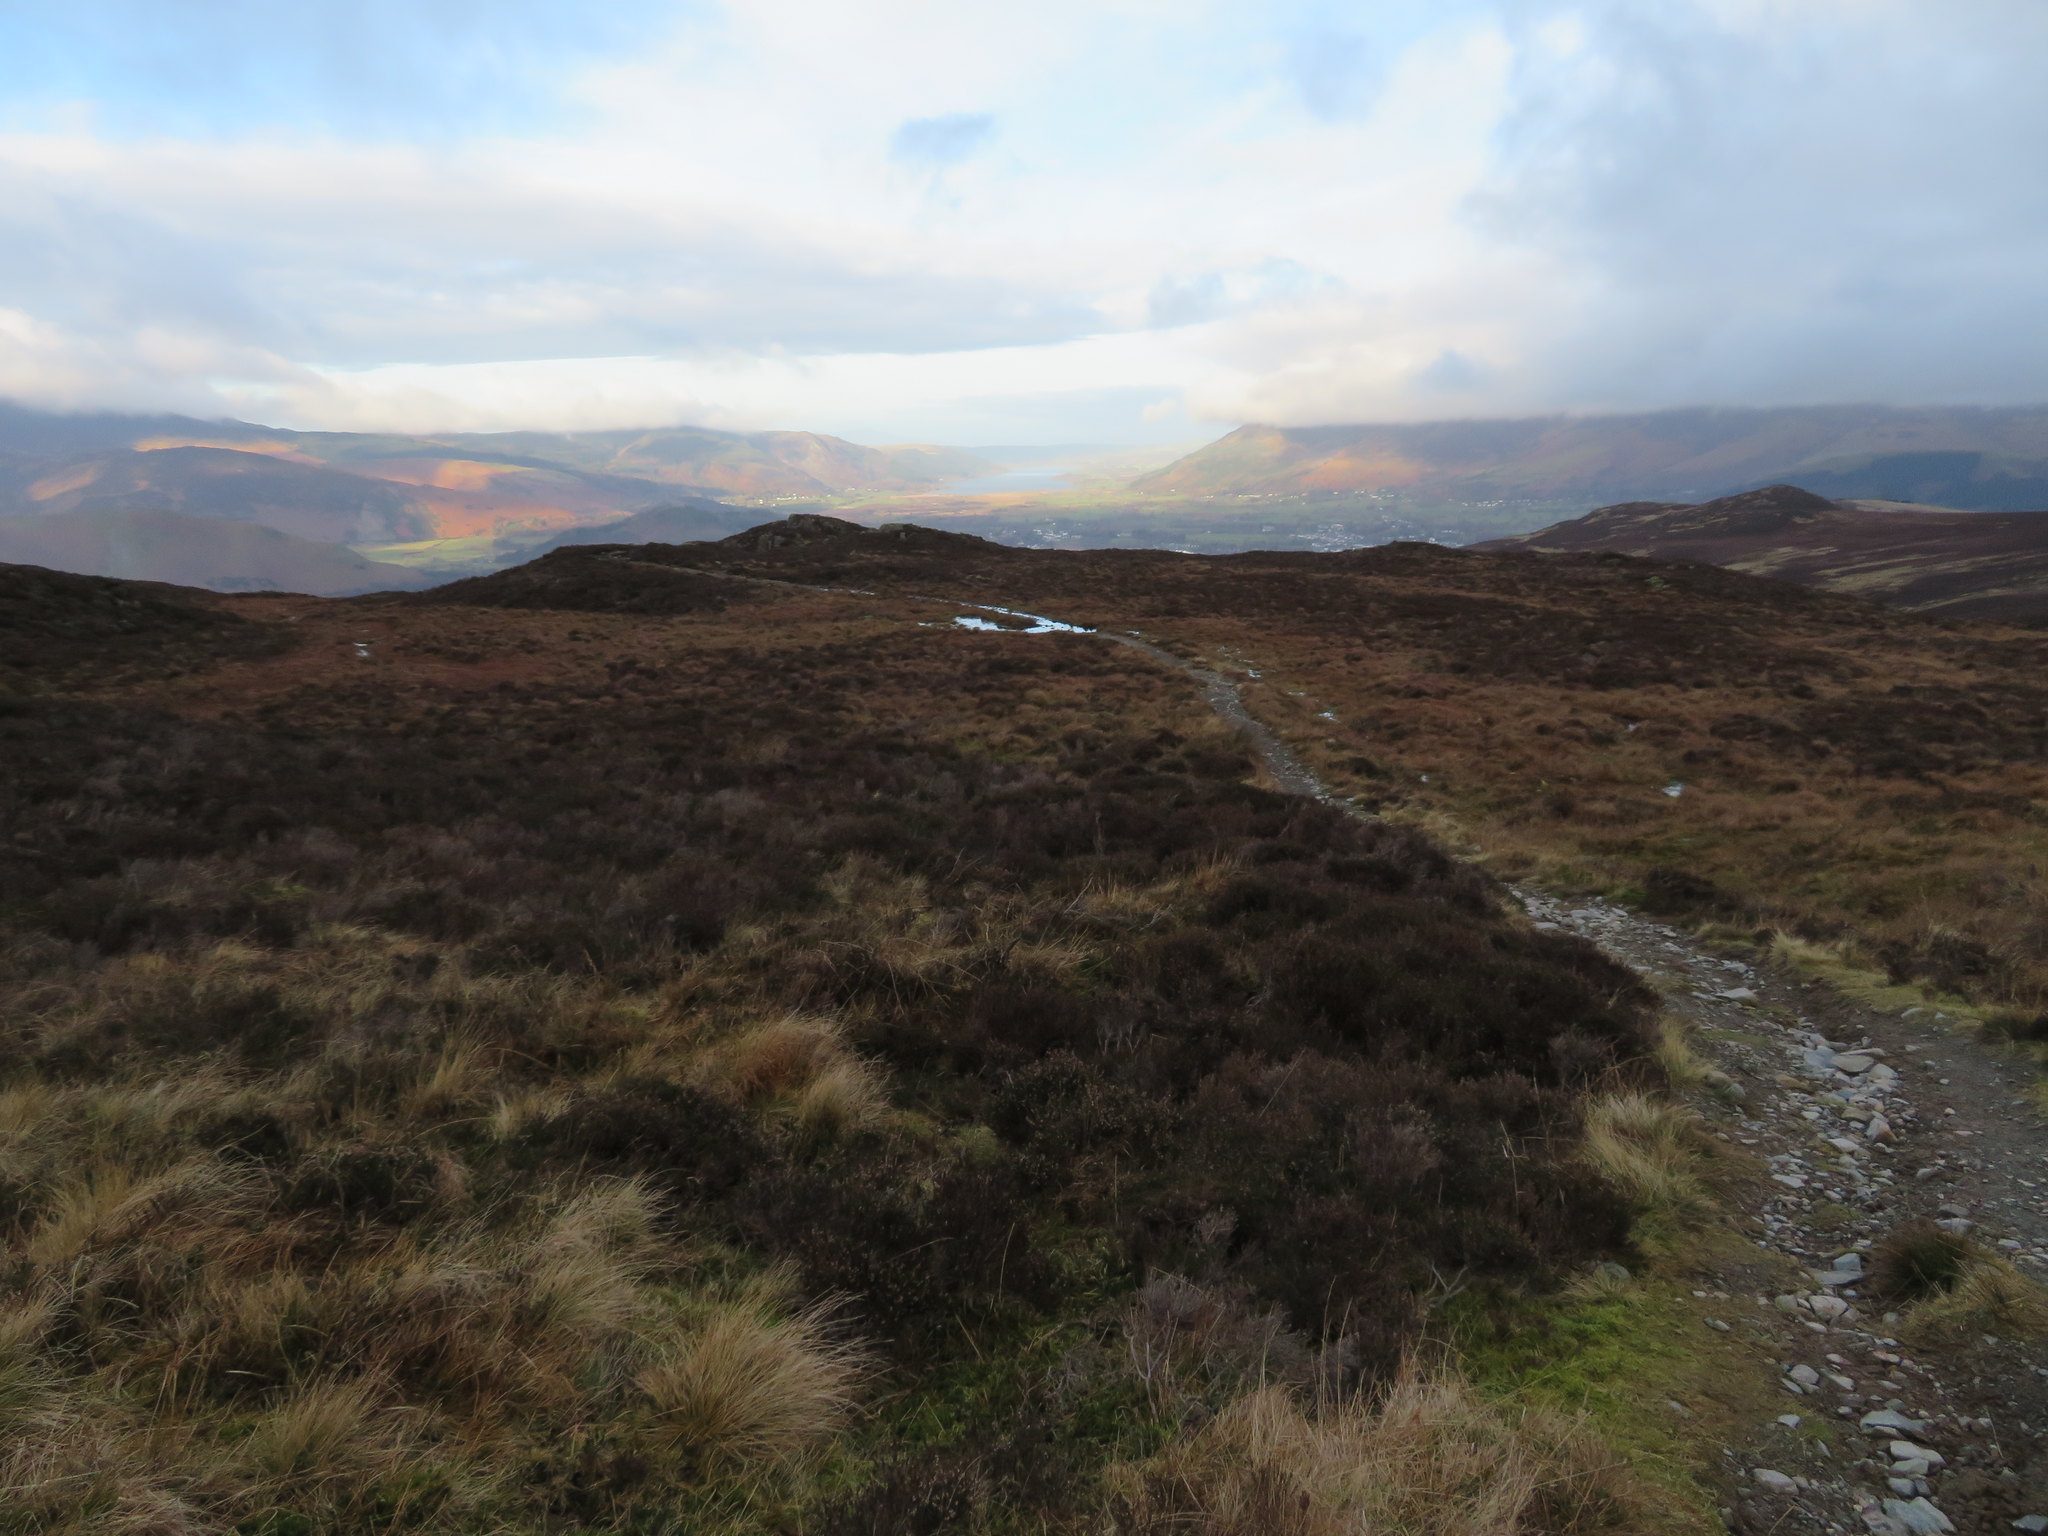
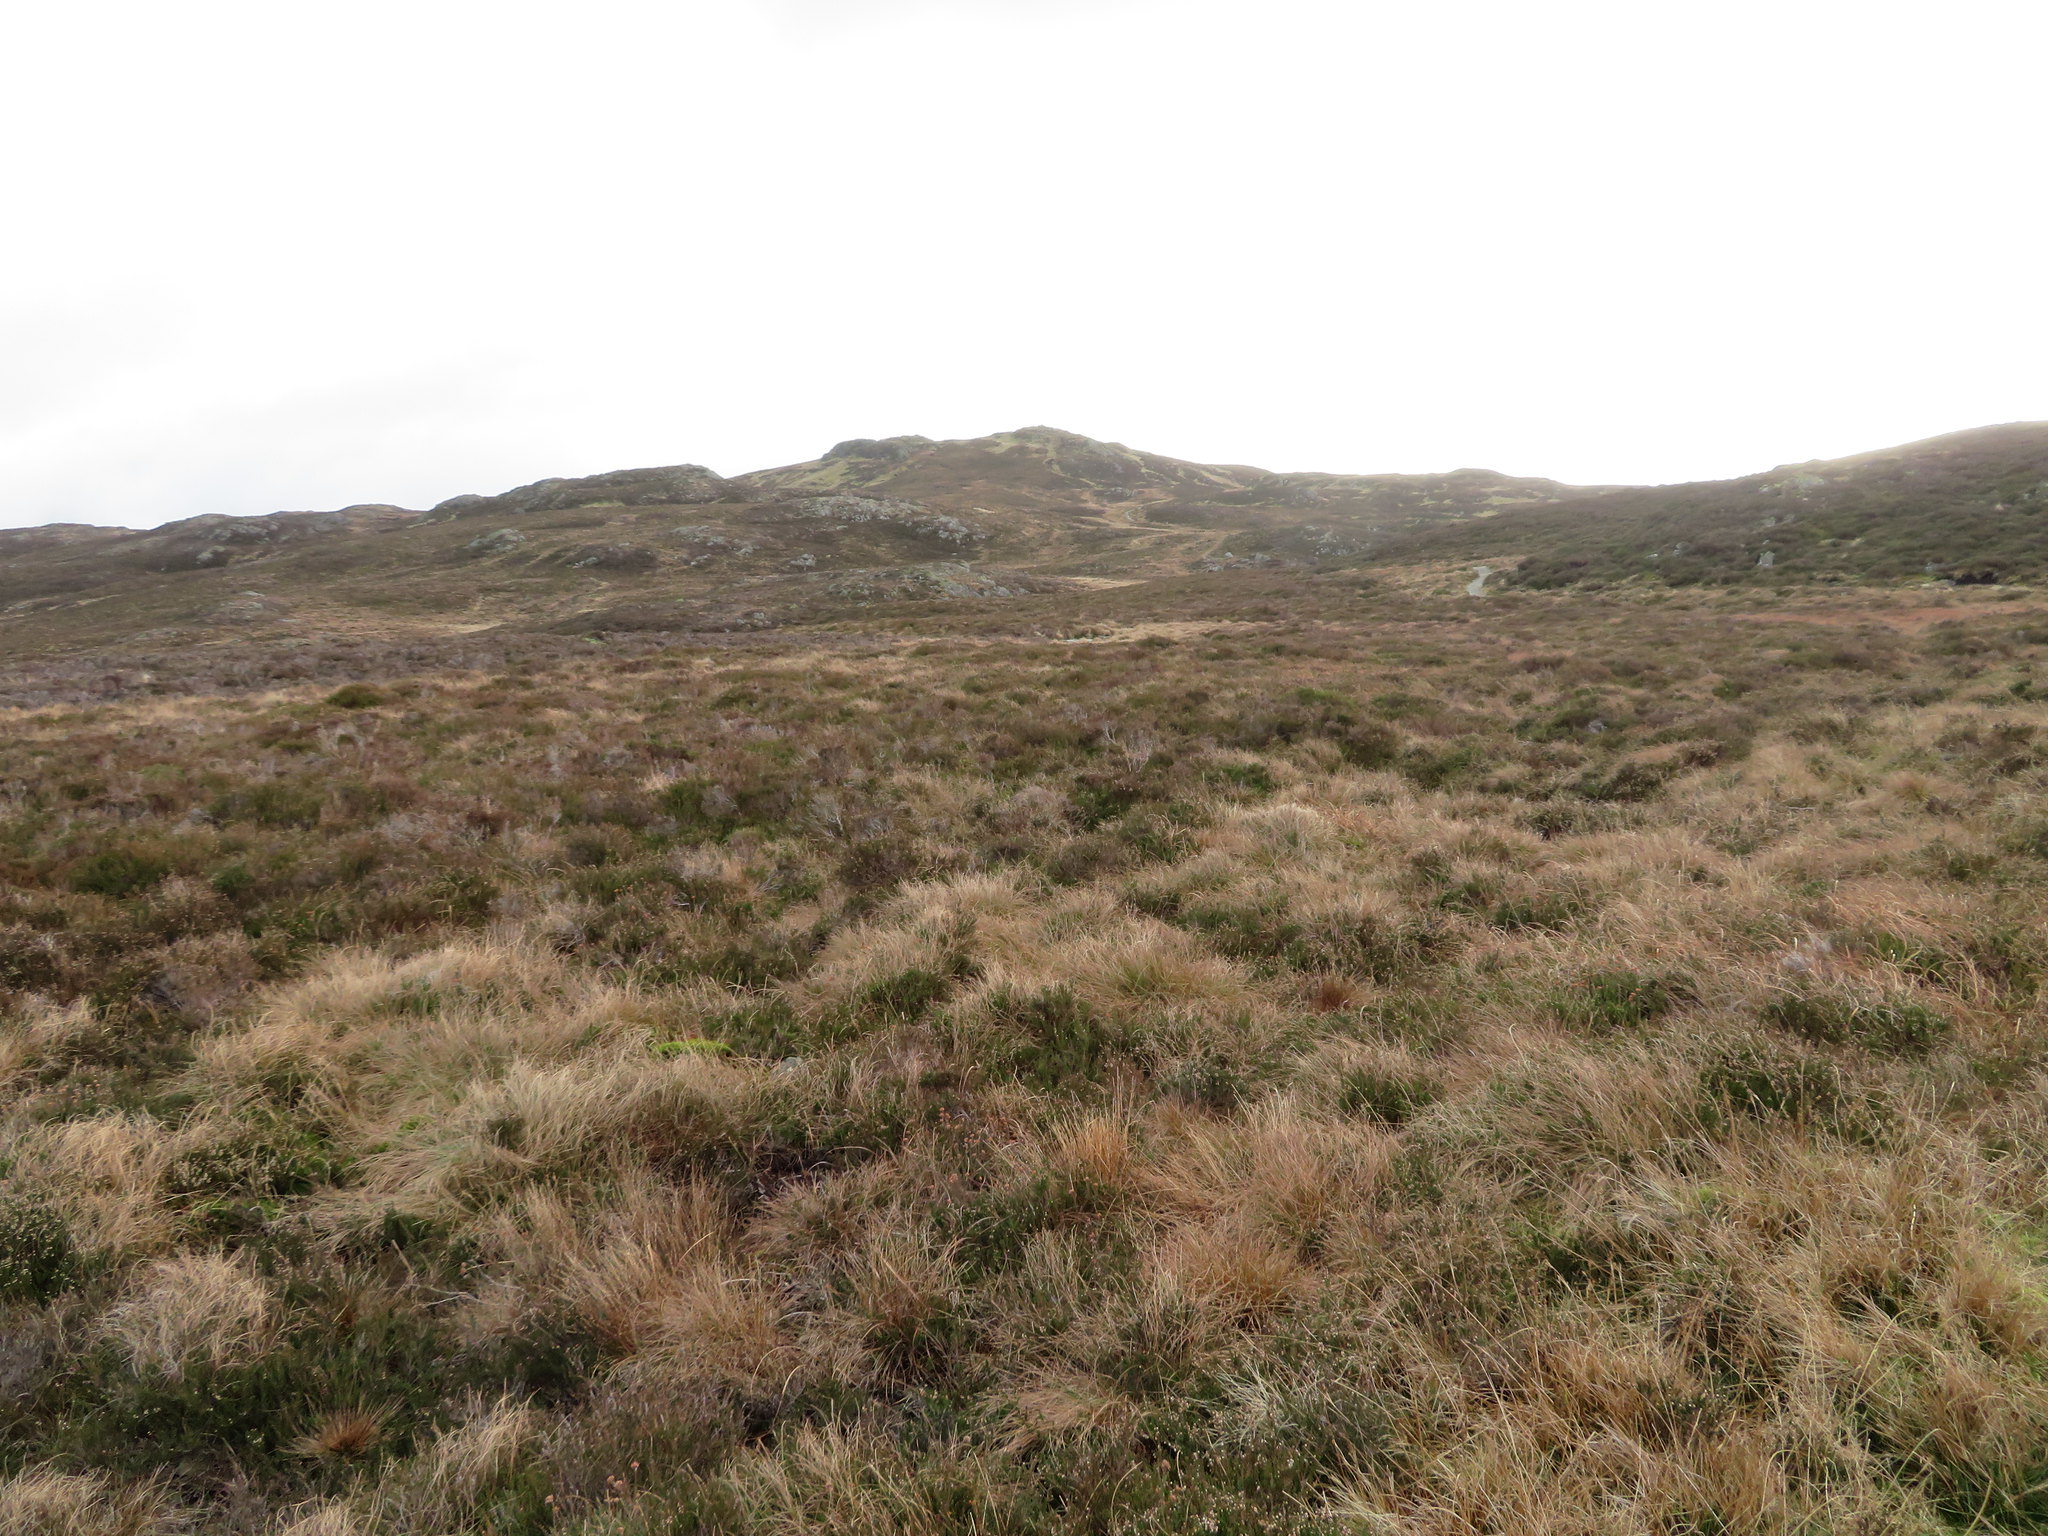
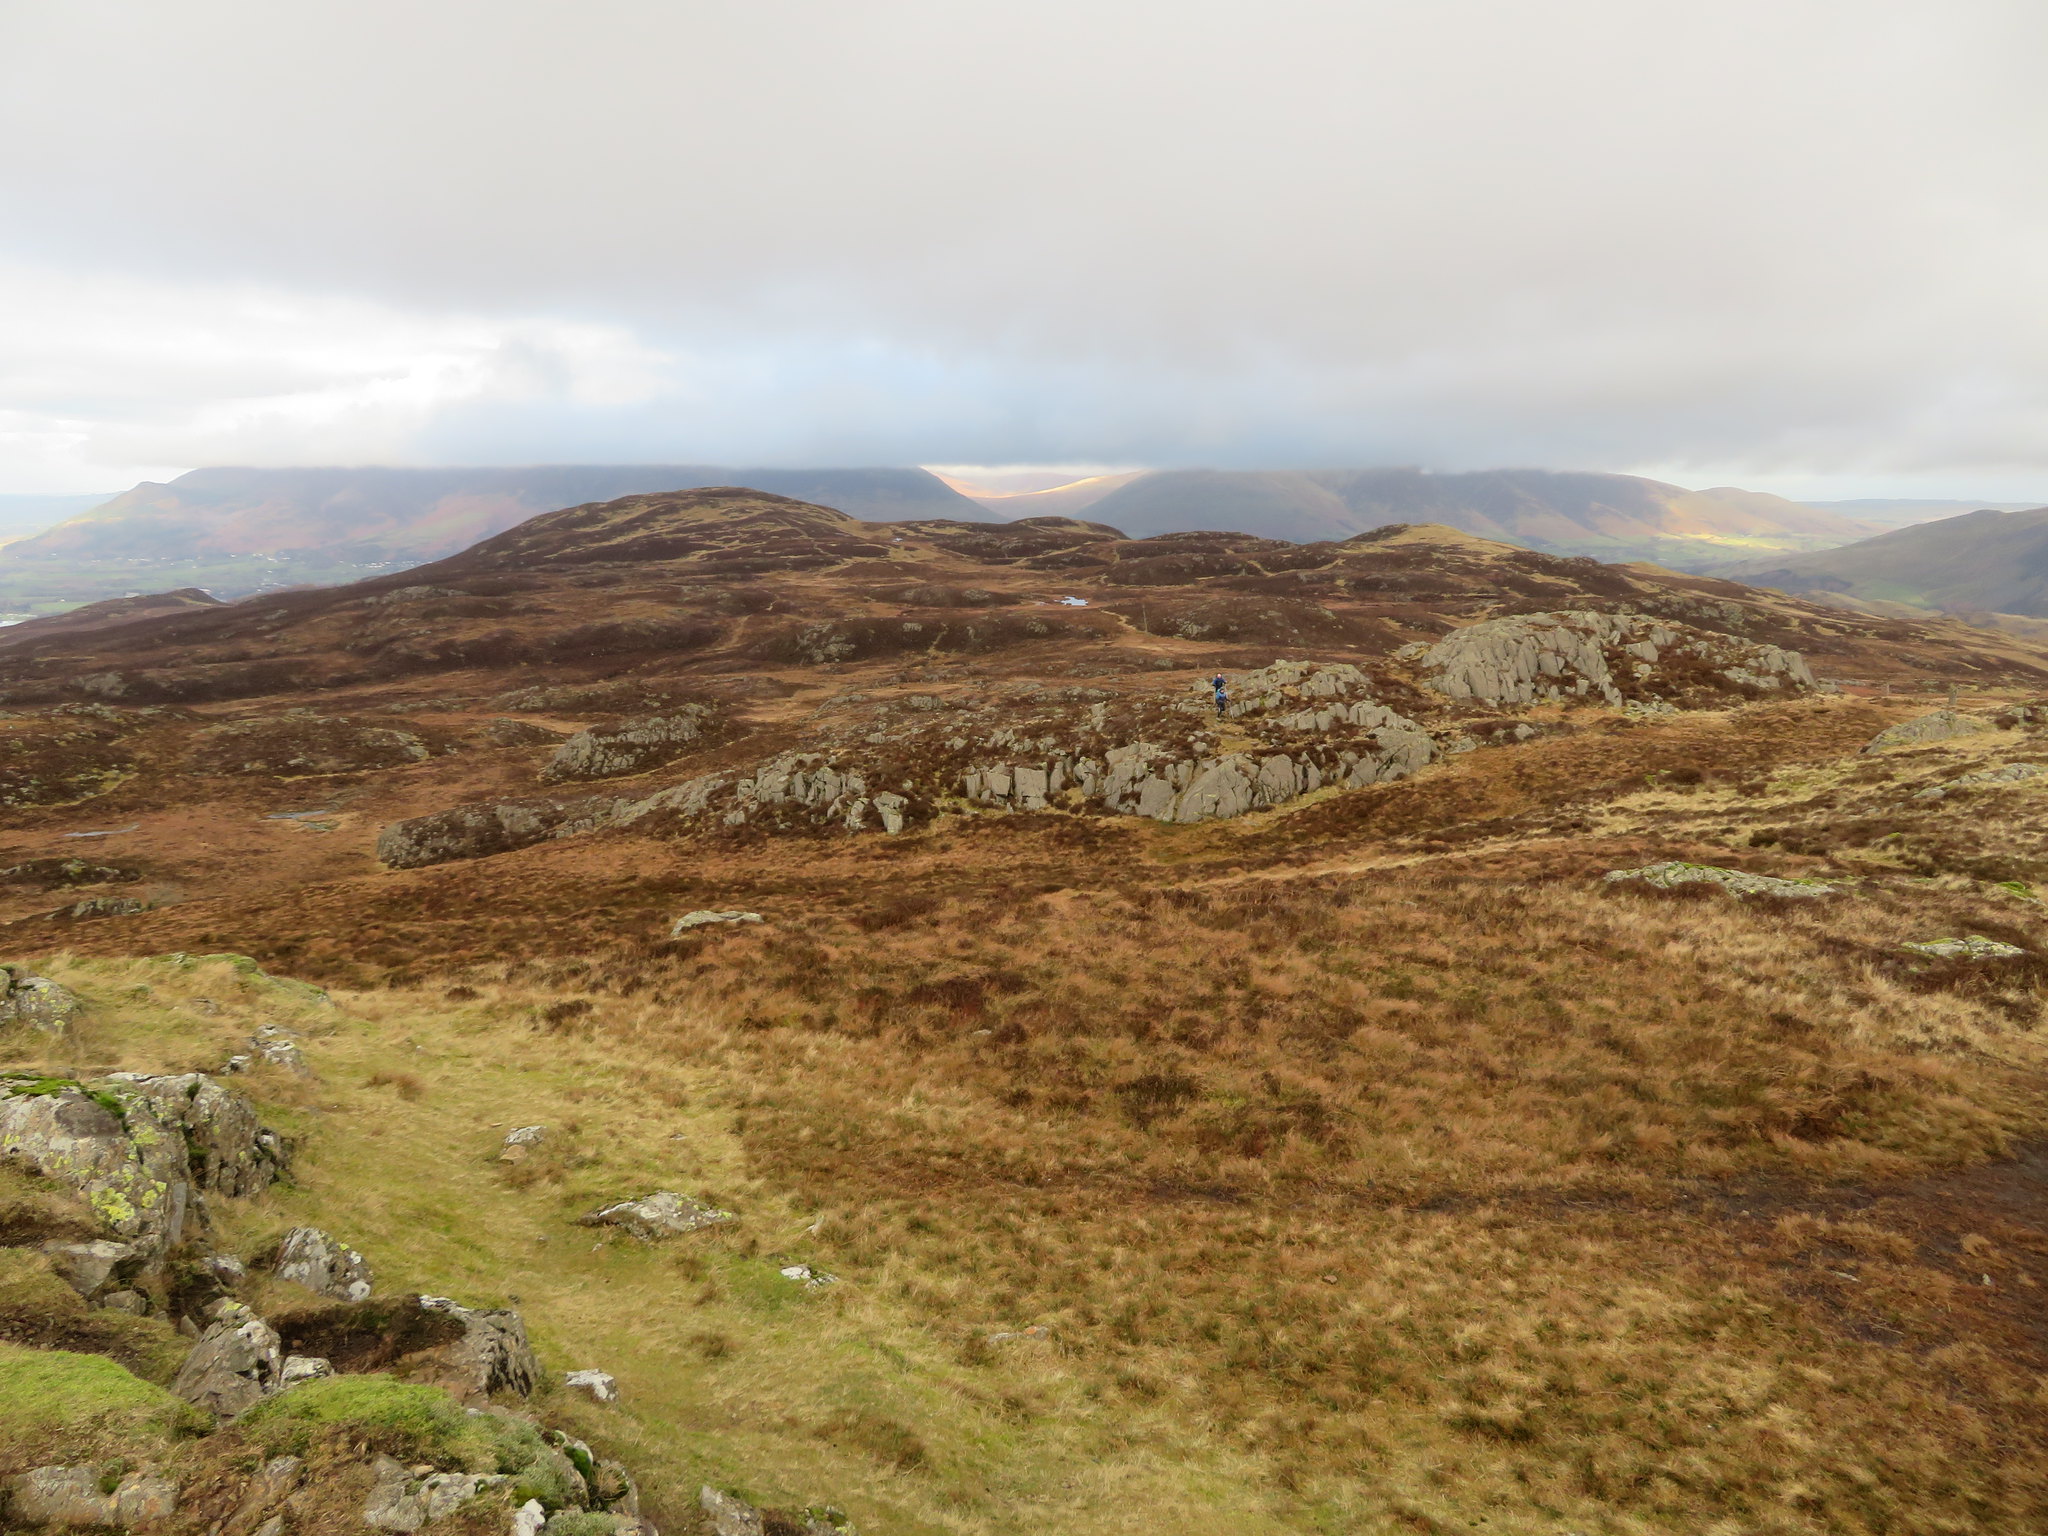
 Bleaberry Fell
 with the lumpy shape of High Seat getting ever nearer.
 High Seat skyline
 Not many minutes from leaving the canteen behind we were about to embark on a wet tramp to the base of High Seat with its boggy ground and peat stained pools.
 The approach to High Seat
 After a few wiggles and meanders we arrived at the well stoned path again that allowed us a fairly easy and quick arrival at the summit cairn and trig column that gave us amongst others a good view along our approach path.
 Northwest from High Seat
 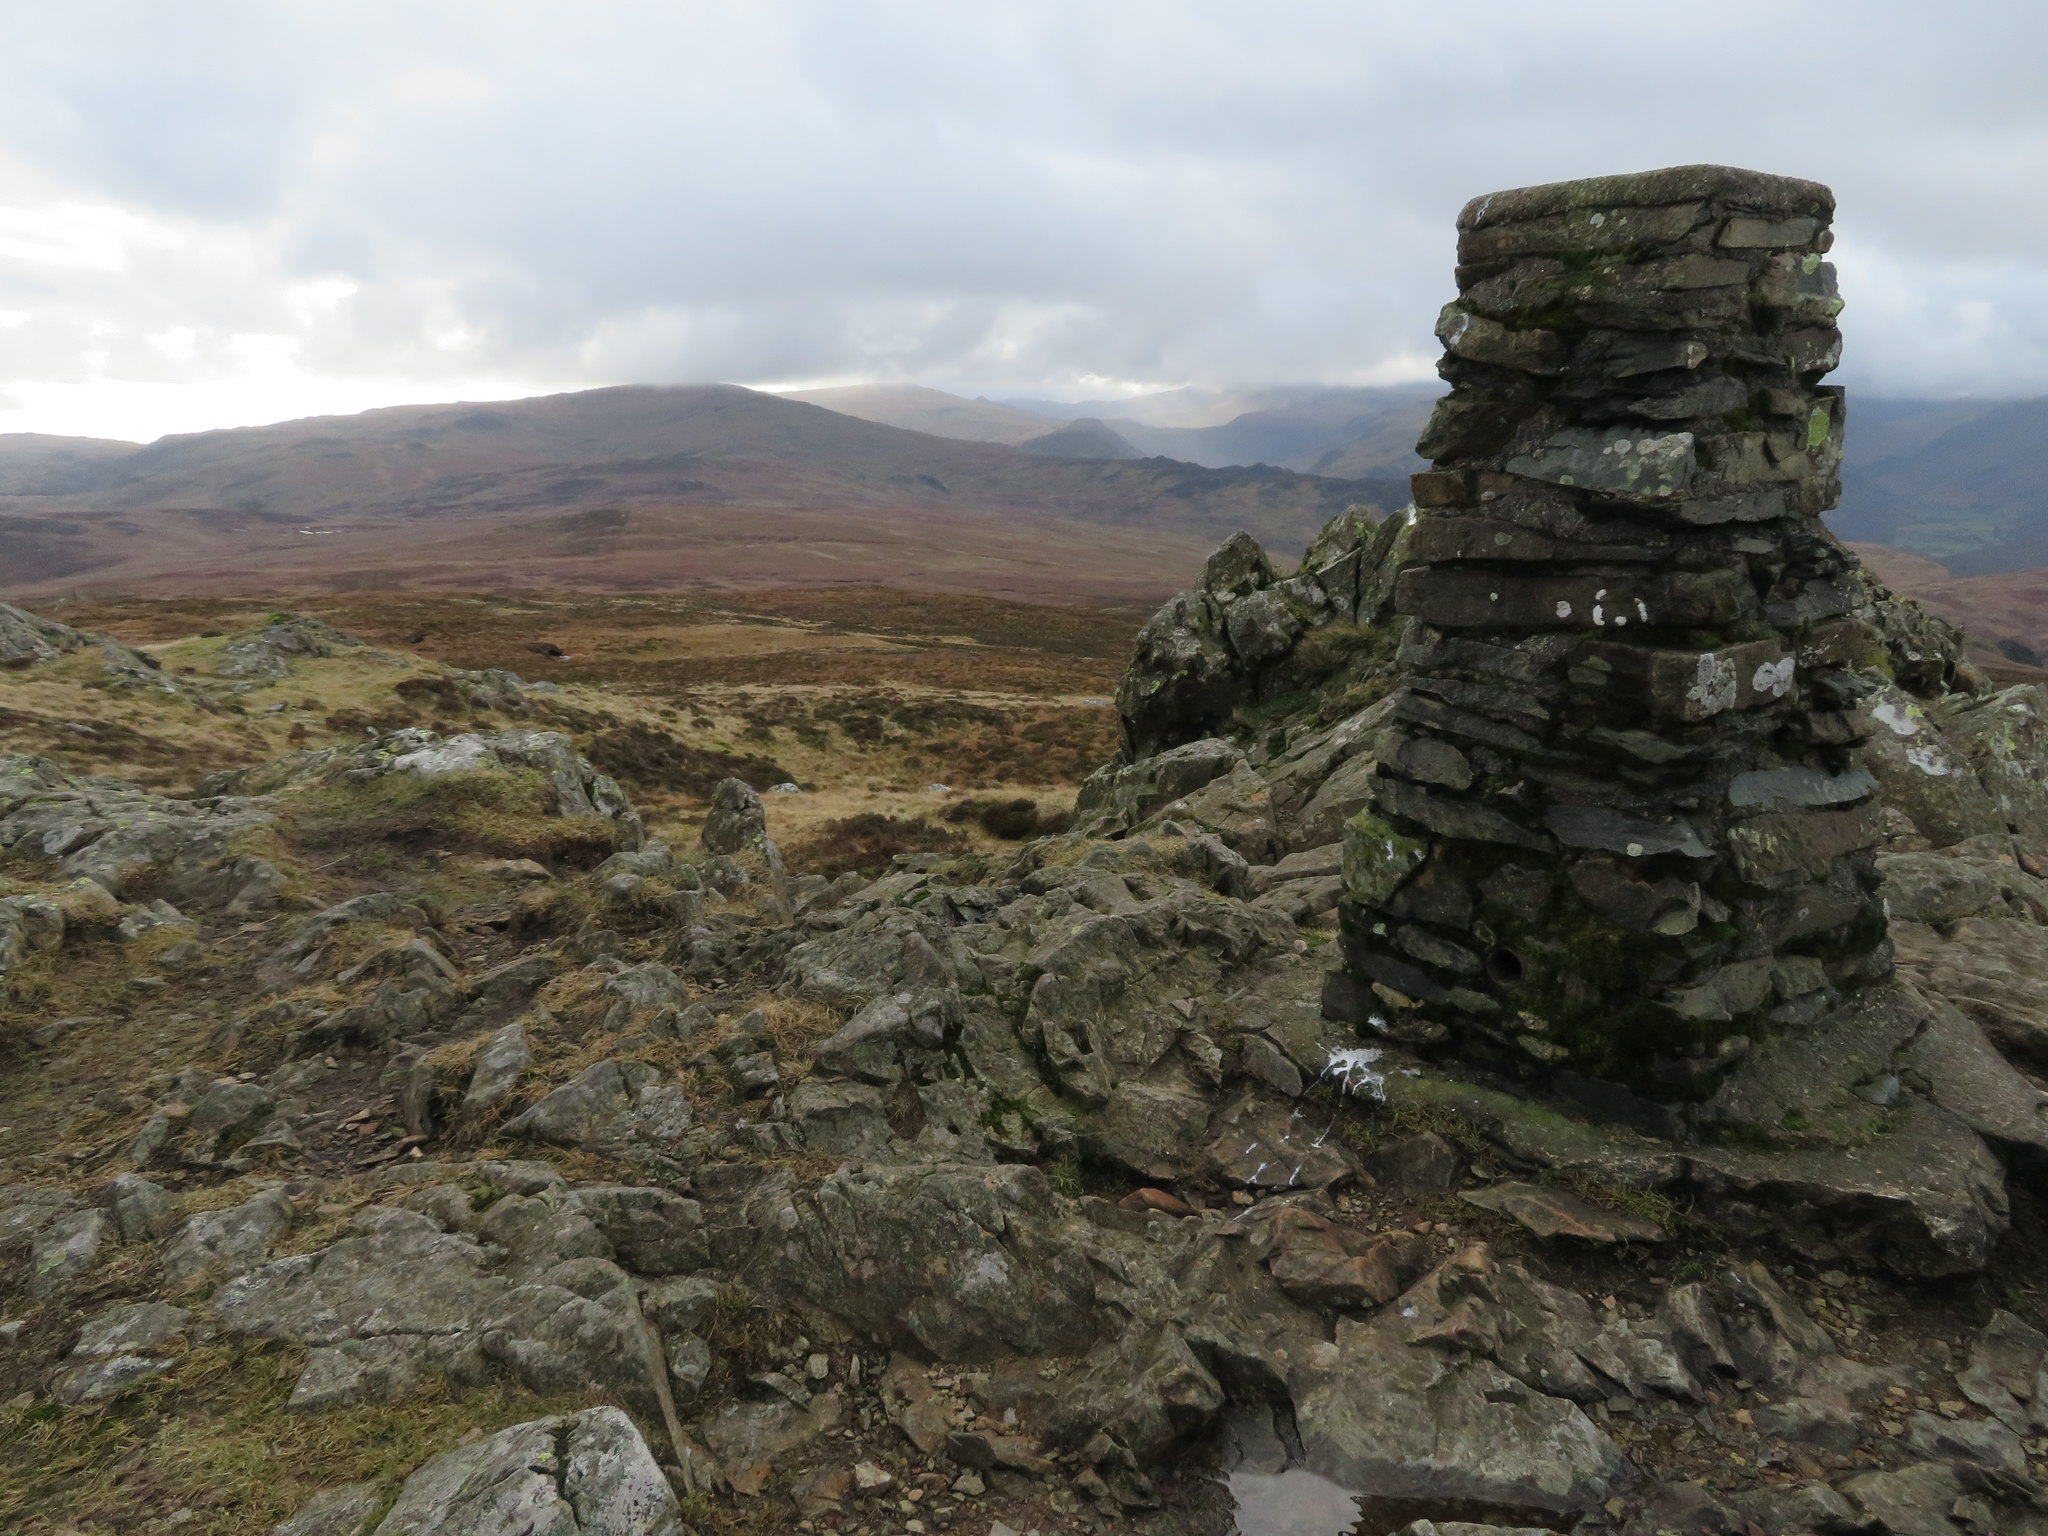 Trig column view southwest
 The view to the north and Bleaberry Fell was an amazing sight today and the photo doesn't pay it full justice to what this scene really looked like. Skiddaw and Blencathra playing footstool to a large bank of cloud with the open areas at either end and centre all glowing in sunlight against a foreground of rugged brown fellside, we were fortunate to be in this place today.
 Skiddaw and Blencathra under cloud to the north
 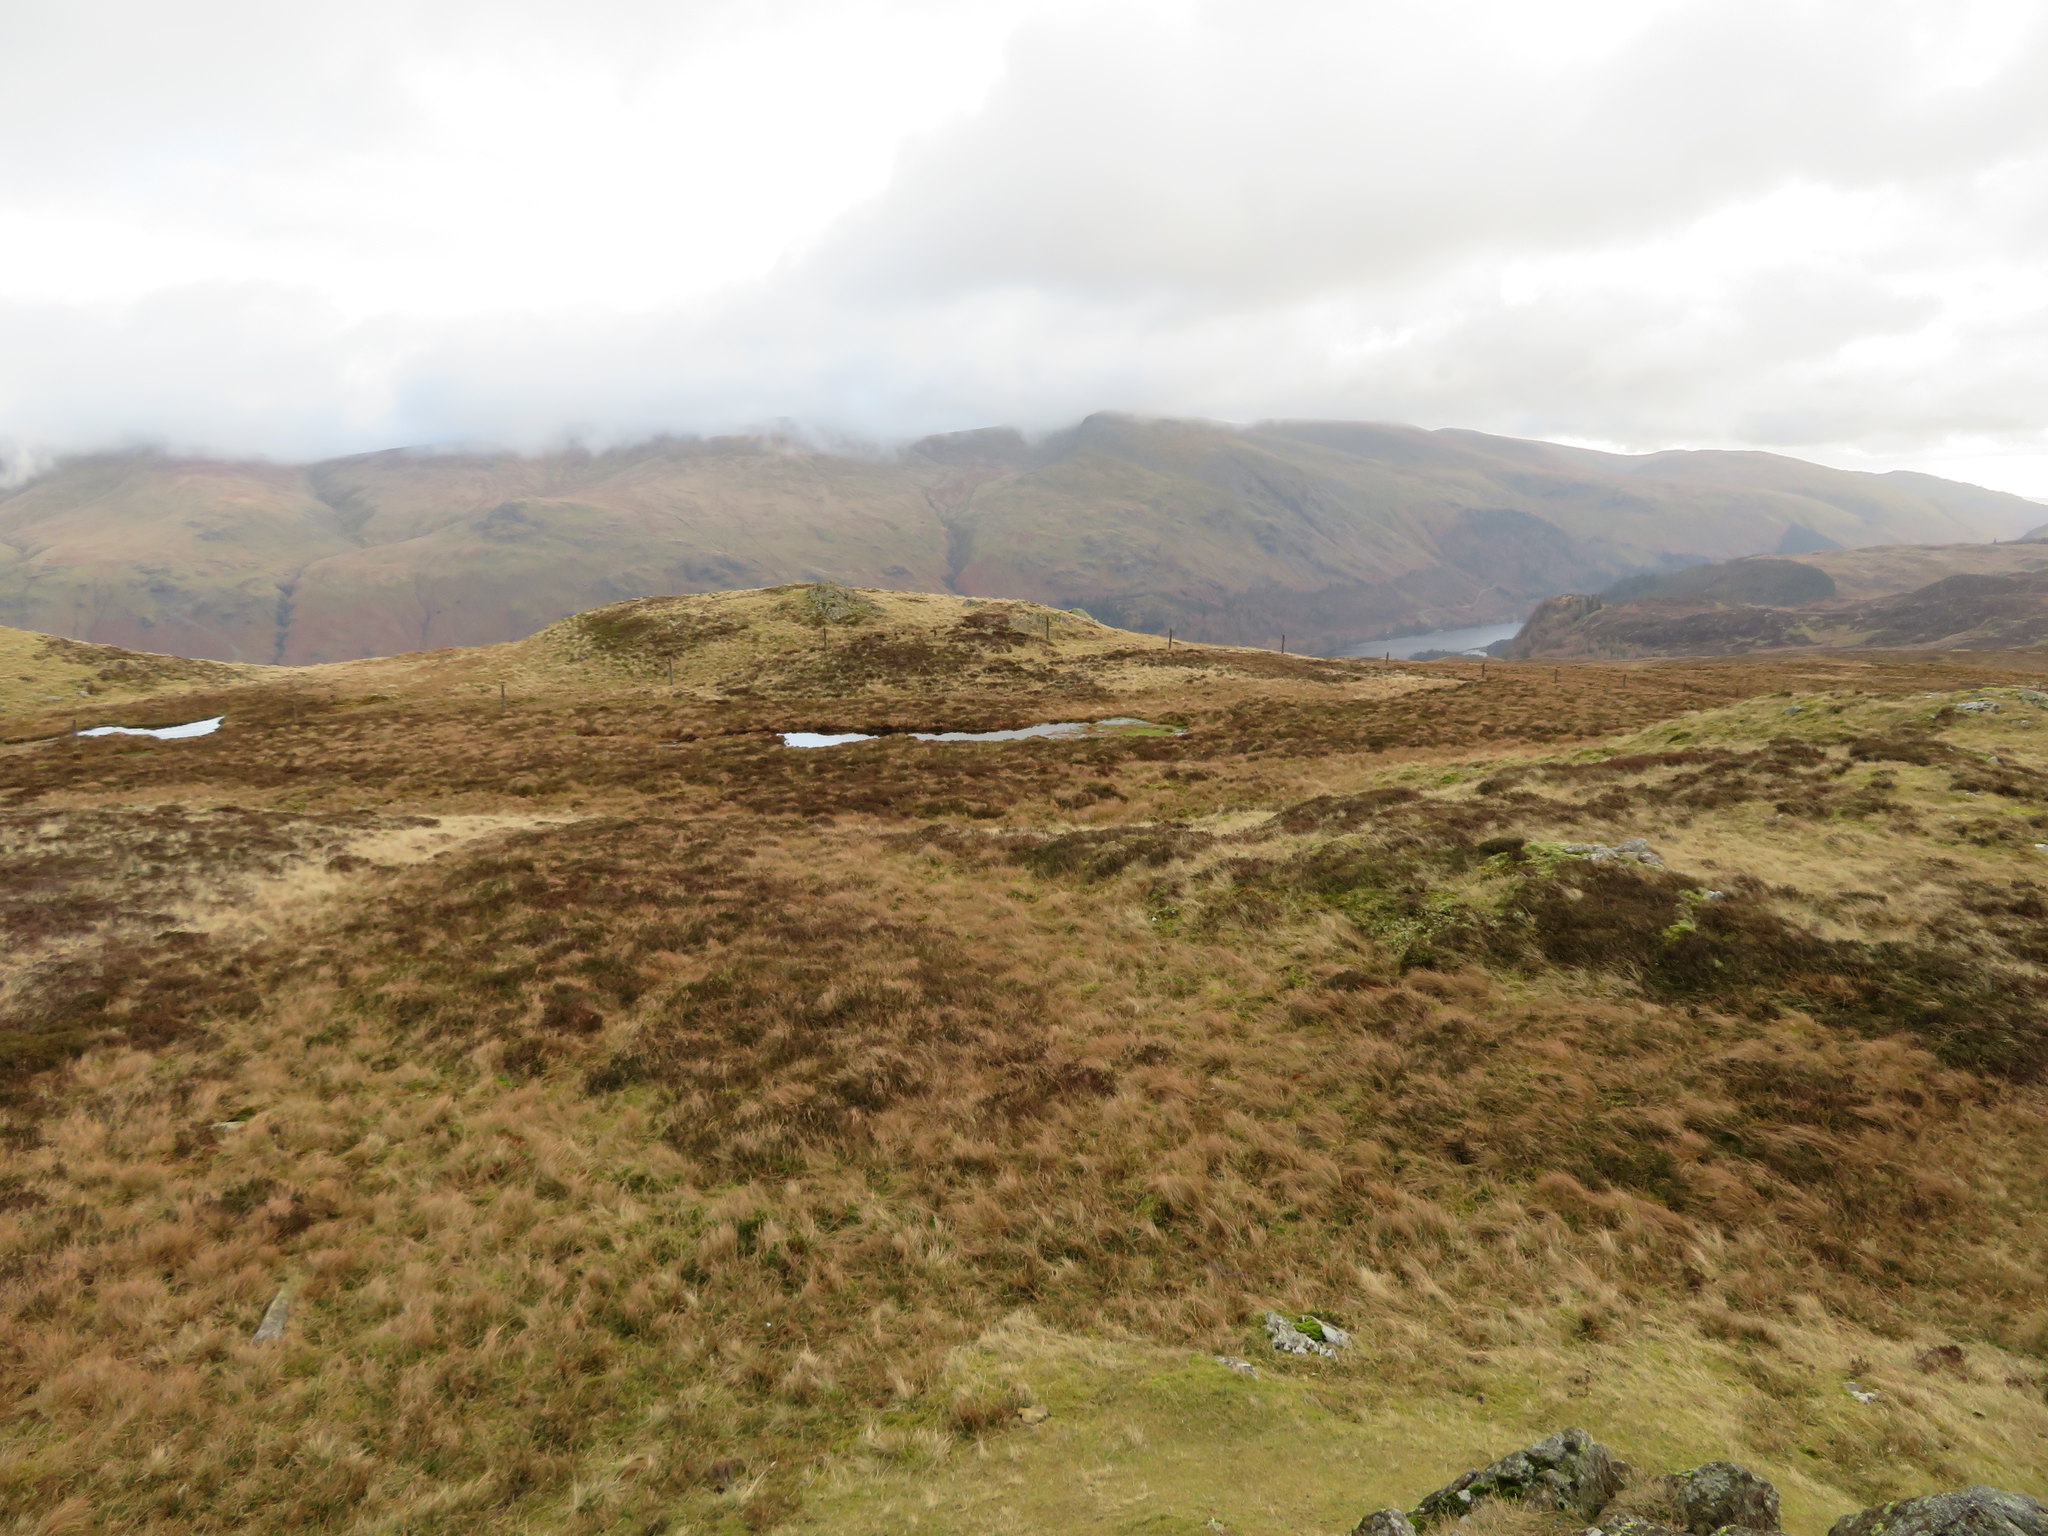 Maiden Moor and High Spy under cloud
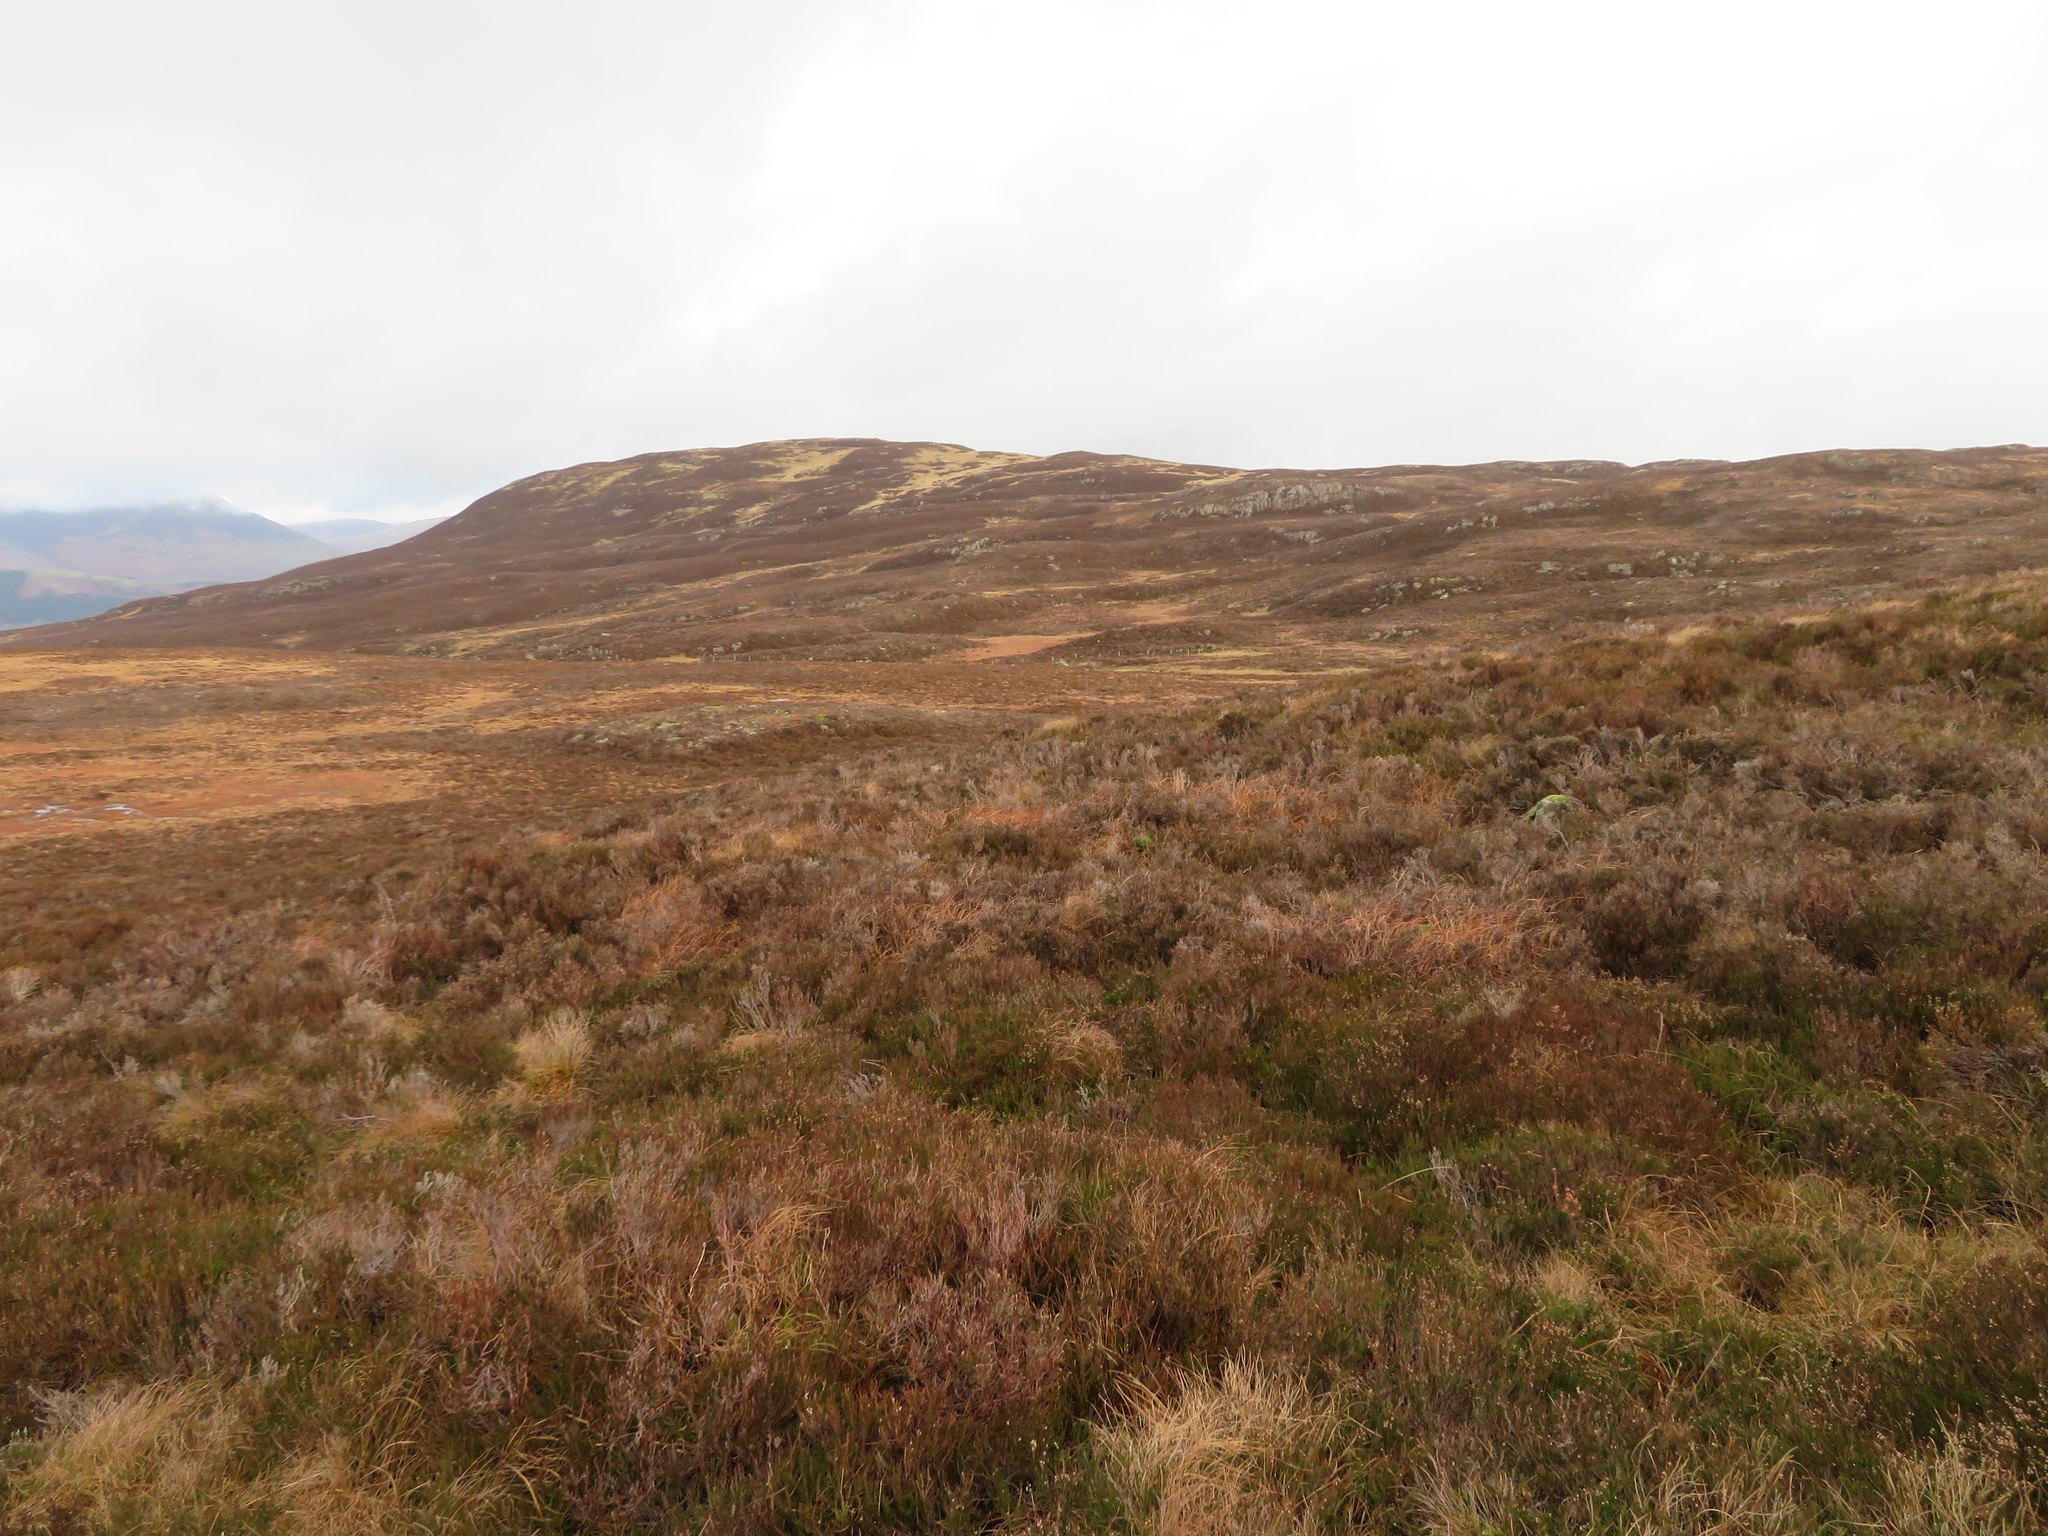
 The way north was clear enough, just follow any of the paths that are heading north from High Seat, paths that eventually meet up with the main one at some point along the way. We followed the fence down for a while before bearing off to the left as we headed for the fence stile just below Threefooted Brandreth.
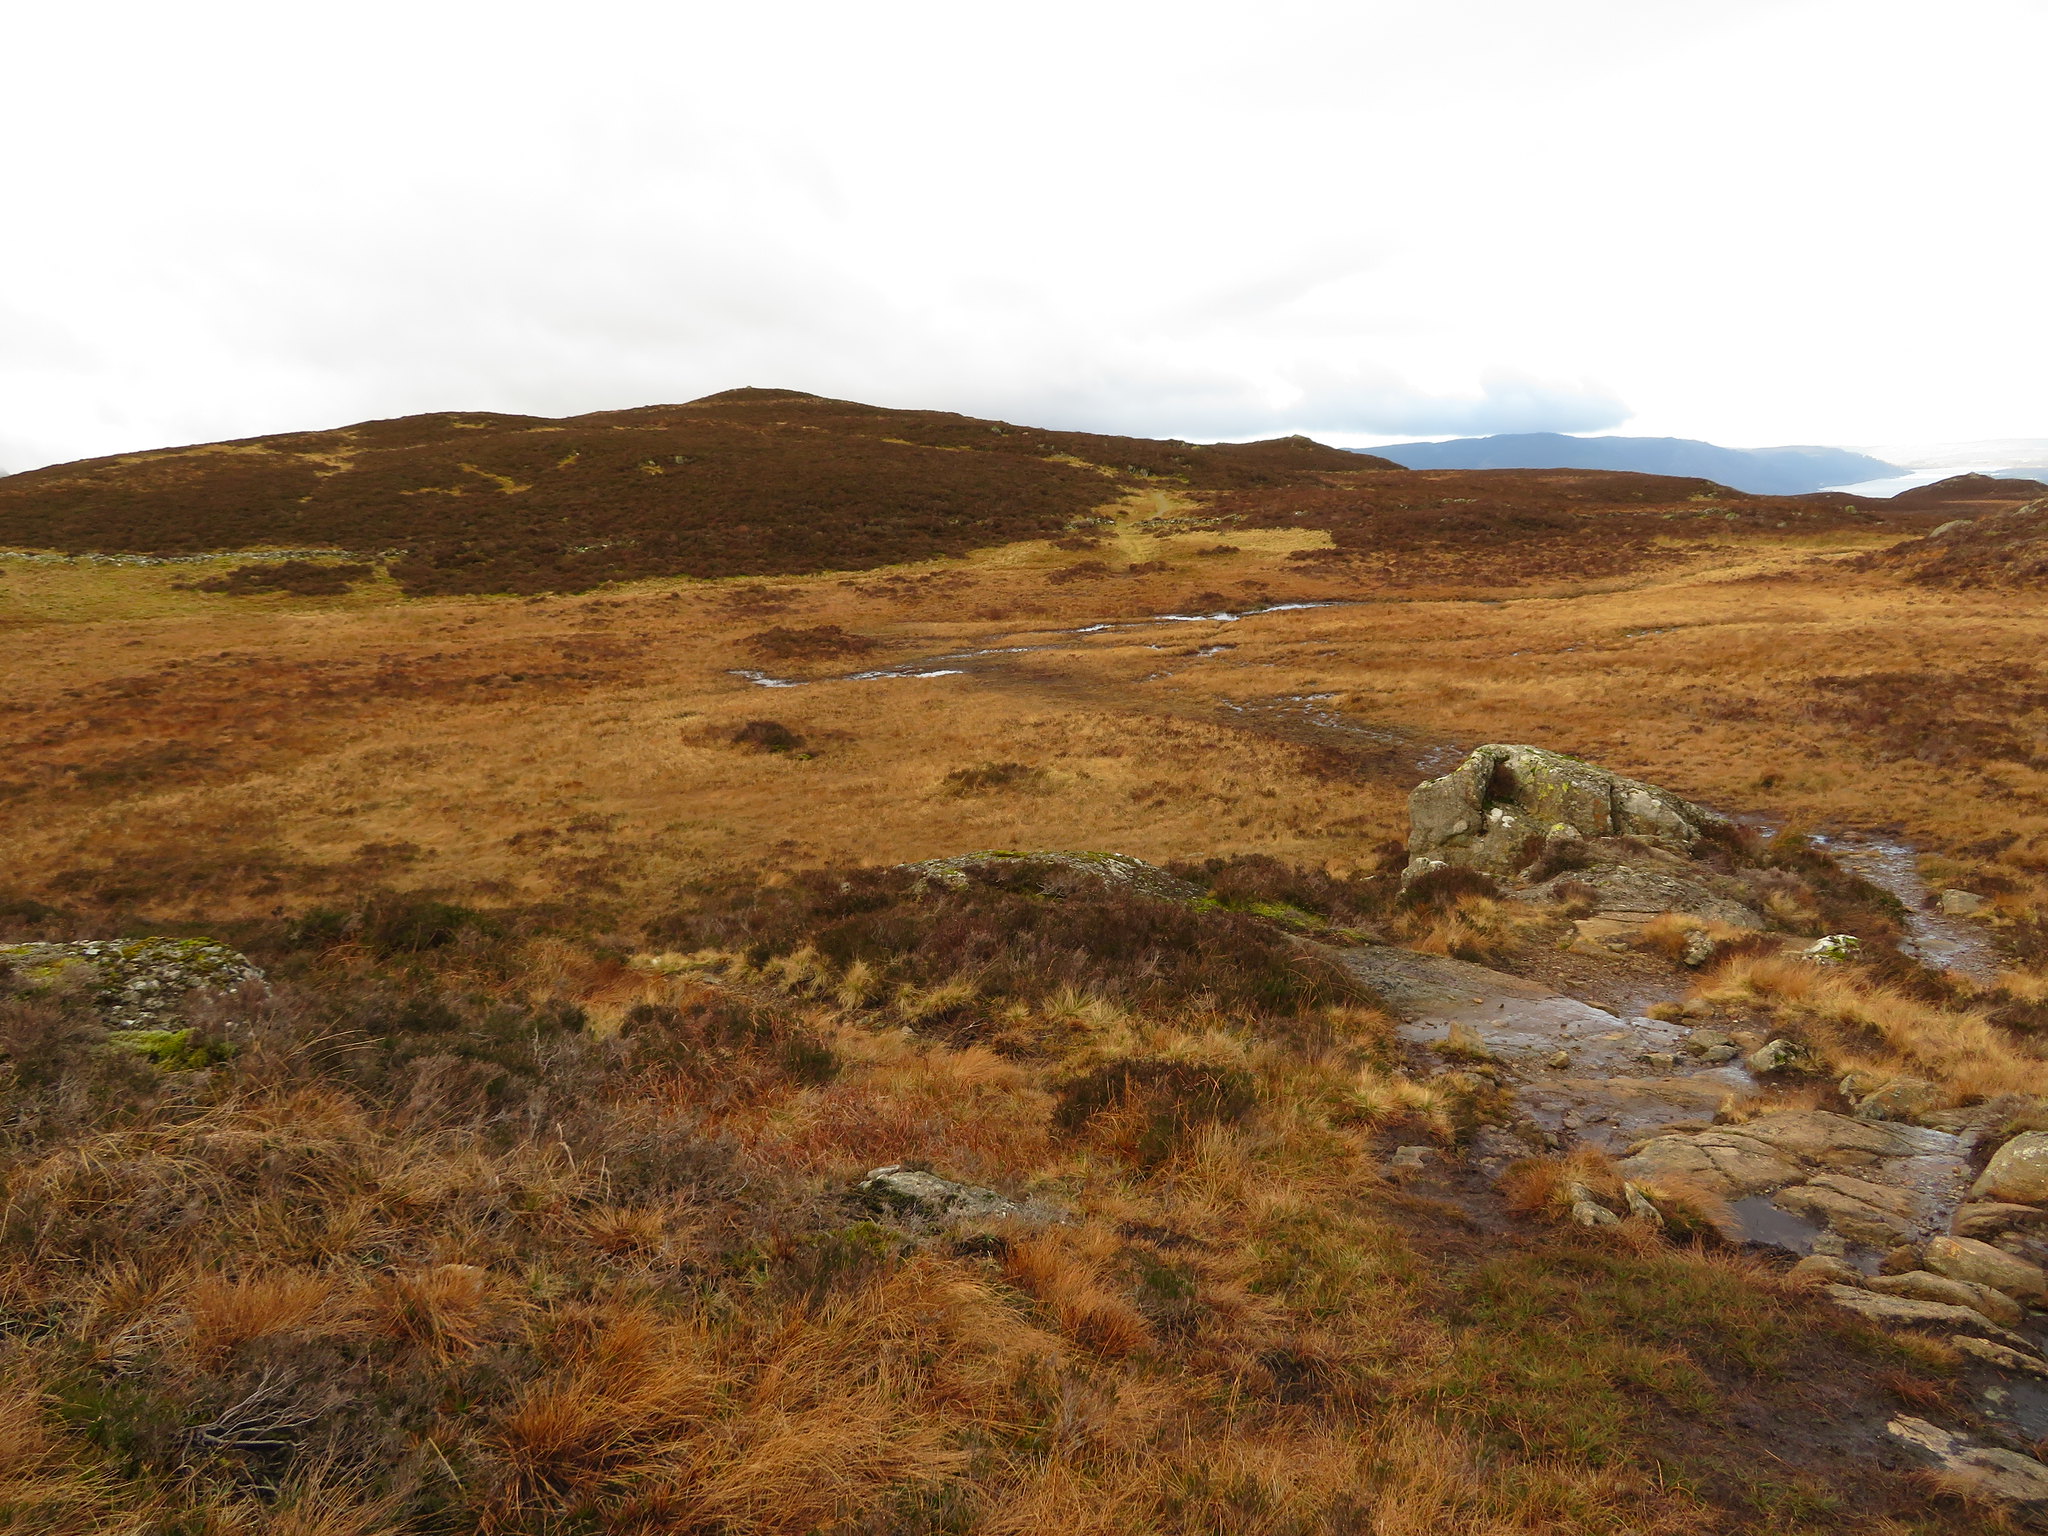
 Bleaberry Fell
 The paths are fair enough although quite wet today and a bit of dodging about to miss the worst bits made it a 45 minute journey between the two fells.
 Looking back to High Seat
 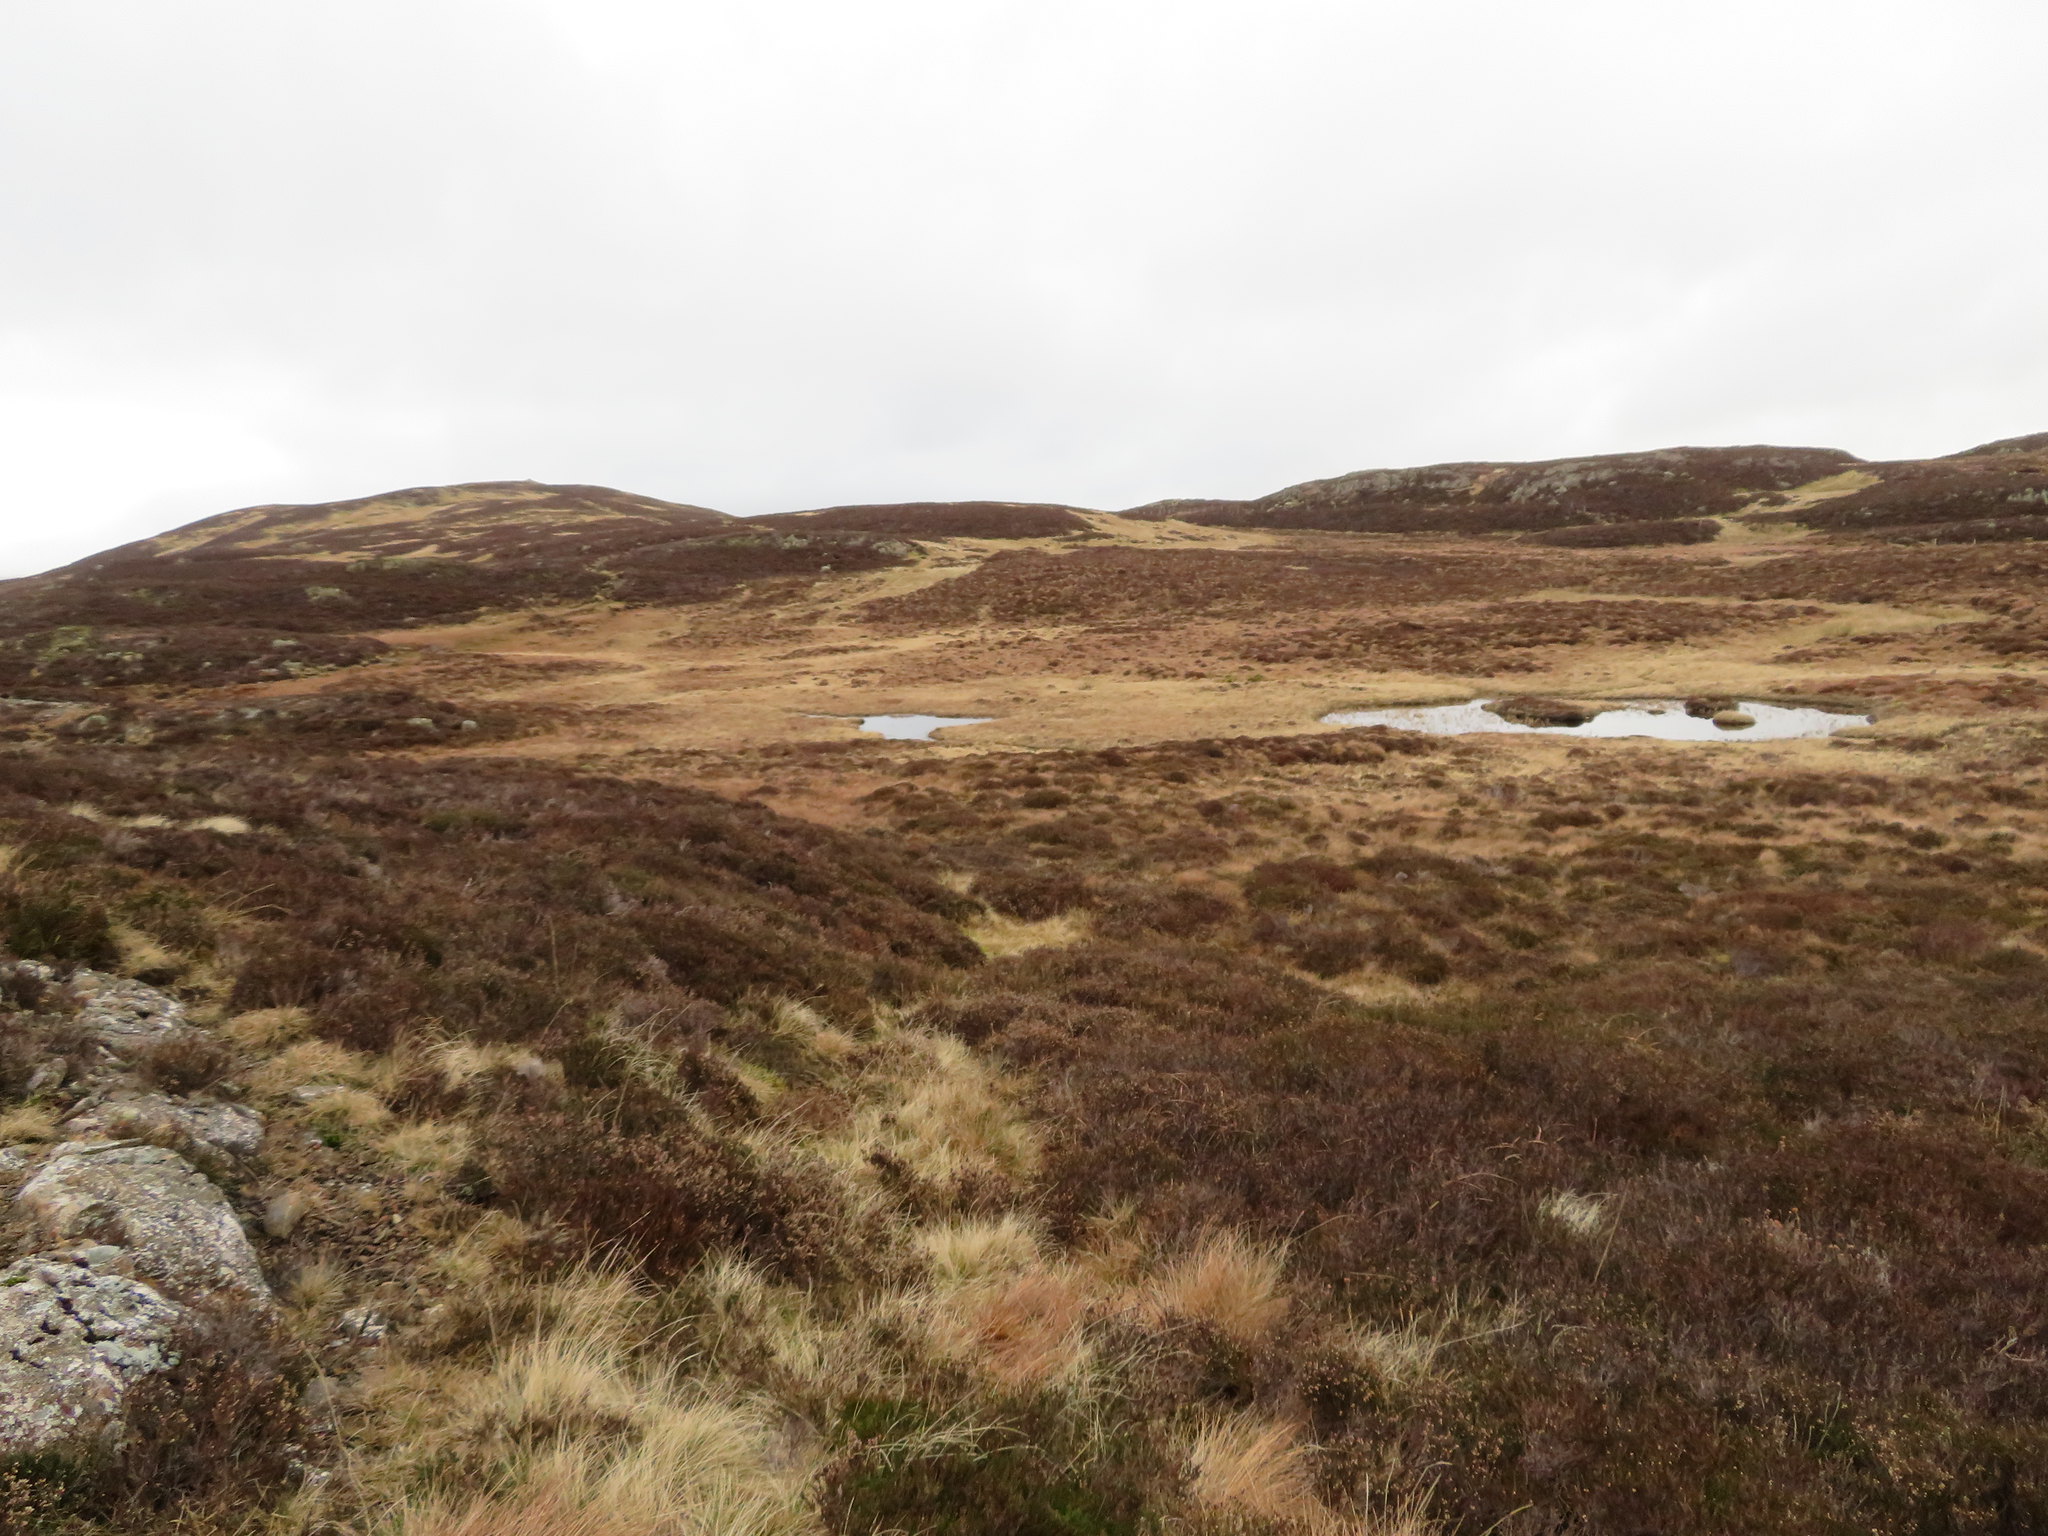 Shades of brown
 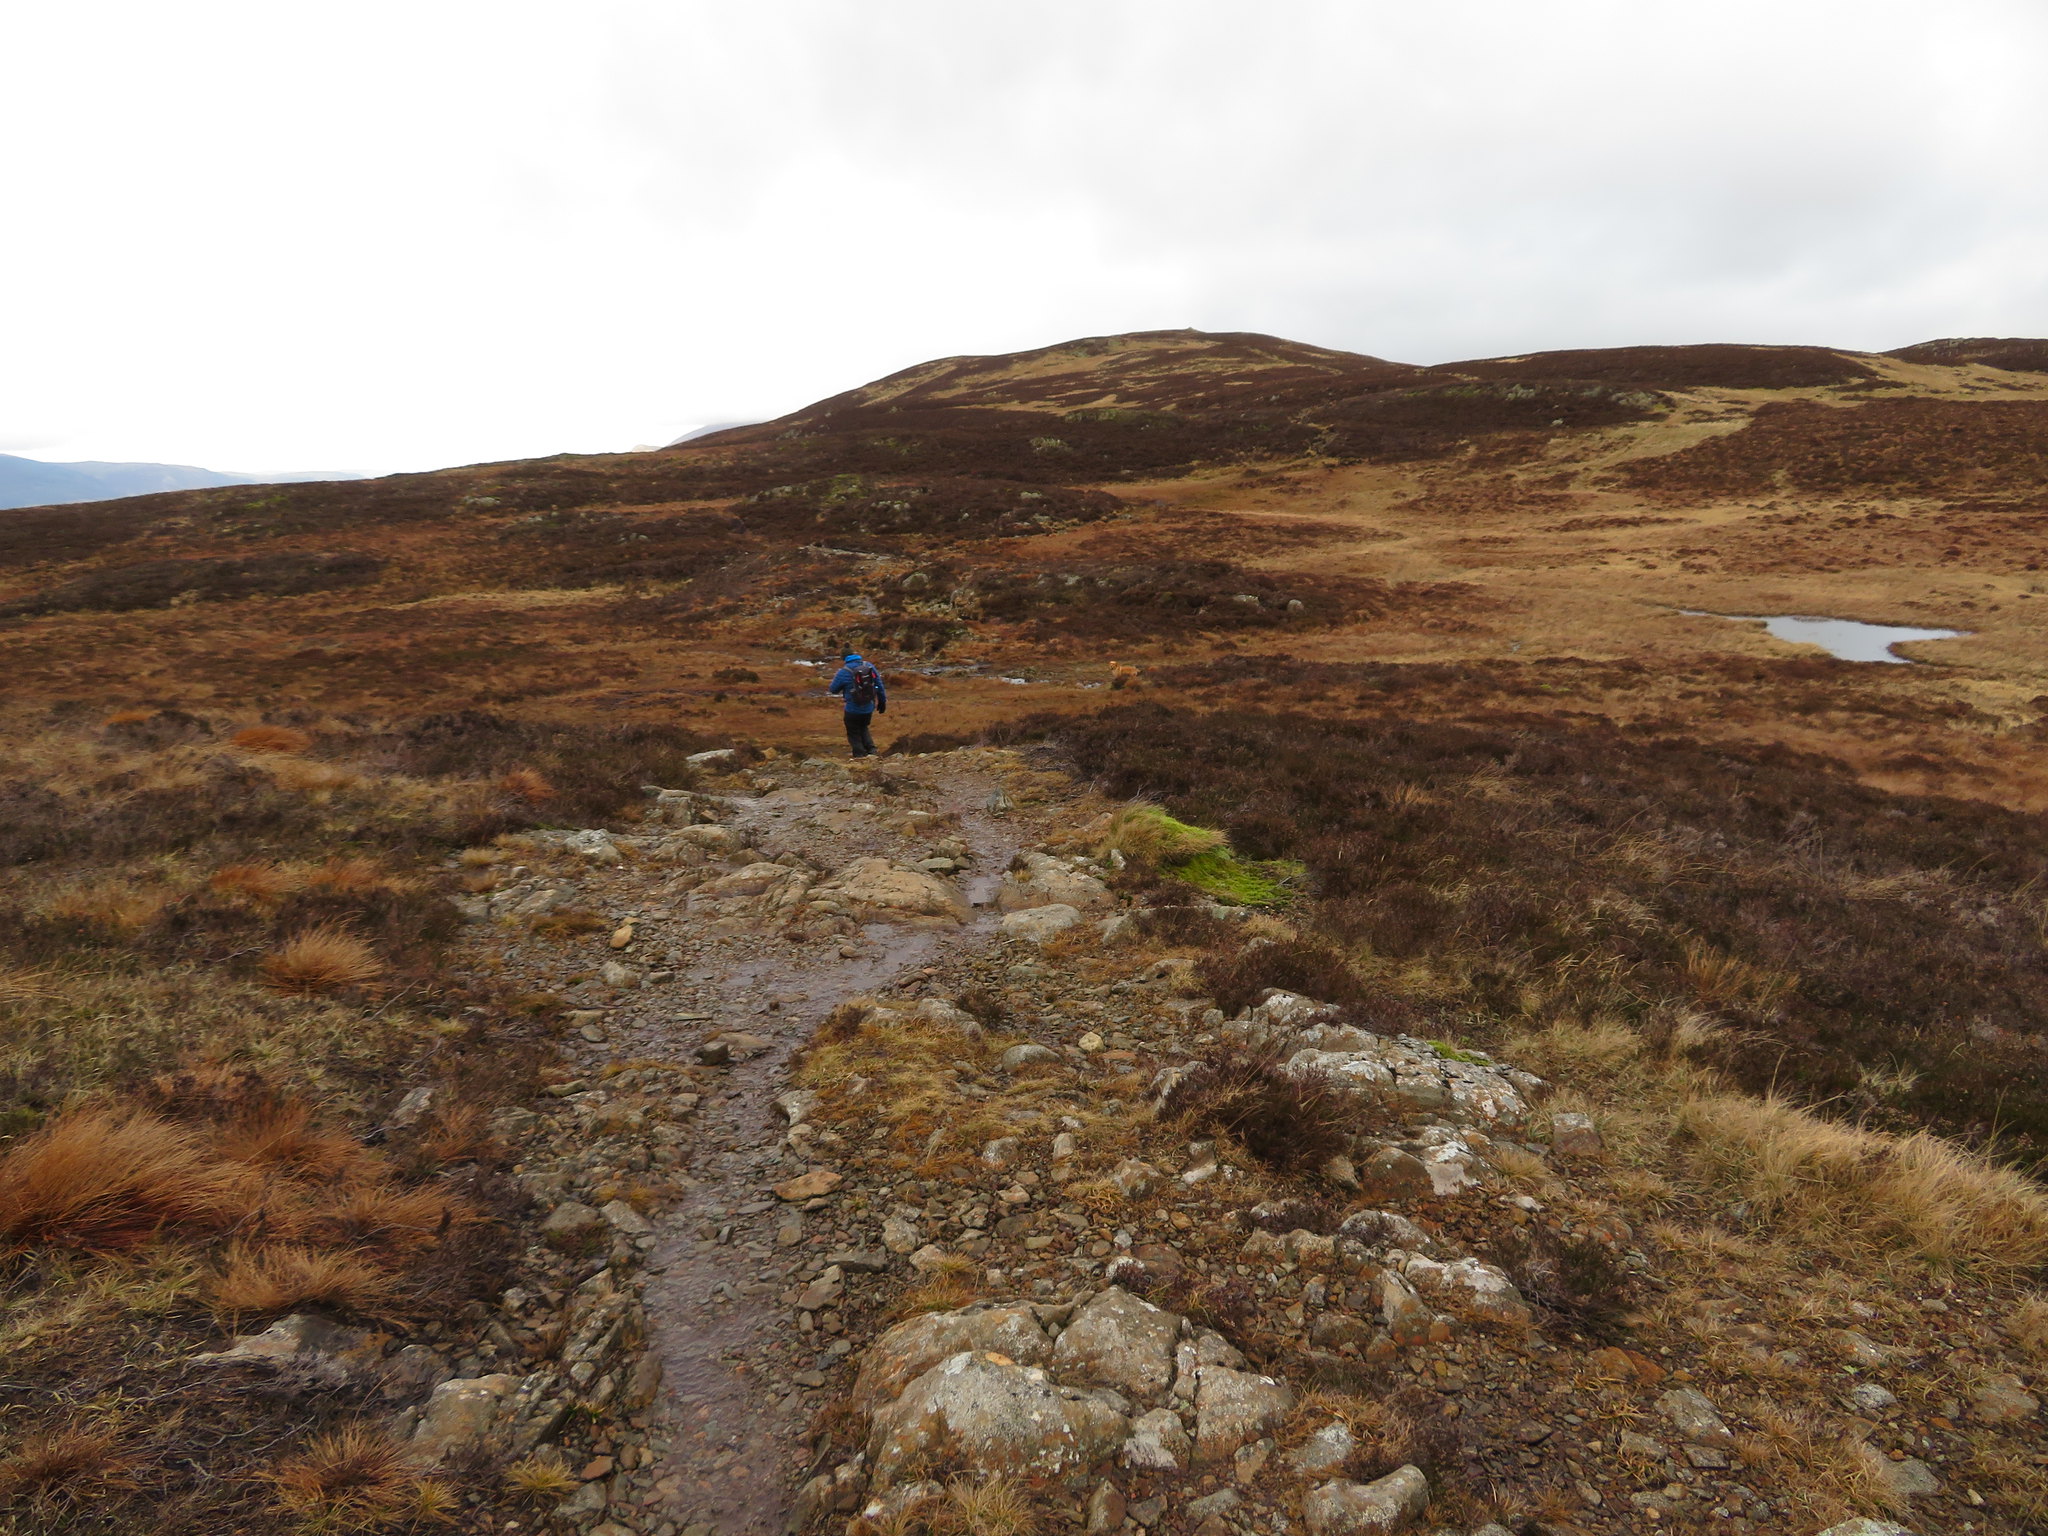 Wet walking towards Bleaberry Fell
All in all it wasn't too bad and we seemed to arrive at the foot of Bleaberry Fell in short time despite the 45 minutes it had actually taken us. Good company helps the time go by quickly.
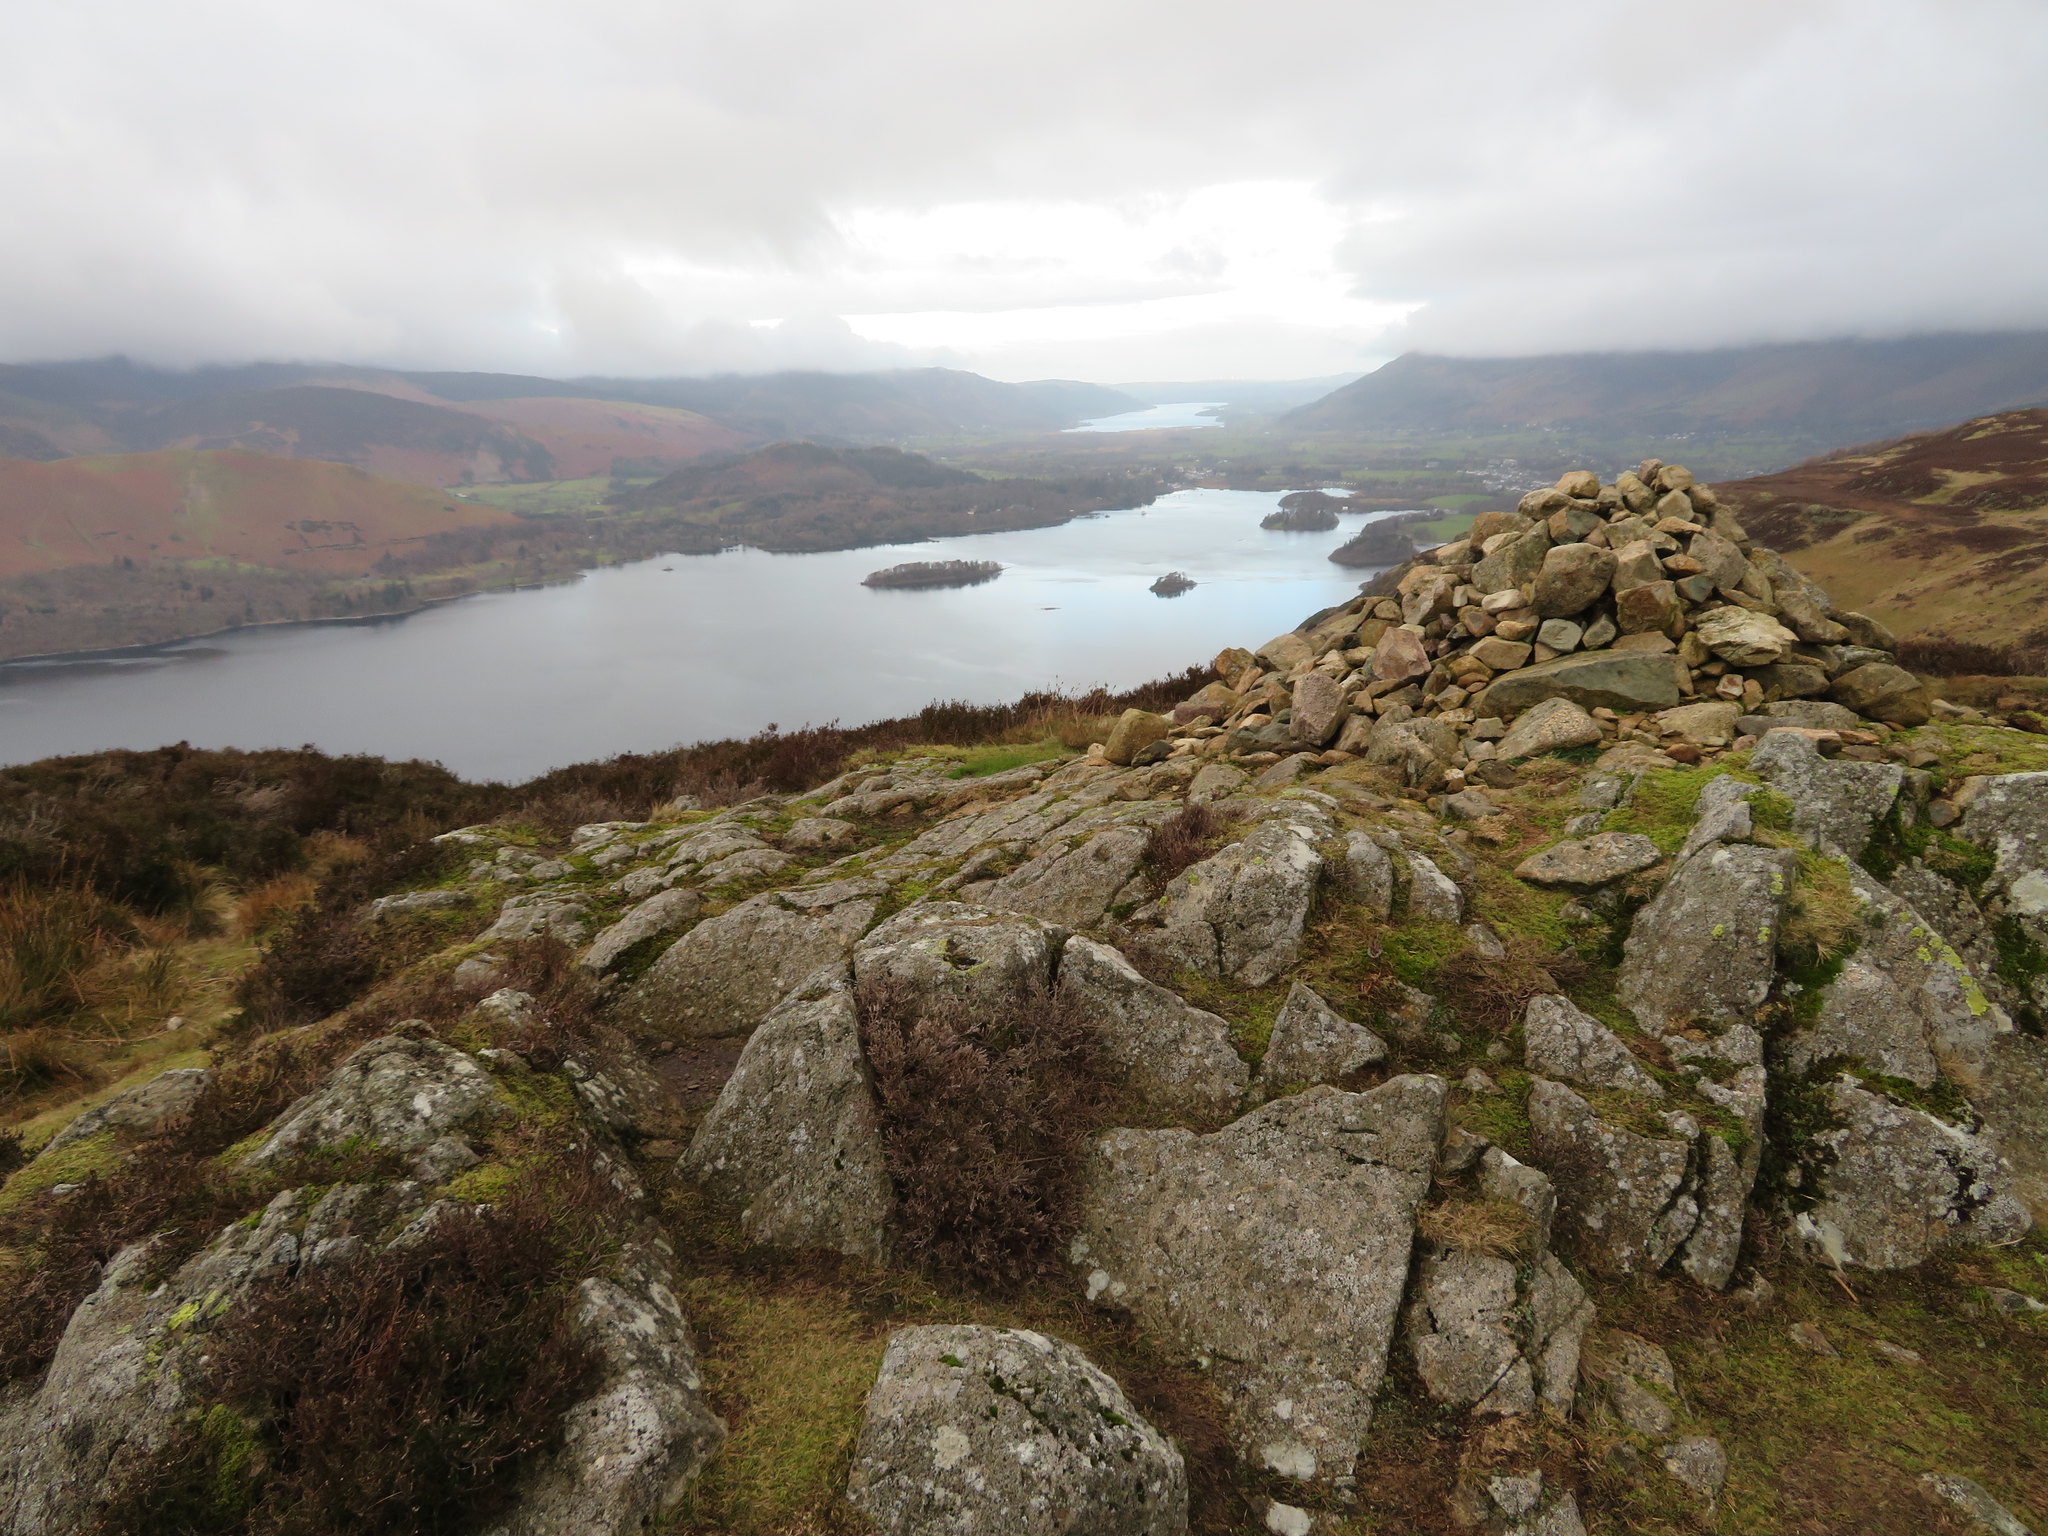
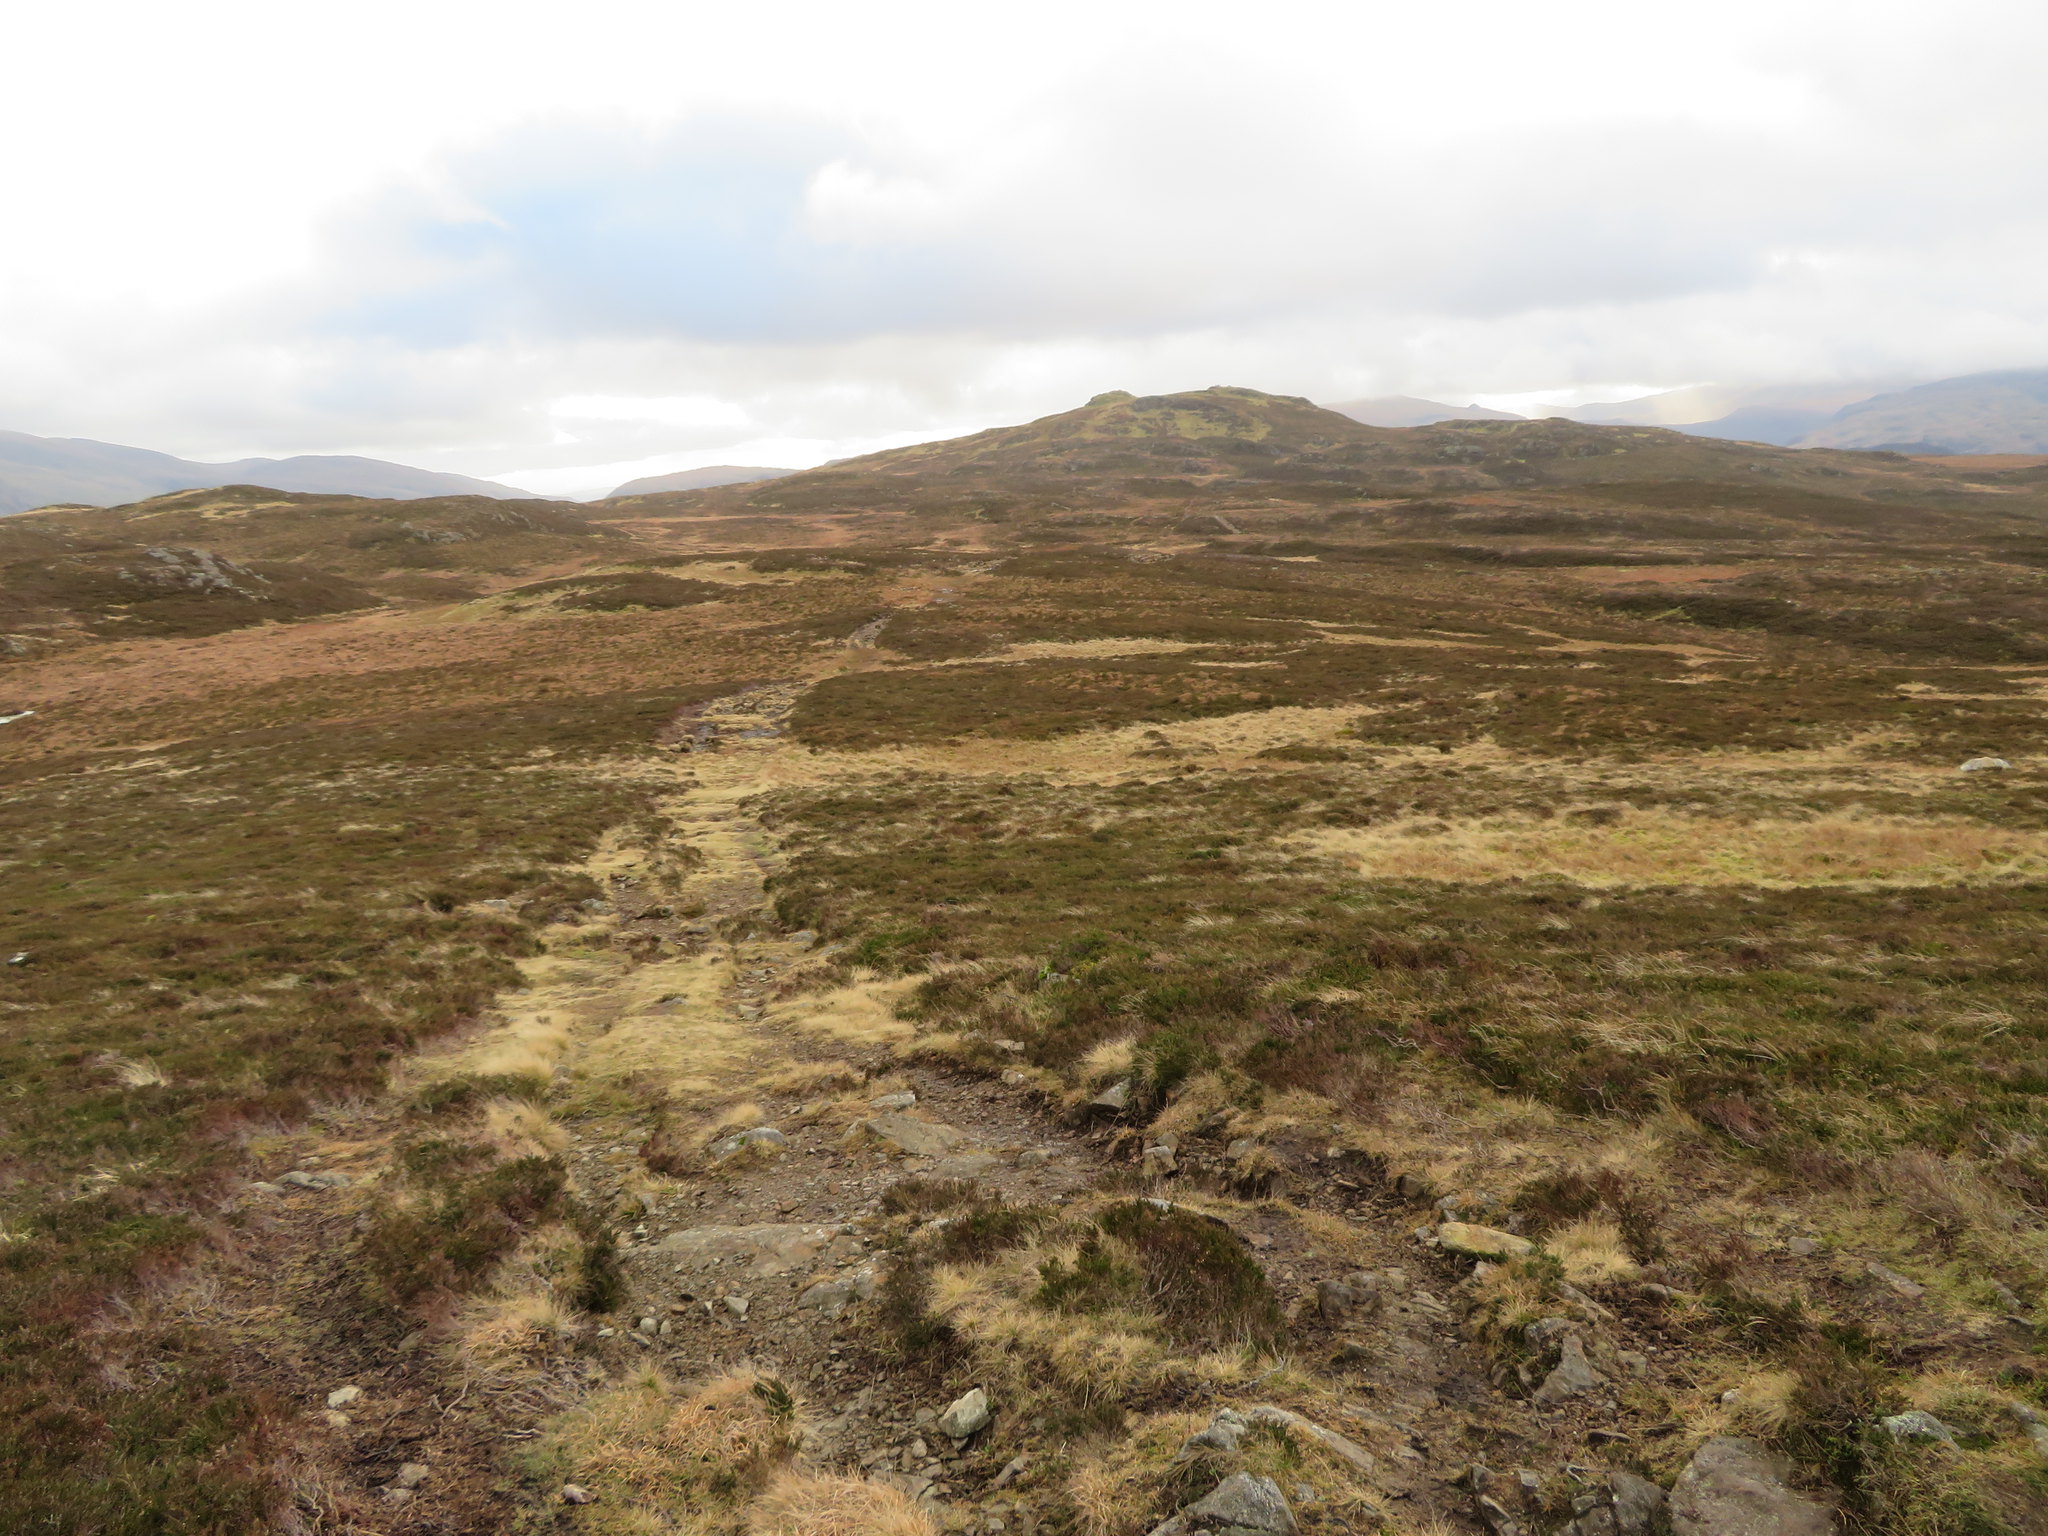 High Seat from the south side of Bleaberry Fell
 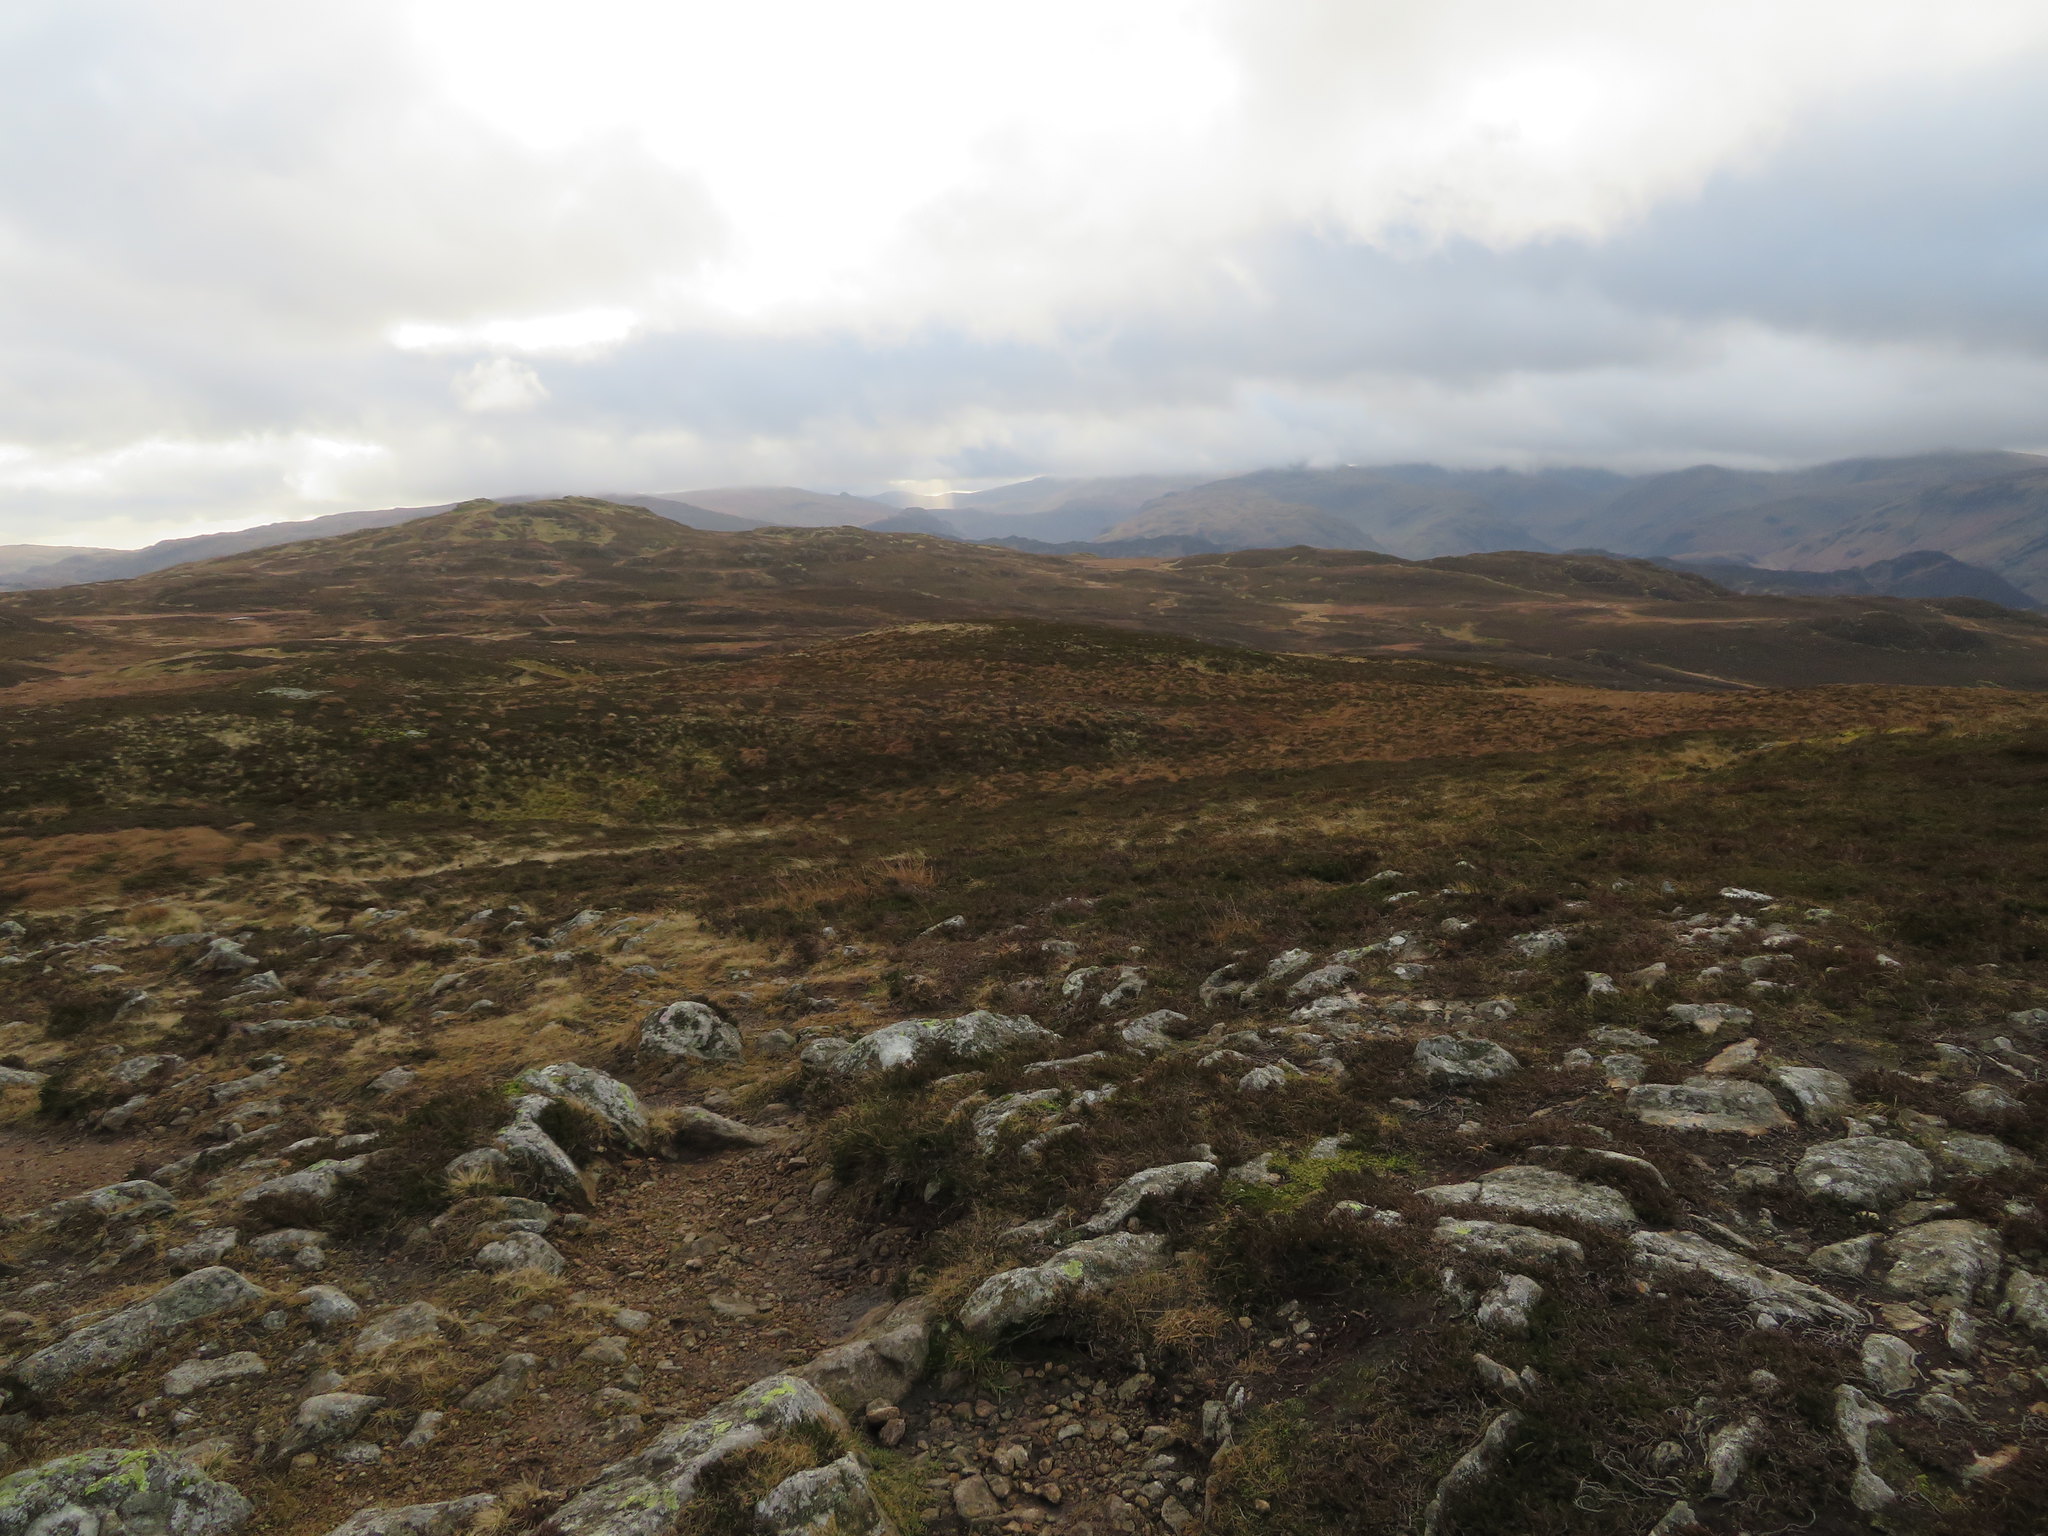 High Seat and a little ray of sunshine in the south
 Another short and easy climb soon had us on the summit.
 Clough Head - Calfhow Pike with the Dodds in cloud
  Man and dog on Bleaberry Fell summit
 We could now see as far as the Pennines and there was Threlkeld sat in the strip of green pastures below Blencathra's more austere slopes of brown and black.
 Dodd Crag - High Rigg - Clough Head with Blencathra under cloud
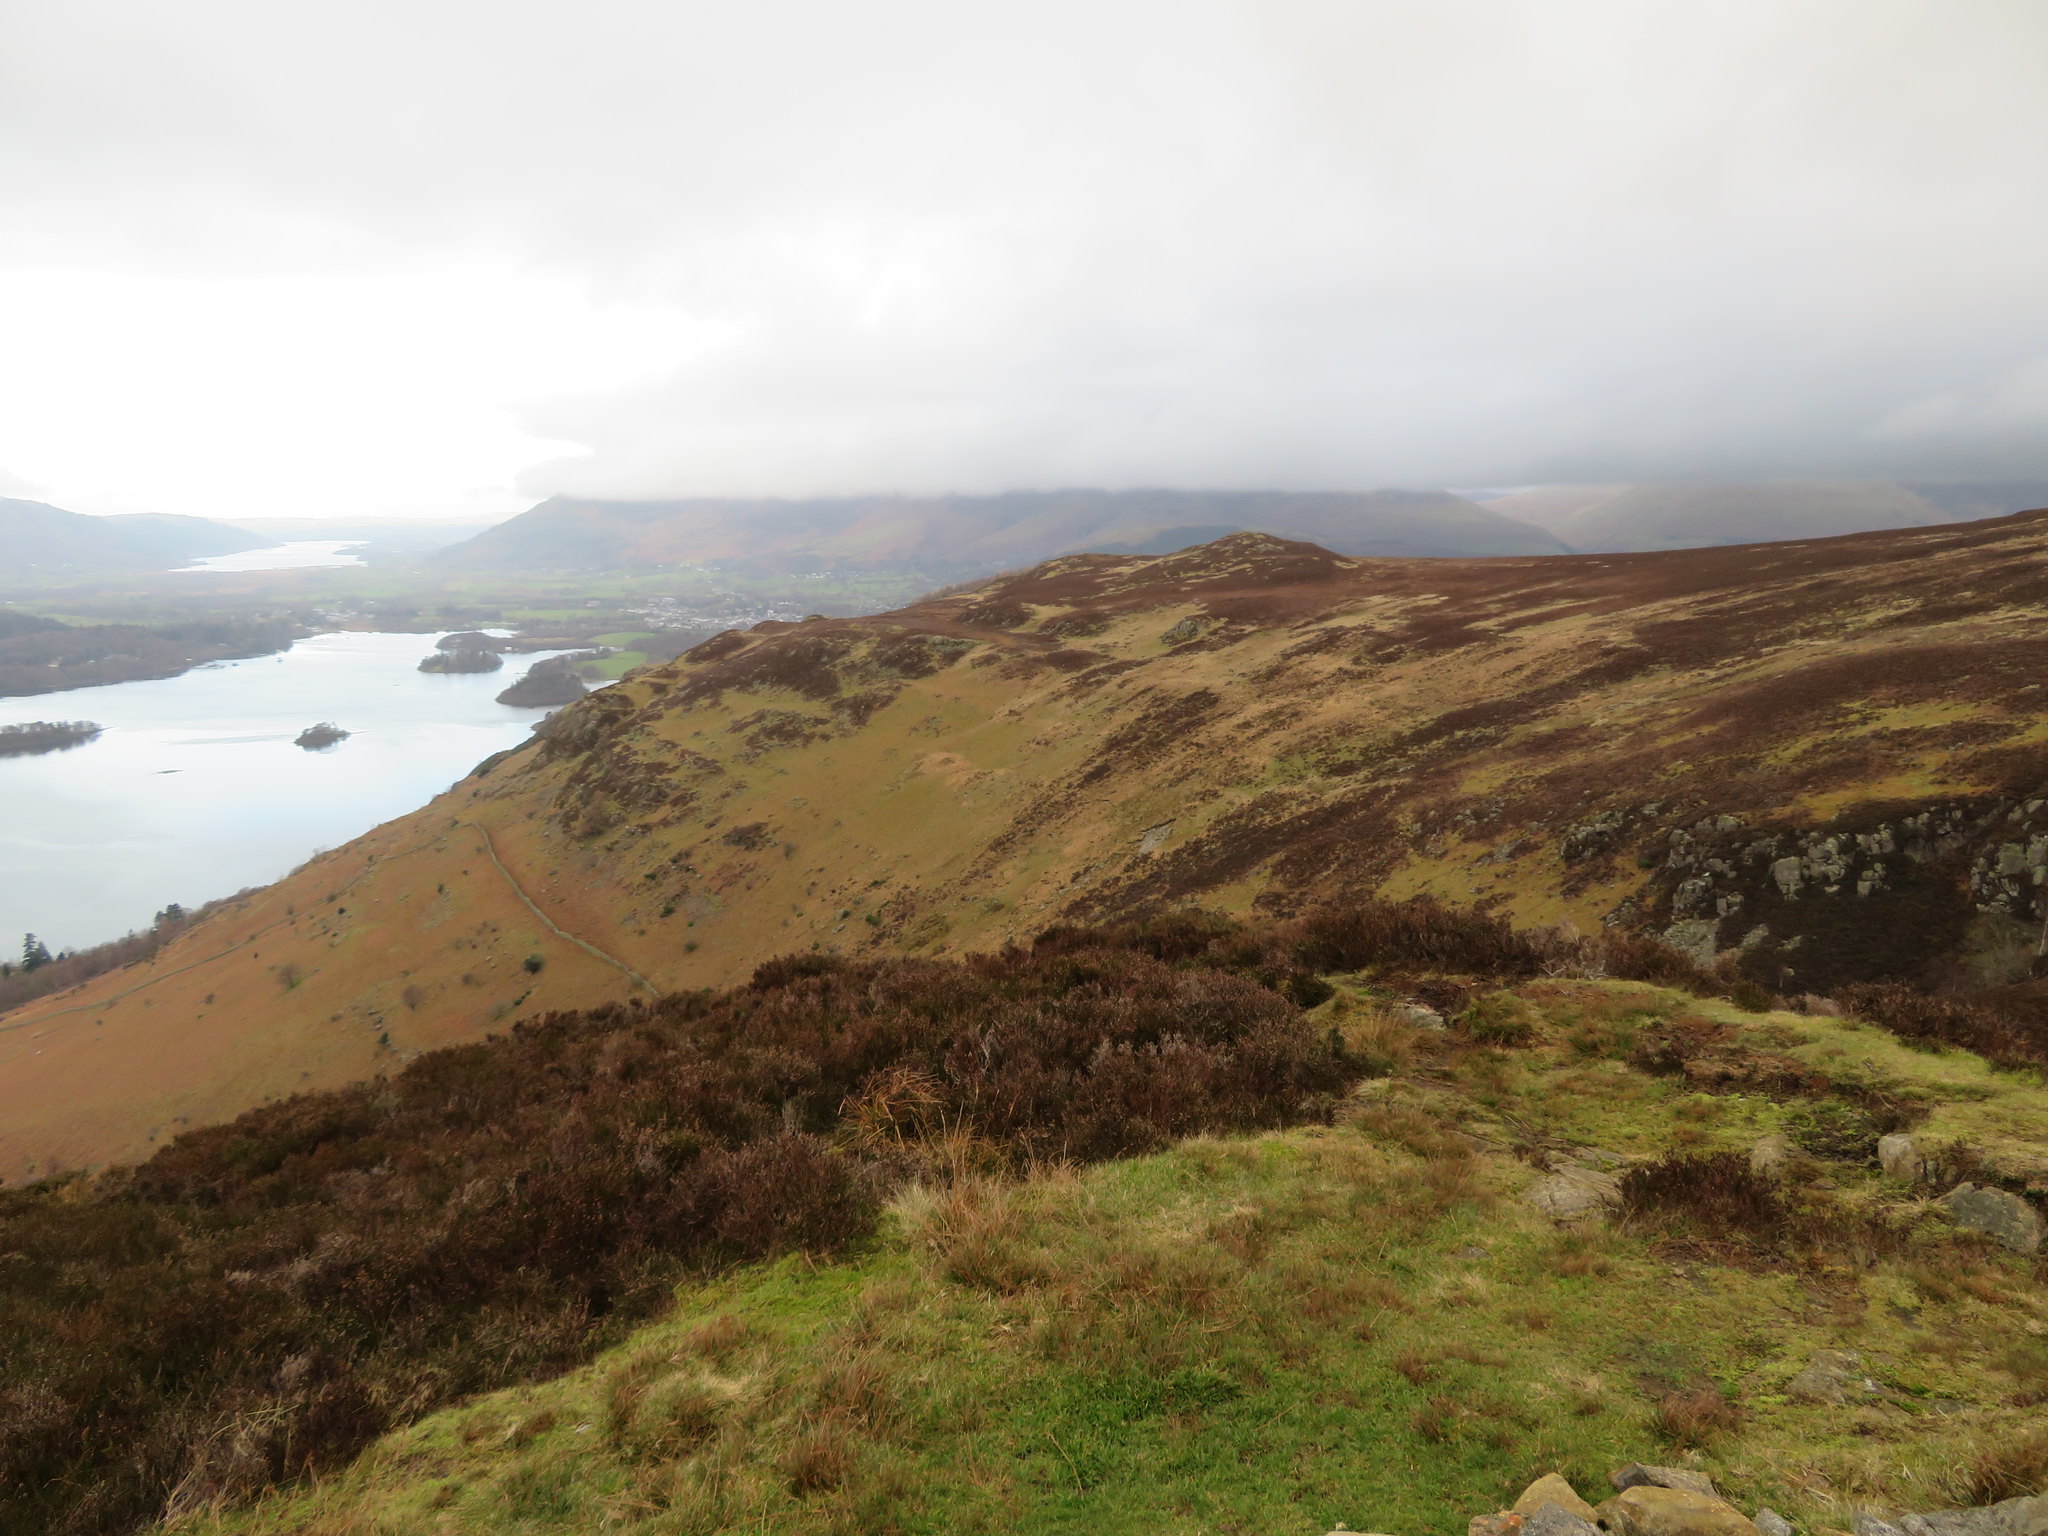
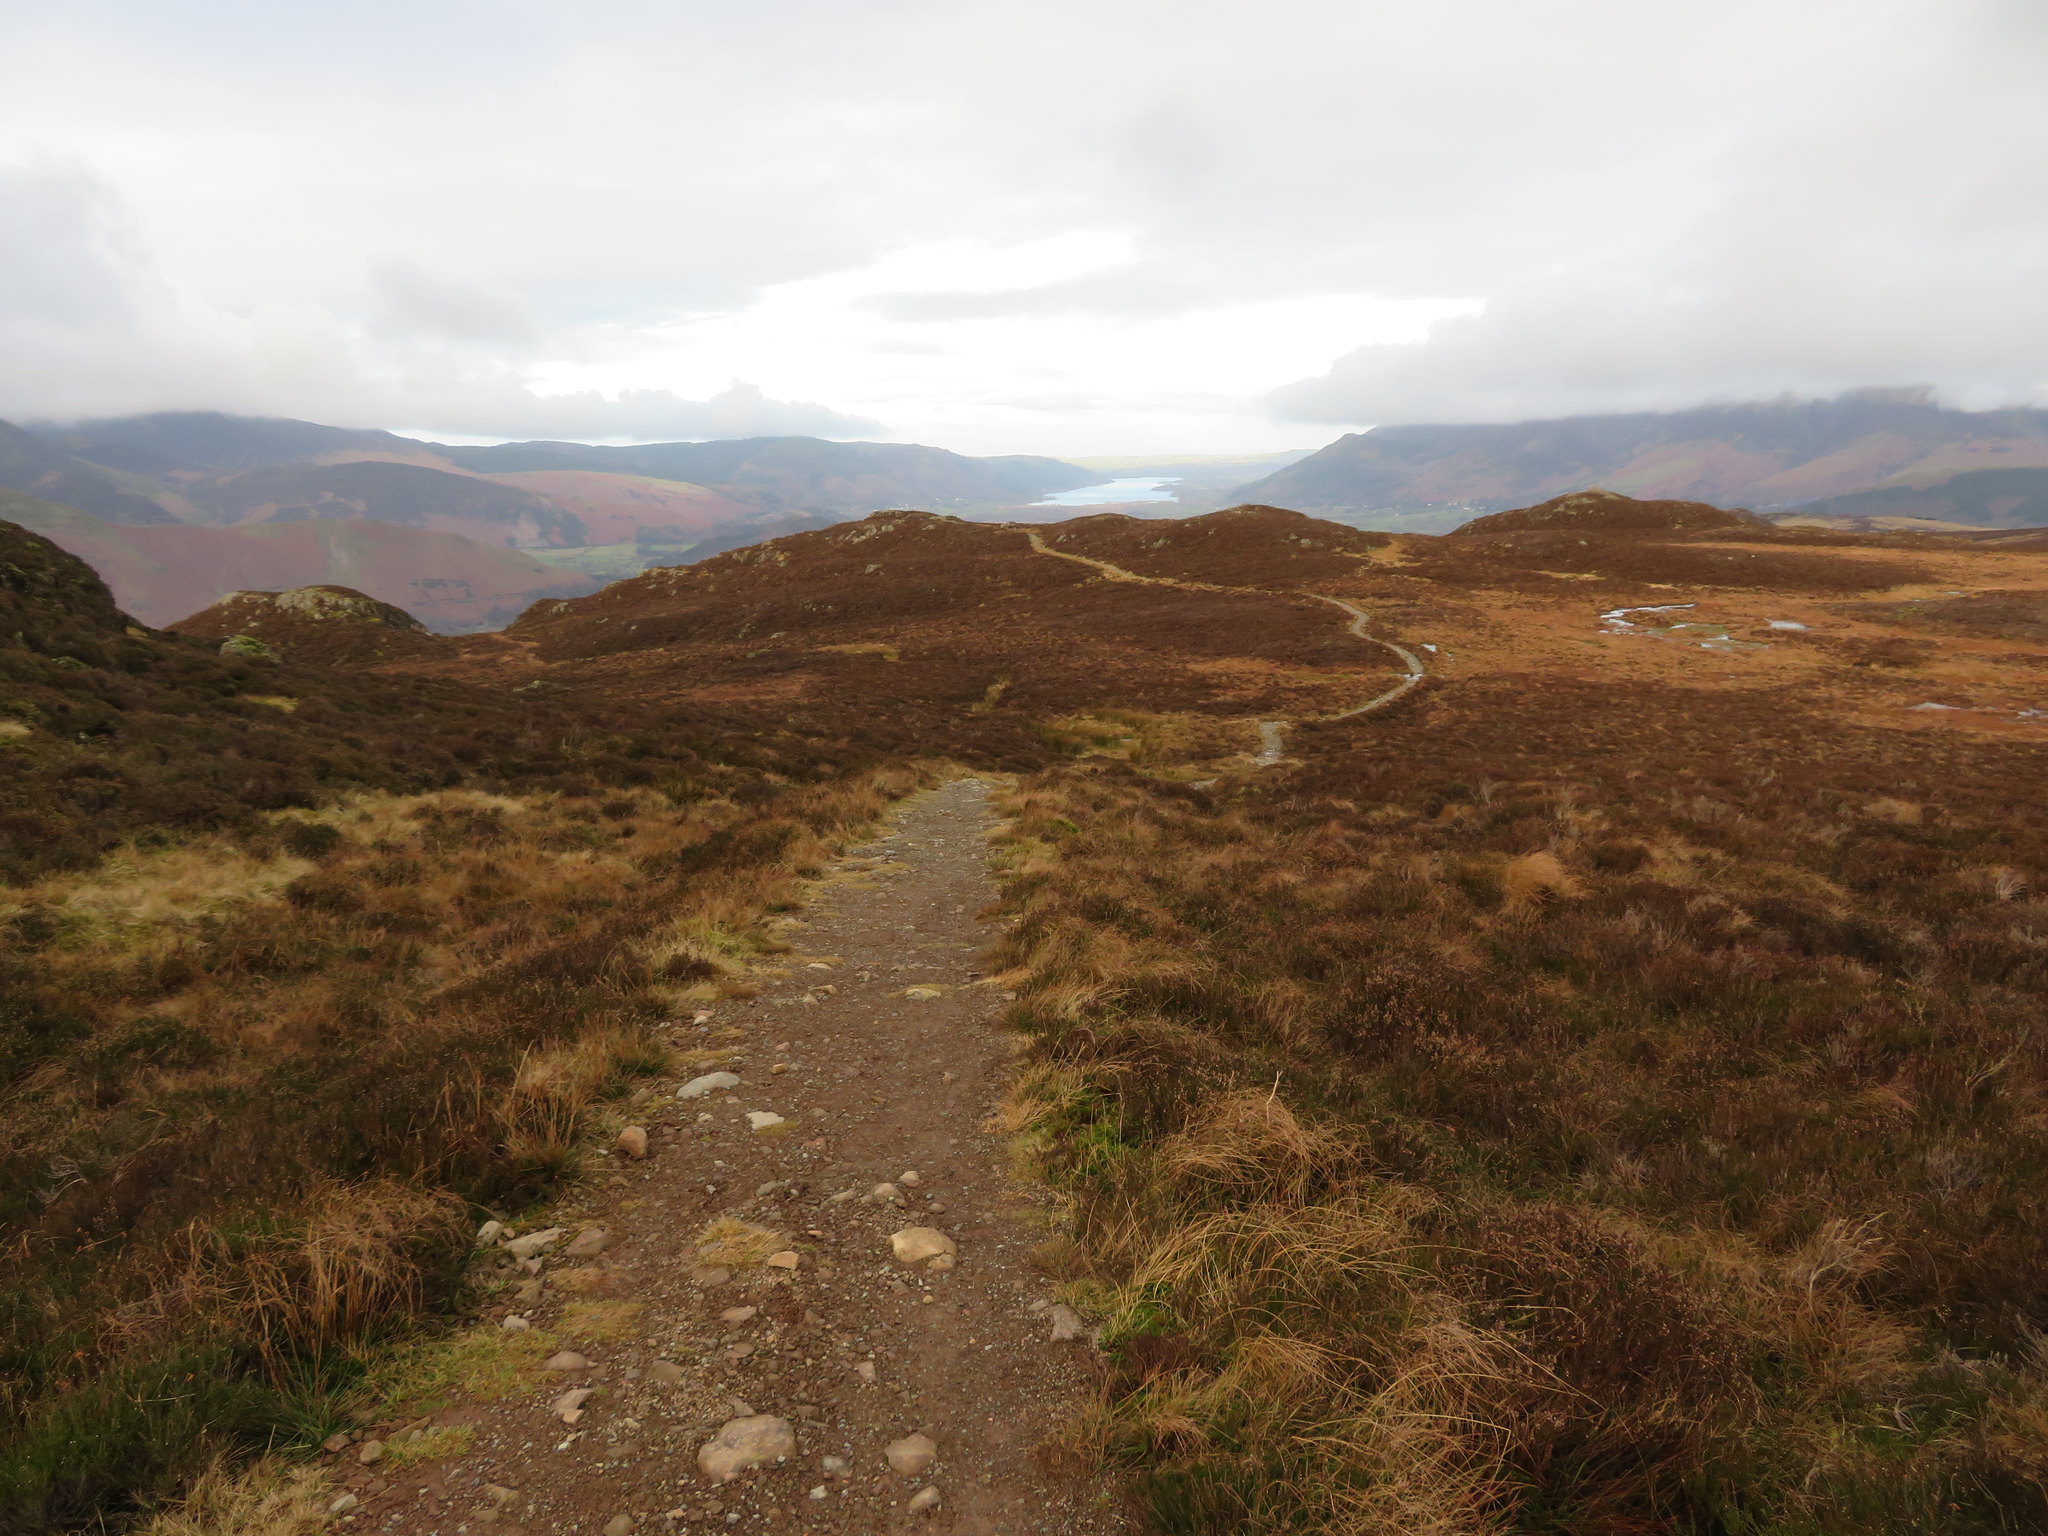
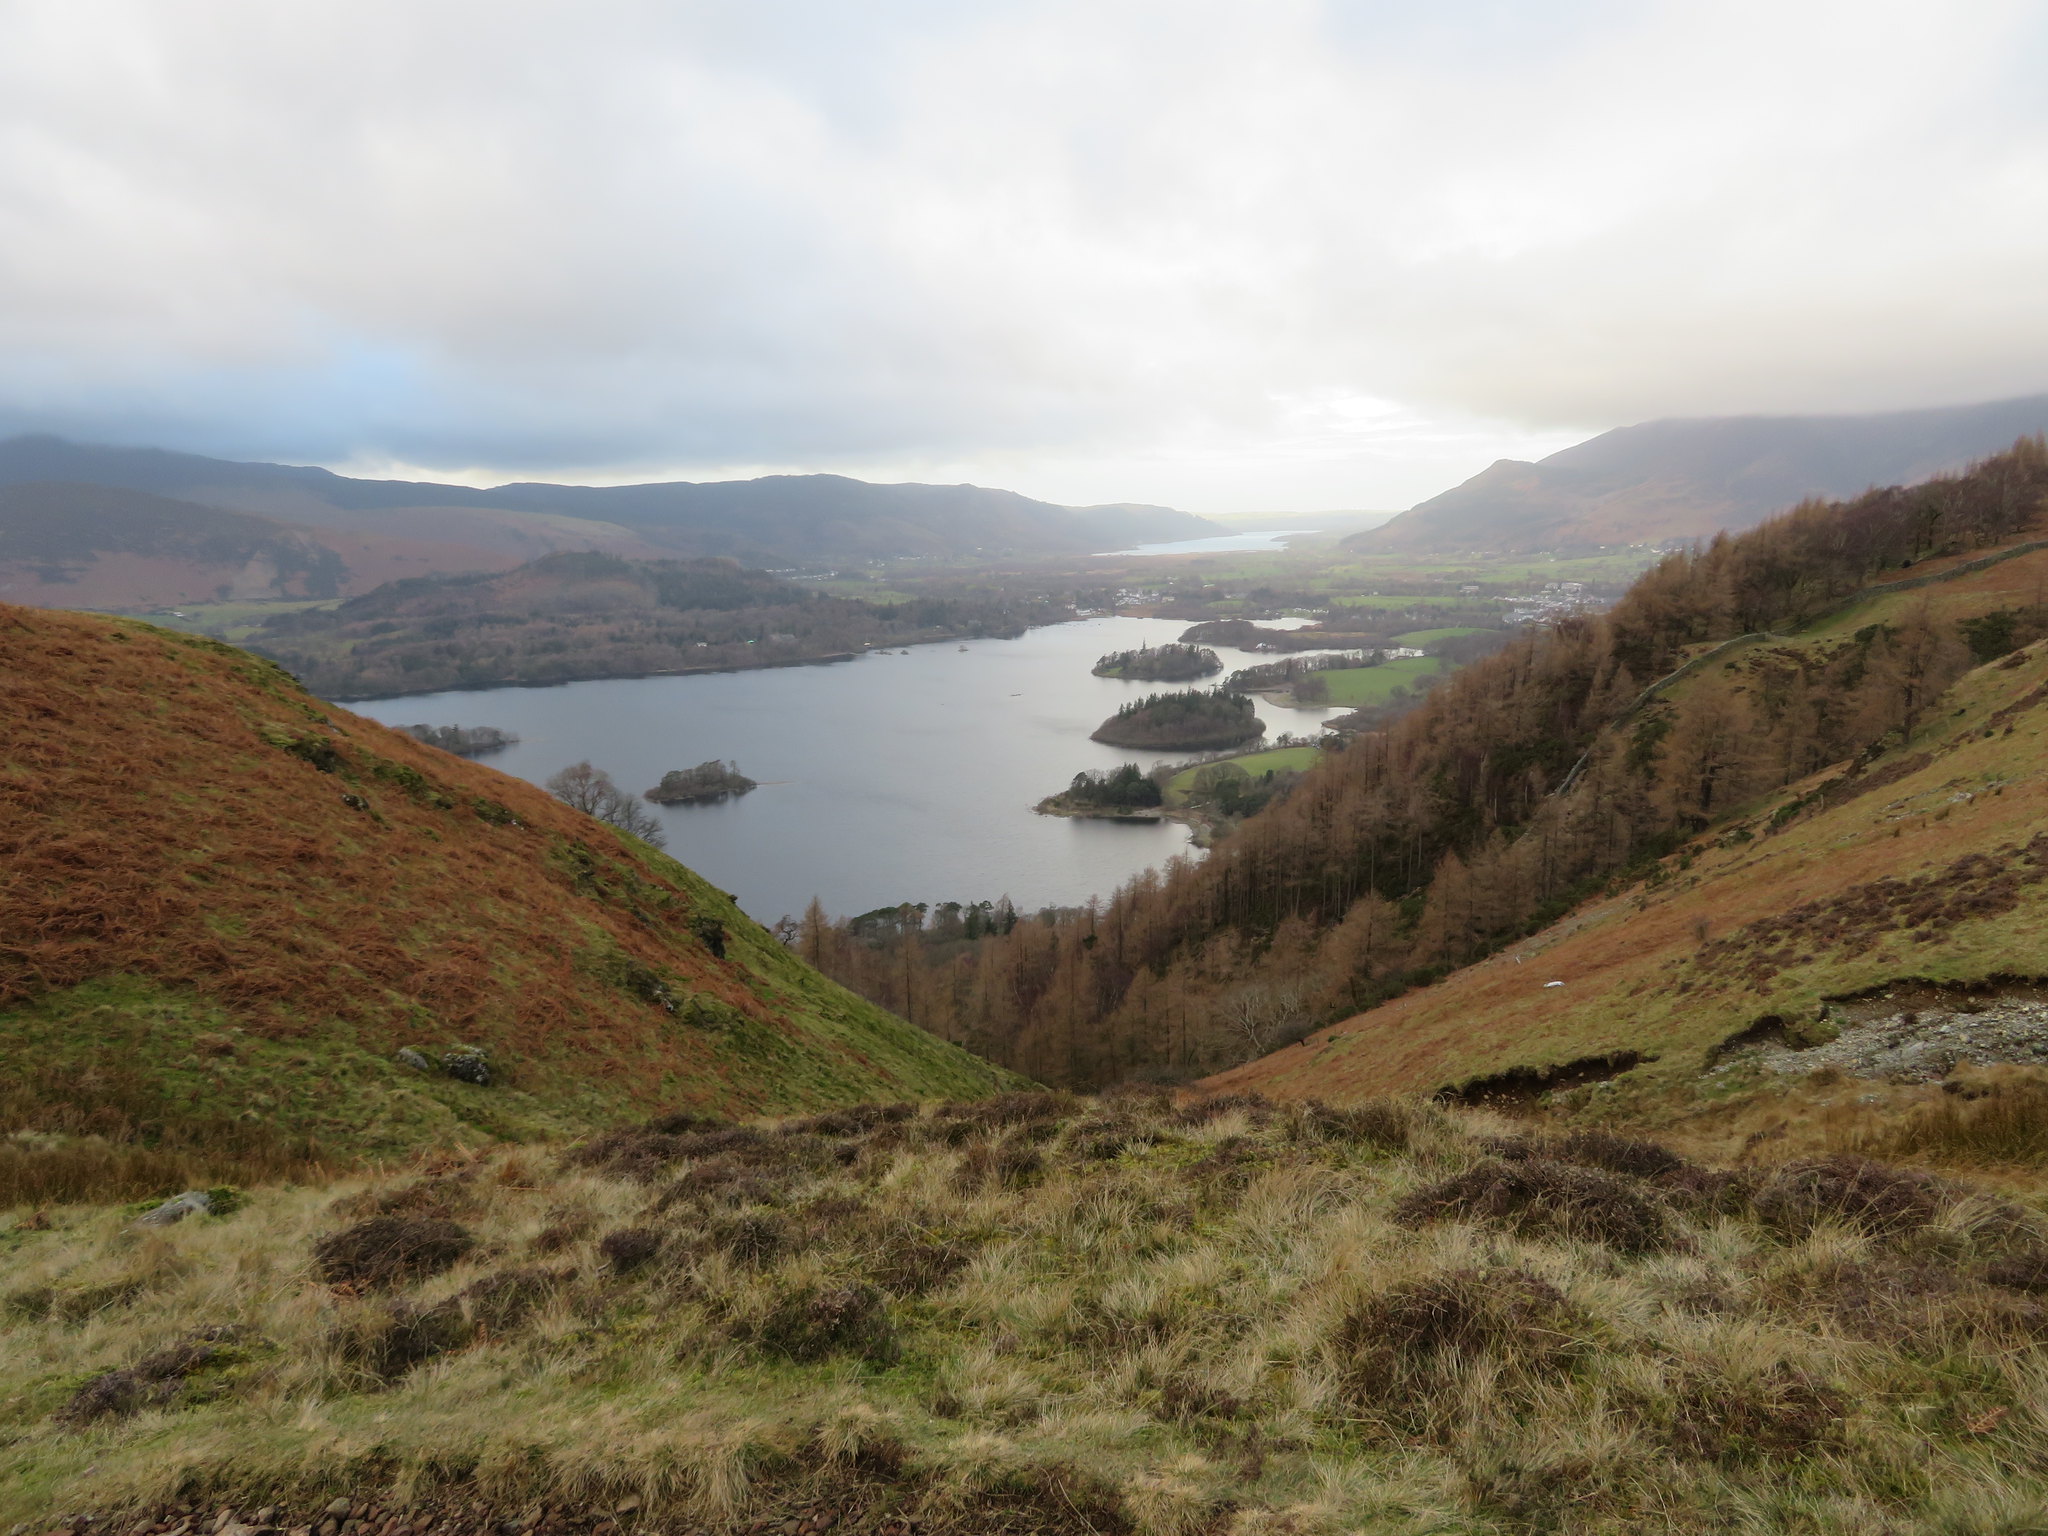
 We couldn't get sated on the views today; we didn't have the time, so we set off once again bearing northwest following the good path down the ridge from where we had a most wonderful view of Derwent Water to Bassenthwaite, Dodd bathed in sunlight and our next port of call and final hill, Walla Crag.
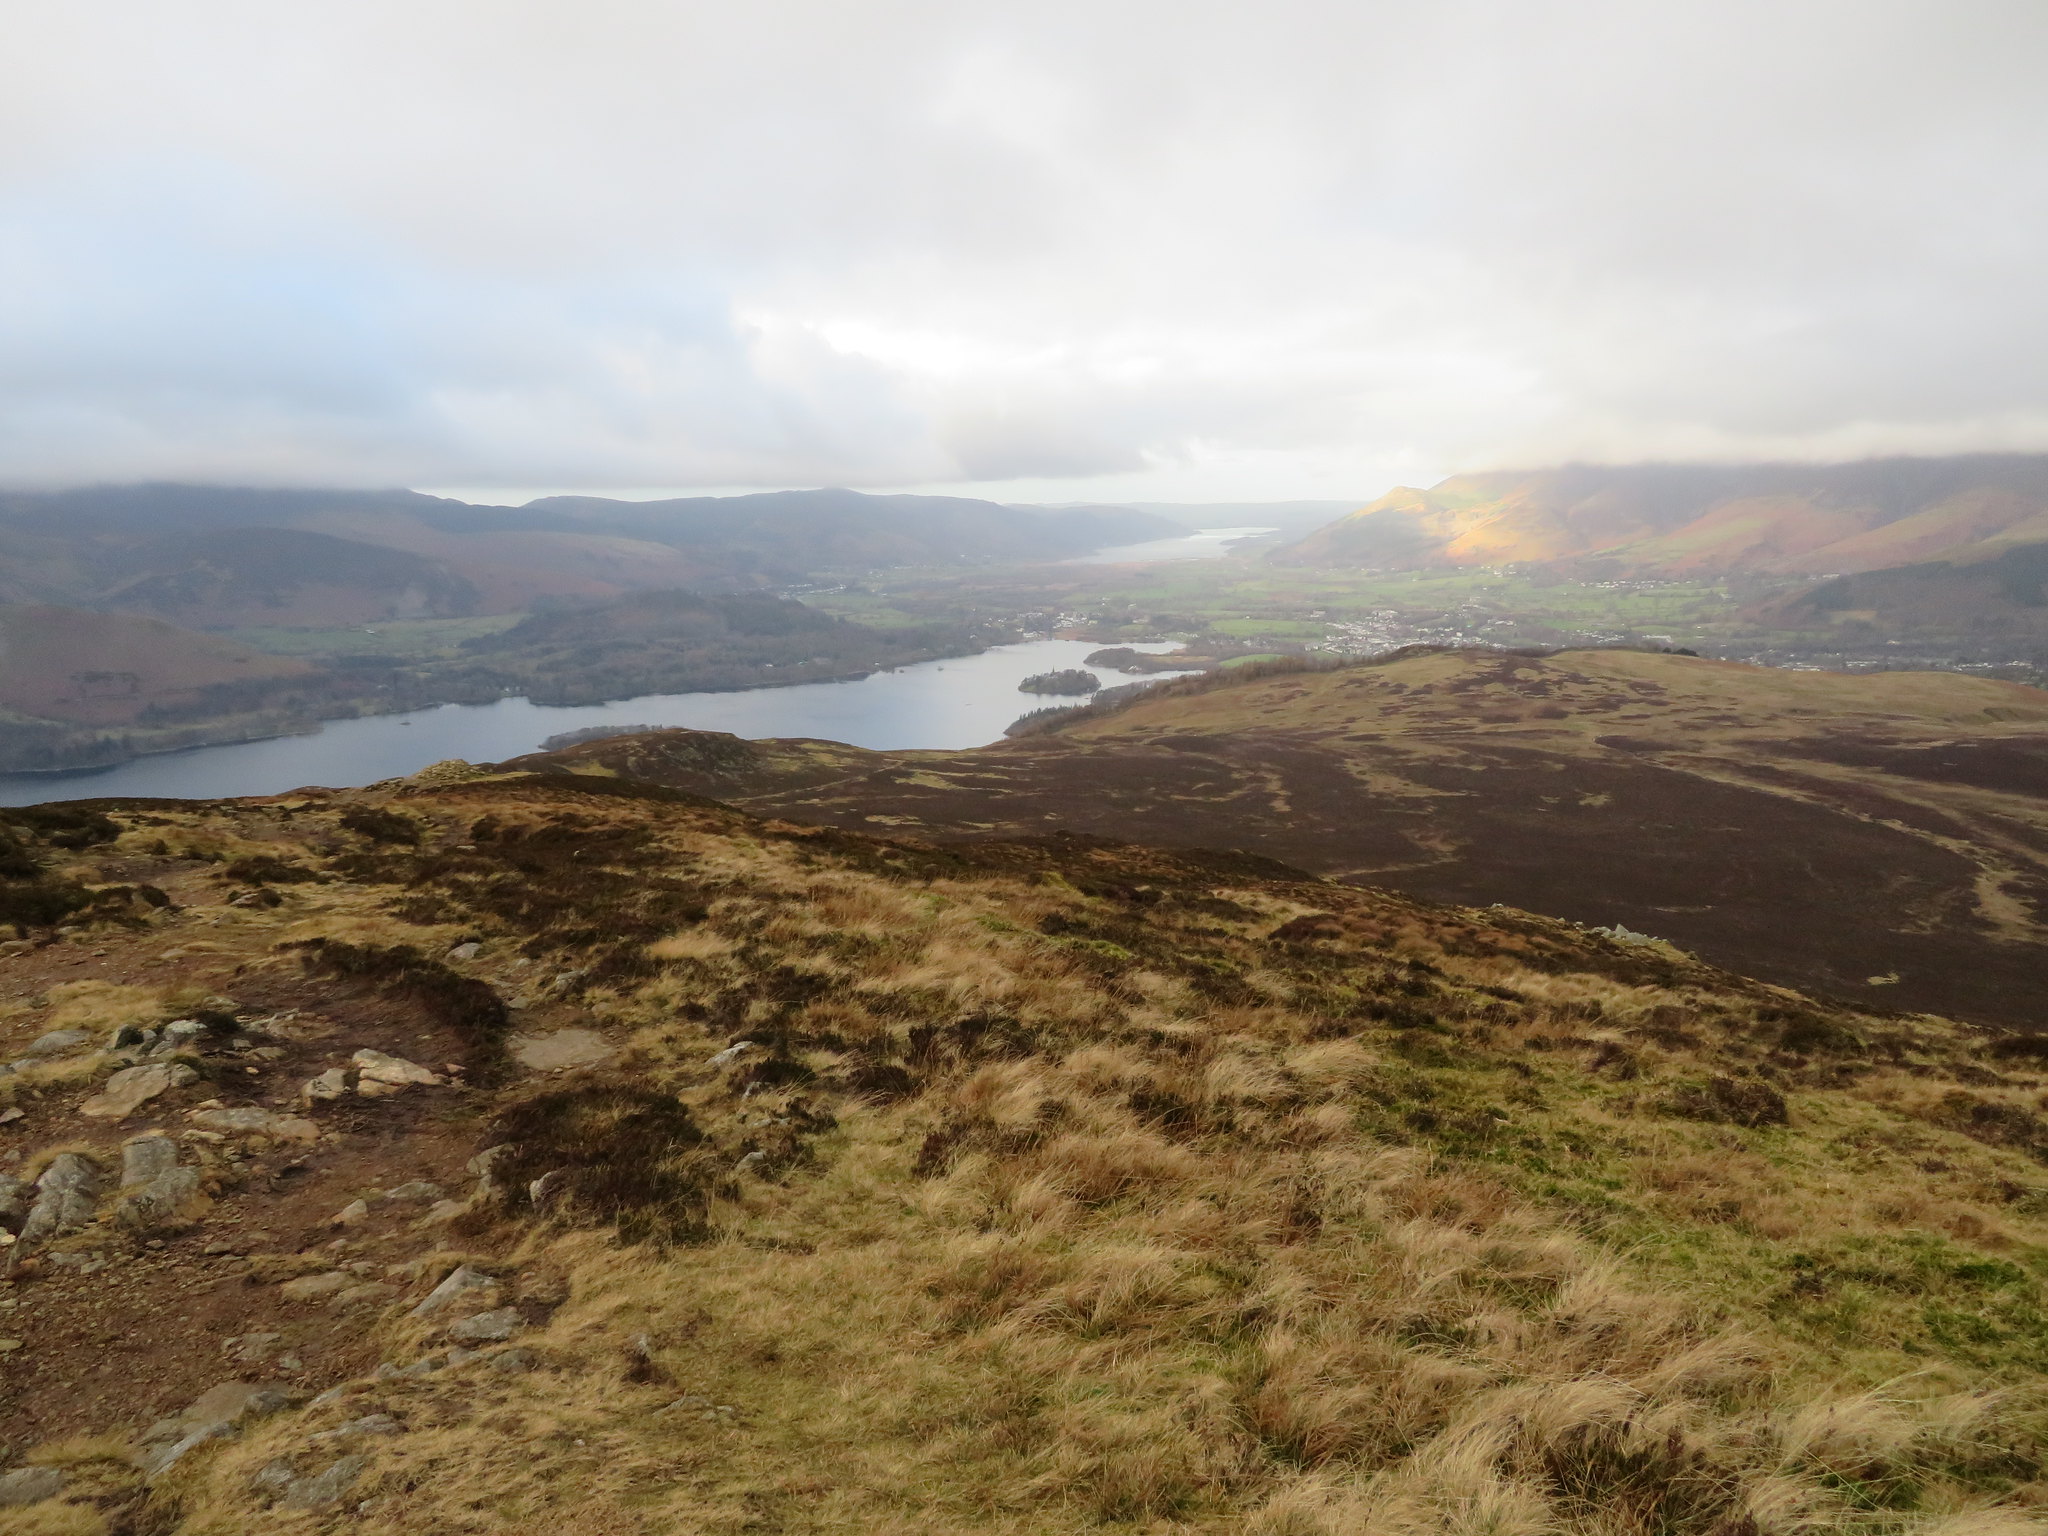 Derwent Water - Bassenthwaite Lake with Dodd in sunlight
 It's a long drop off from the summit to Walla Crag and as we took it steady on the way down I pointed out that the path was mostly relatively new as the original one ran more to the east of us and would become more obvious when looking up from Walla Crag.
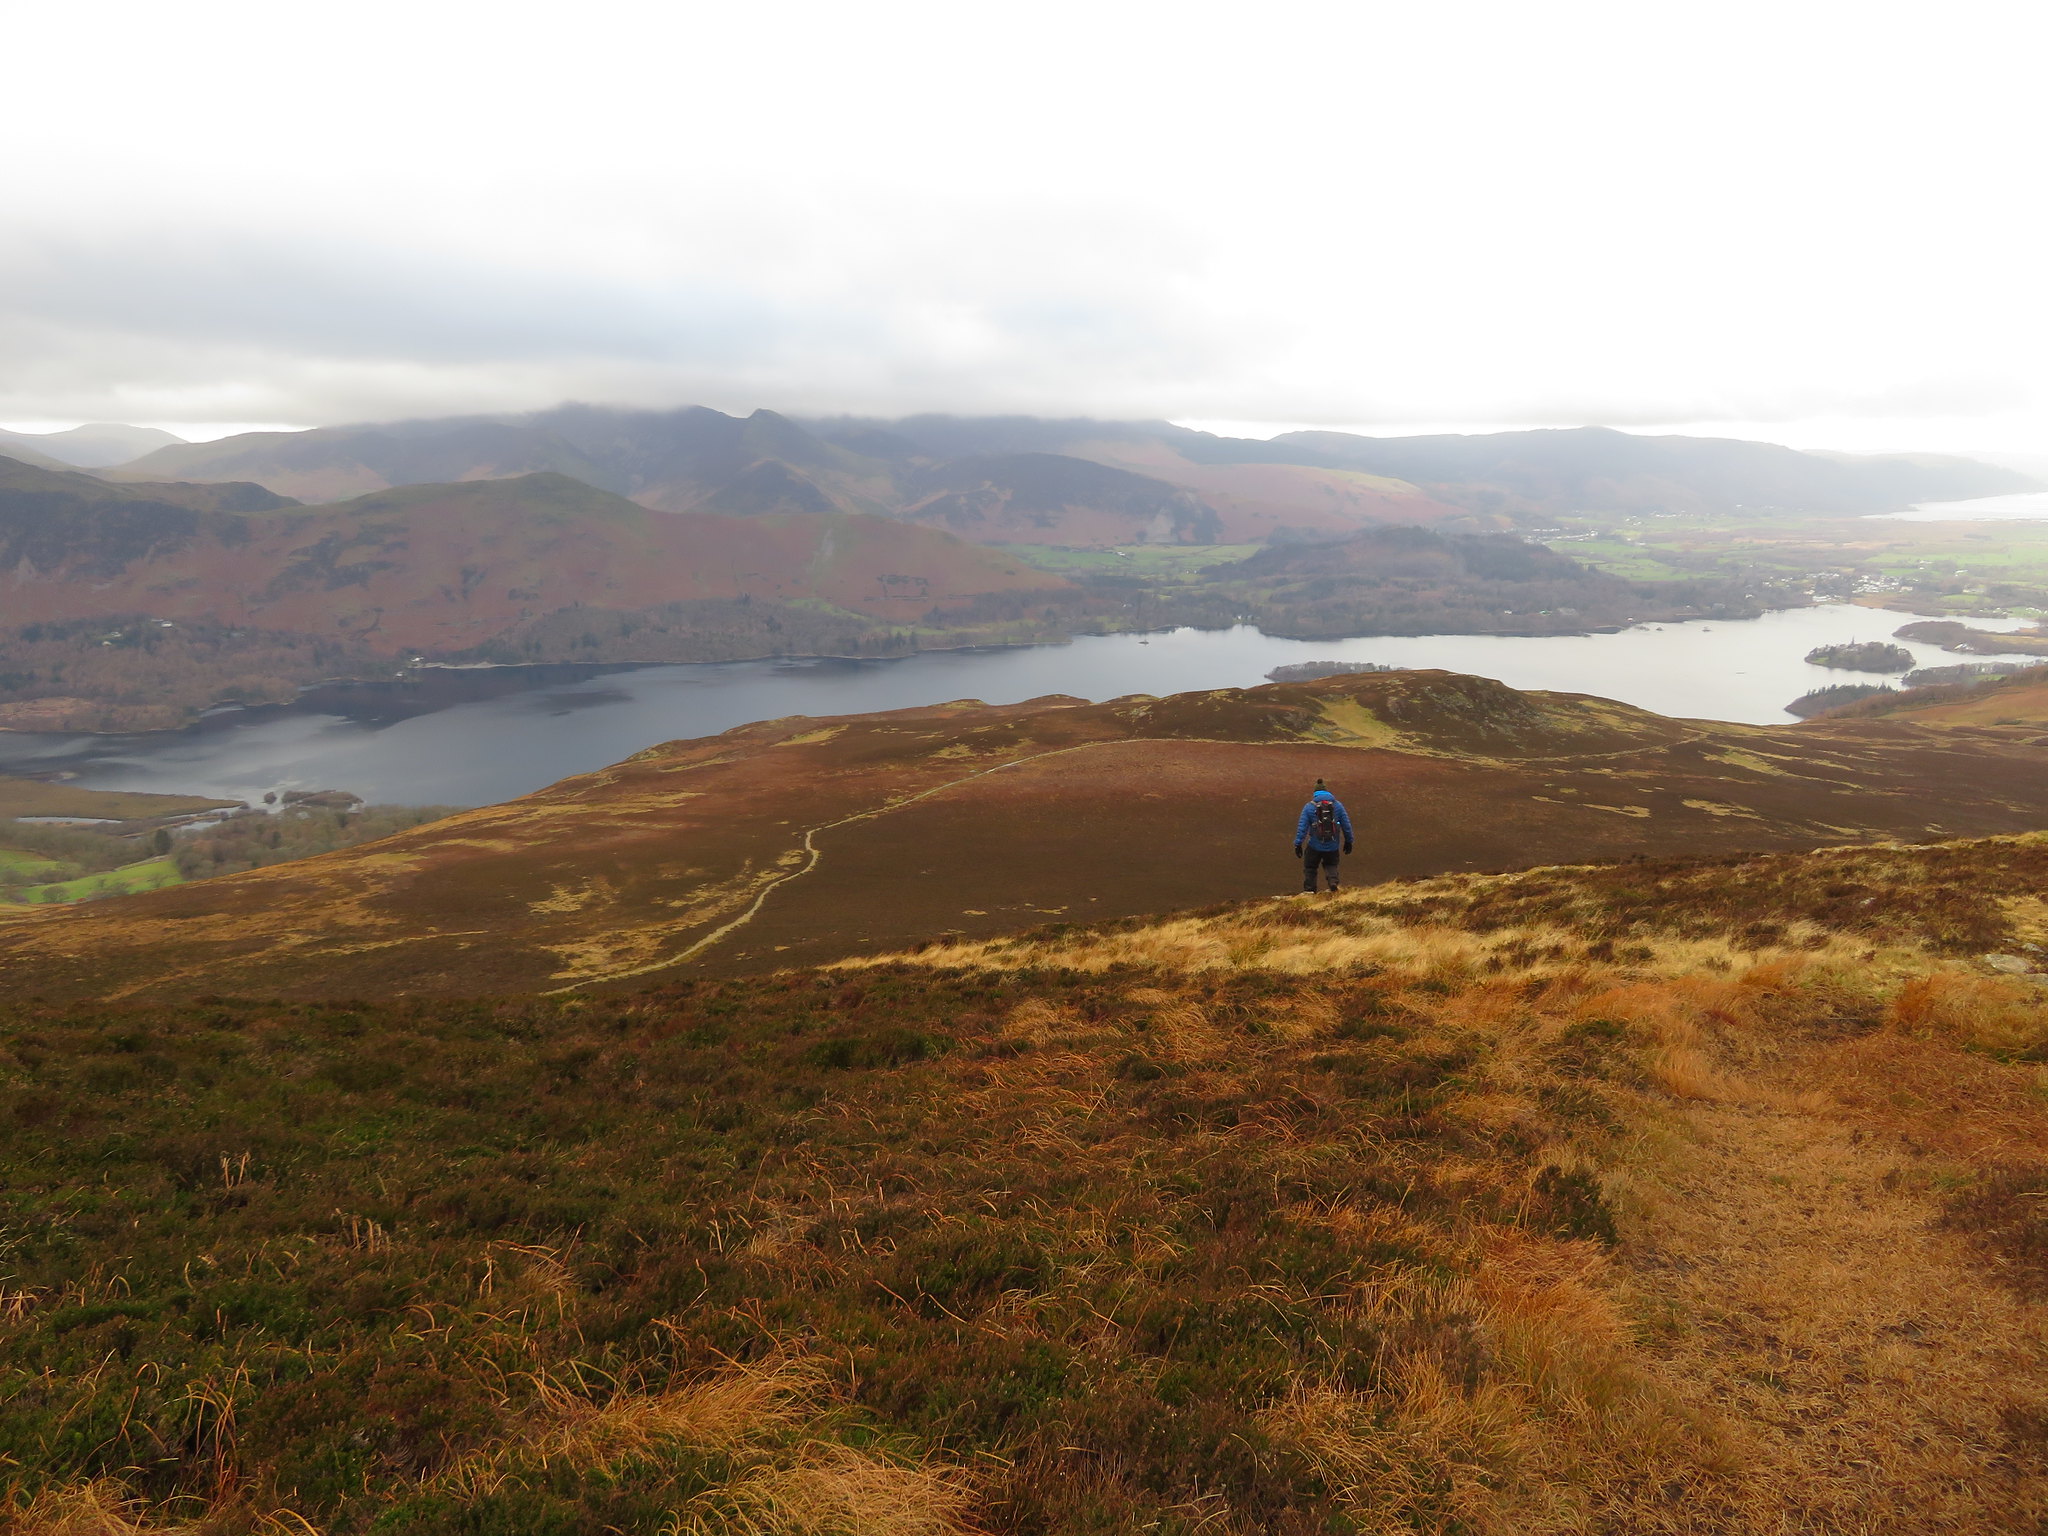 A view across Derwent Water from Bleaberry Fell
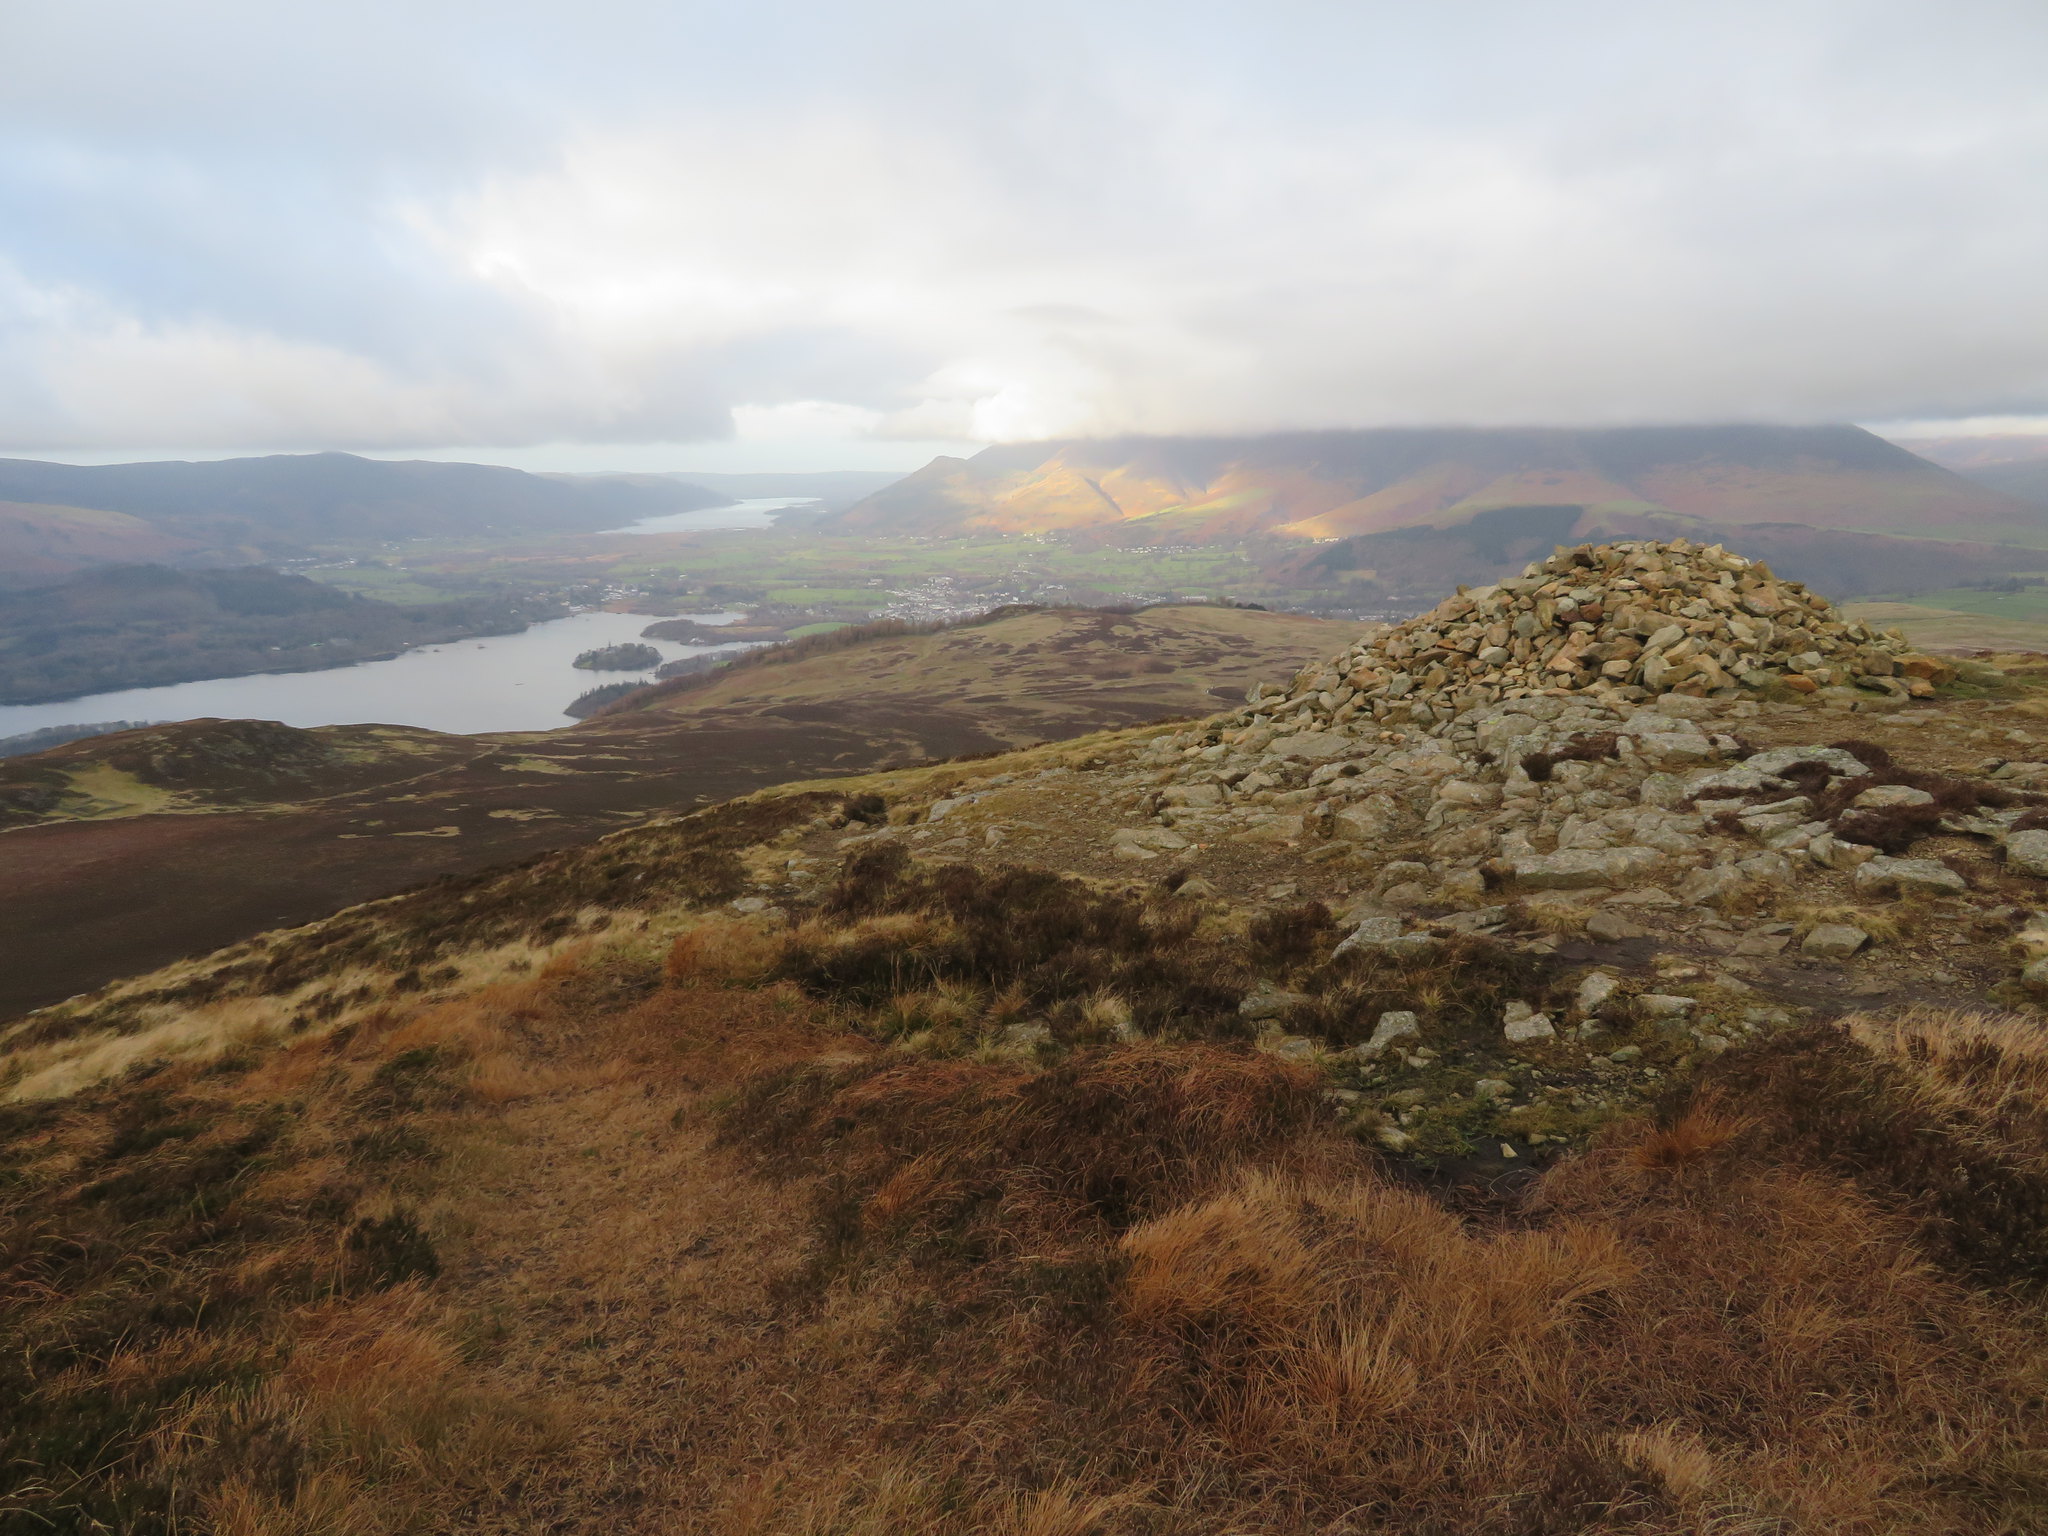 Skiddaw under cloud
 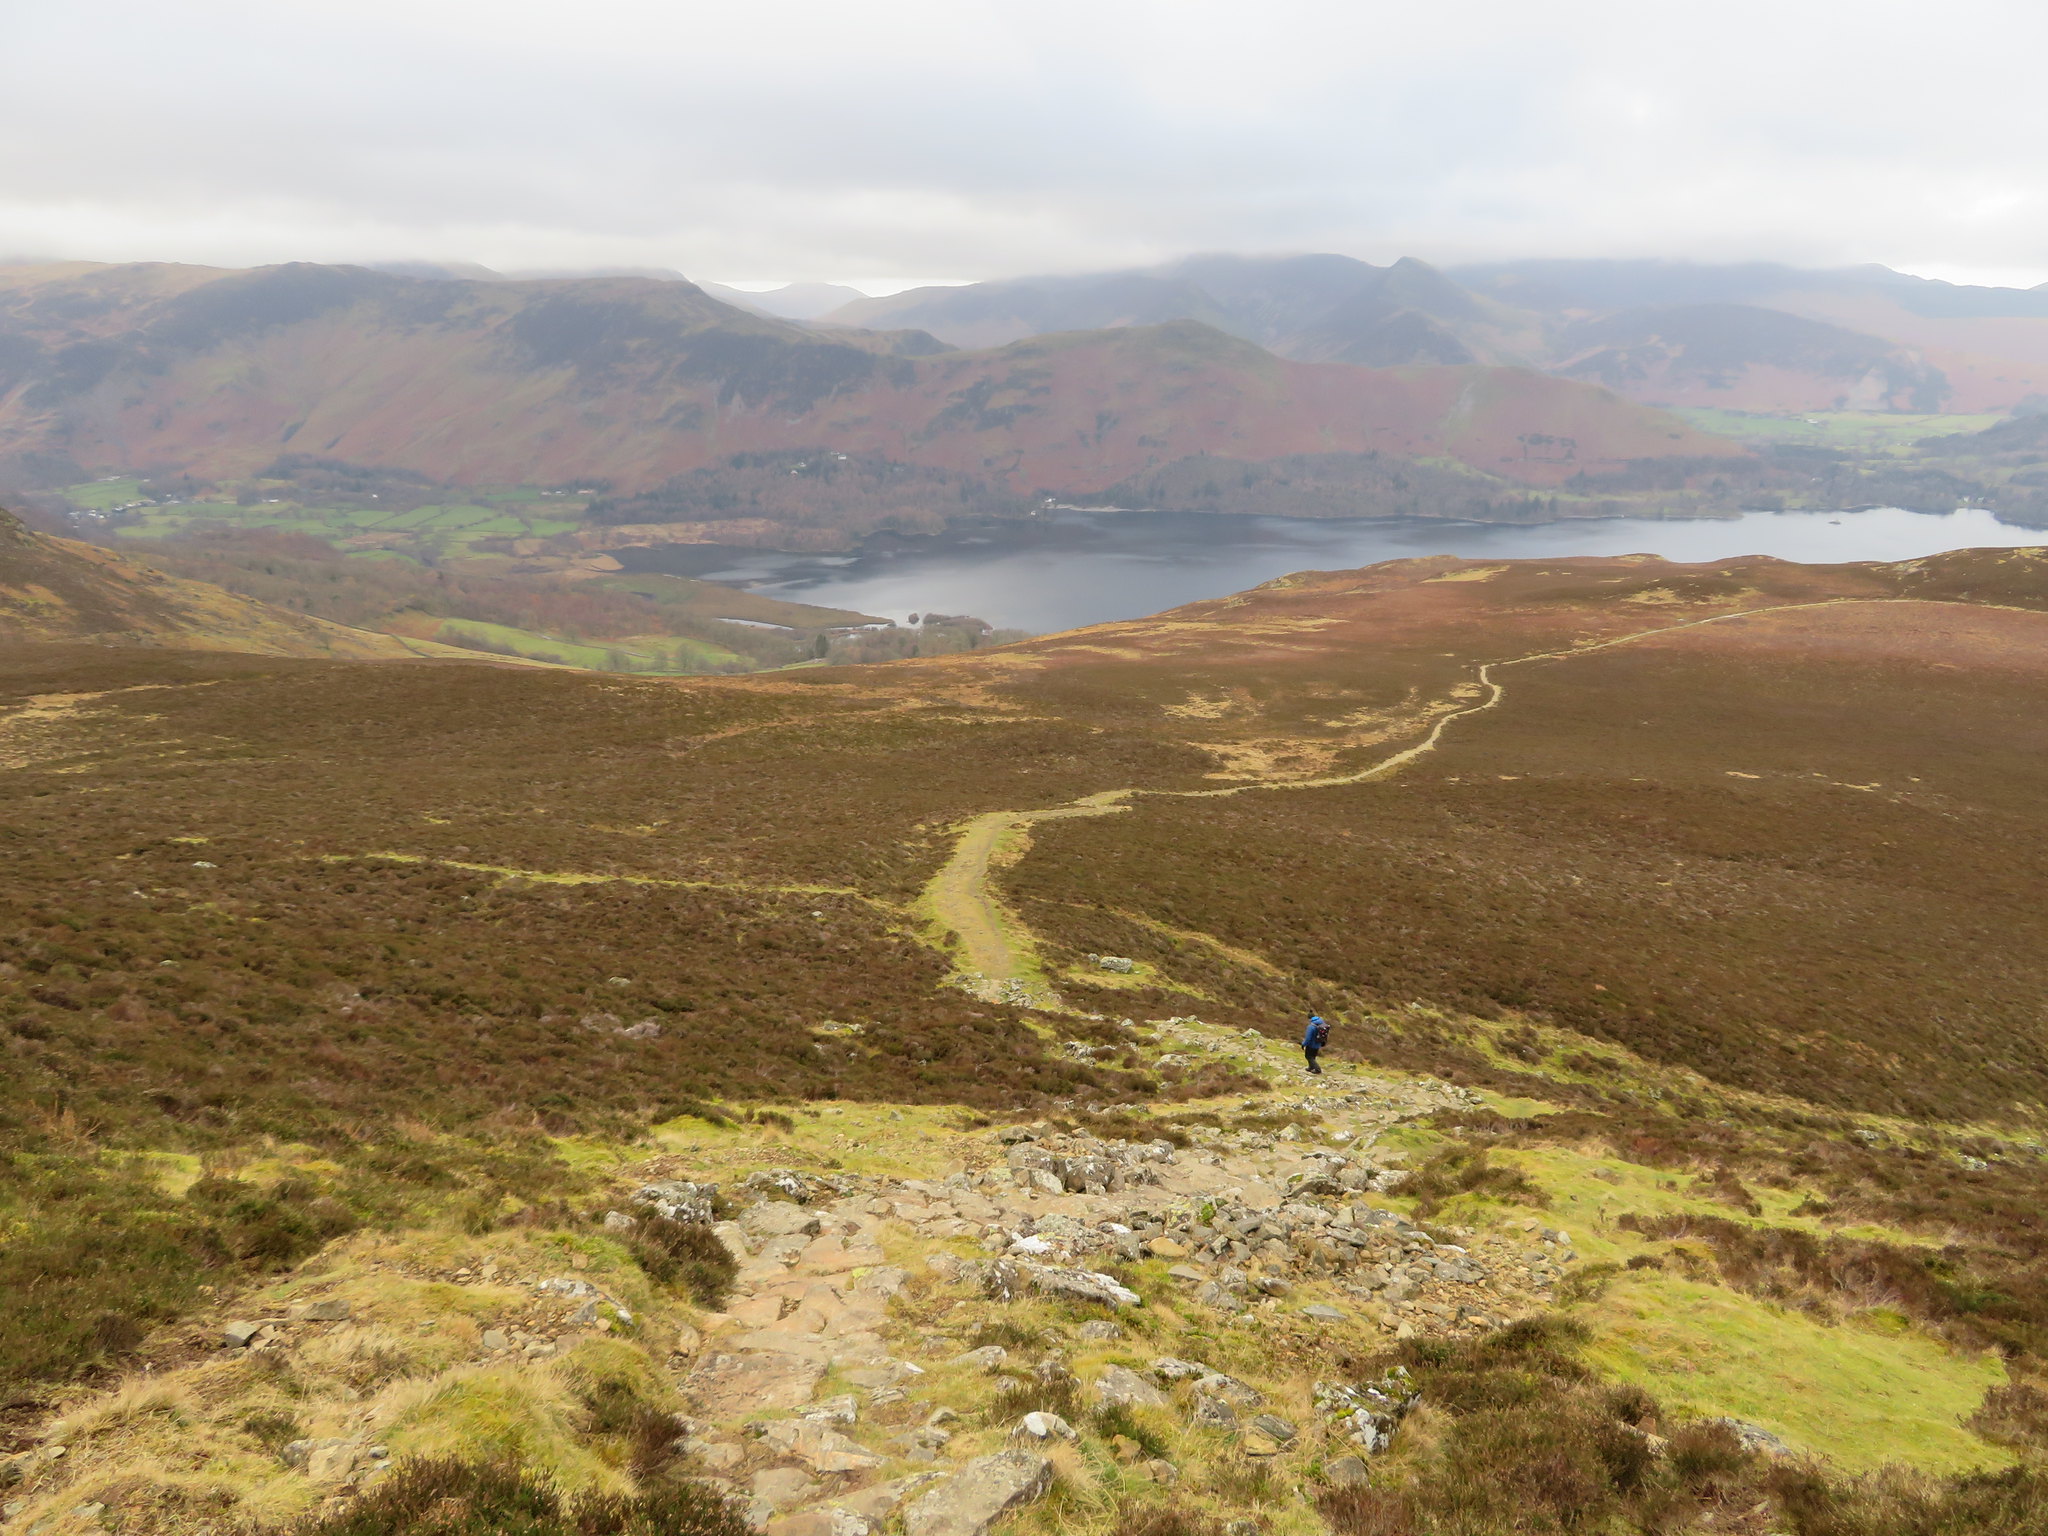 Down we go to Walla Crag
 This 'new' path is nice and firm whilst the original one was soft and spongy for a large part of it so this is a great improvement and shows the value of moving access from an eroded area to a new one. Walla Crag and the short climb was now in full view.
 The tree lined ridge of Walla Crag
Well, it's just about taken us an hour to get down and then up to the summit of Walla Crag, good enough under the circumstances and from here we had an easy stroll back to Ashness Bridge as we pass over Falcon Crag and below Brown Knotts.
 Walla Crag top
 Once again a small fell comes up trumps with the views.
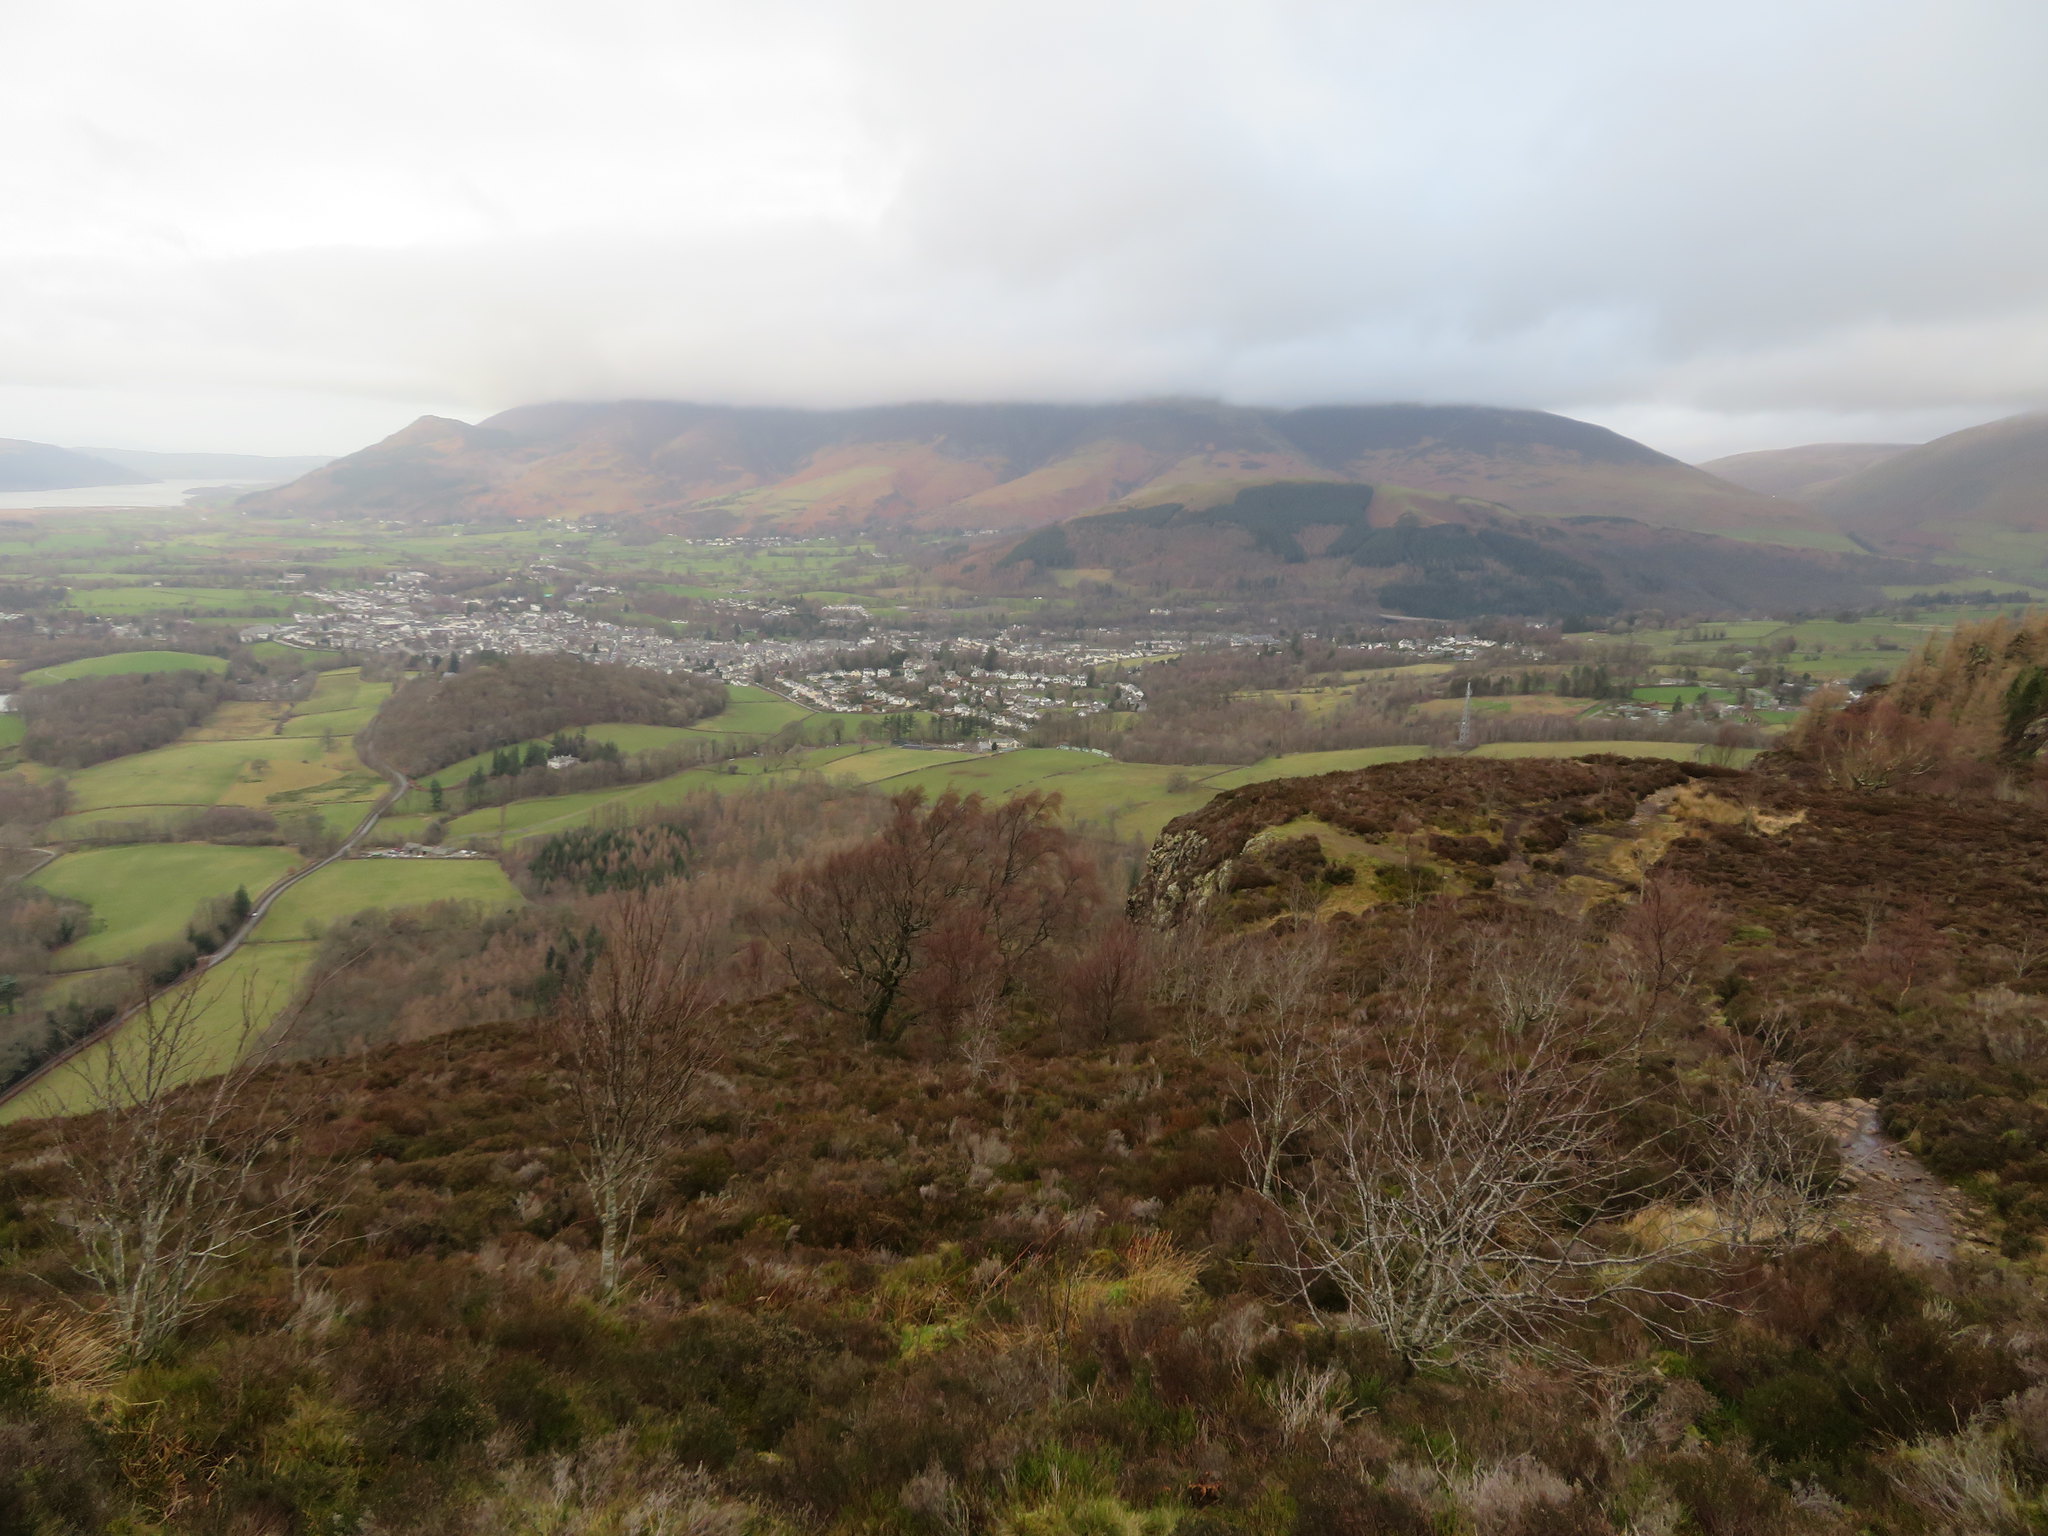 Keswick from Walla Crag
 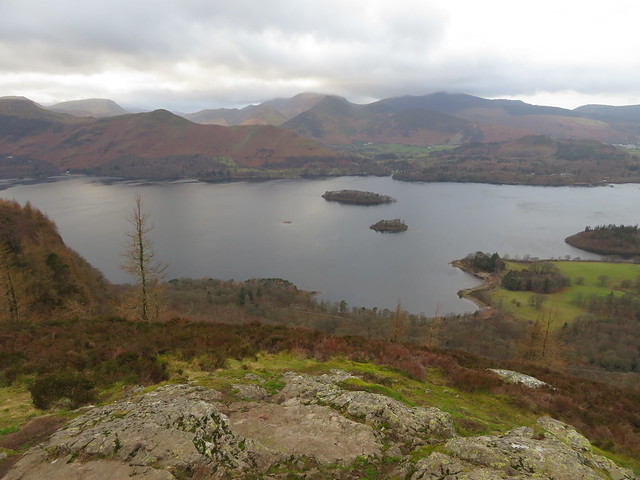 A view of some North Western Fells from Walla Crag
 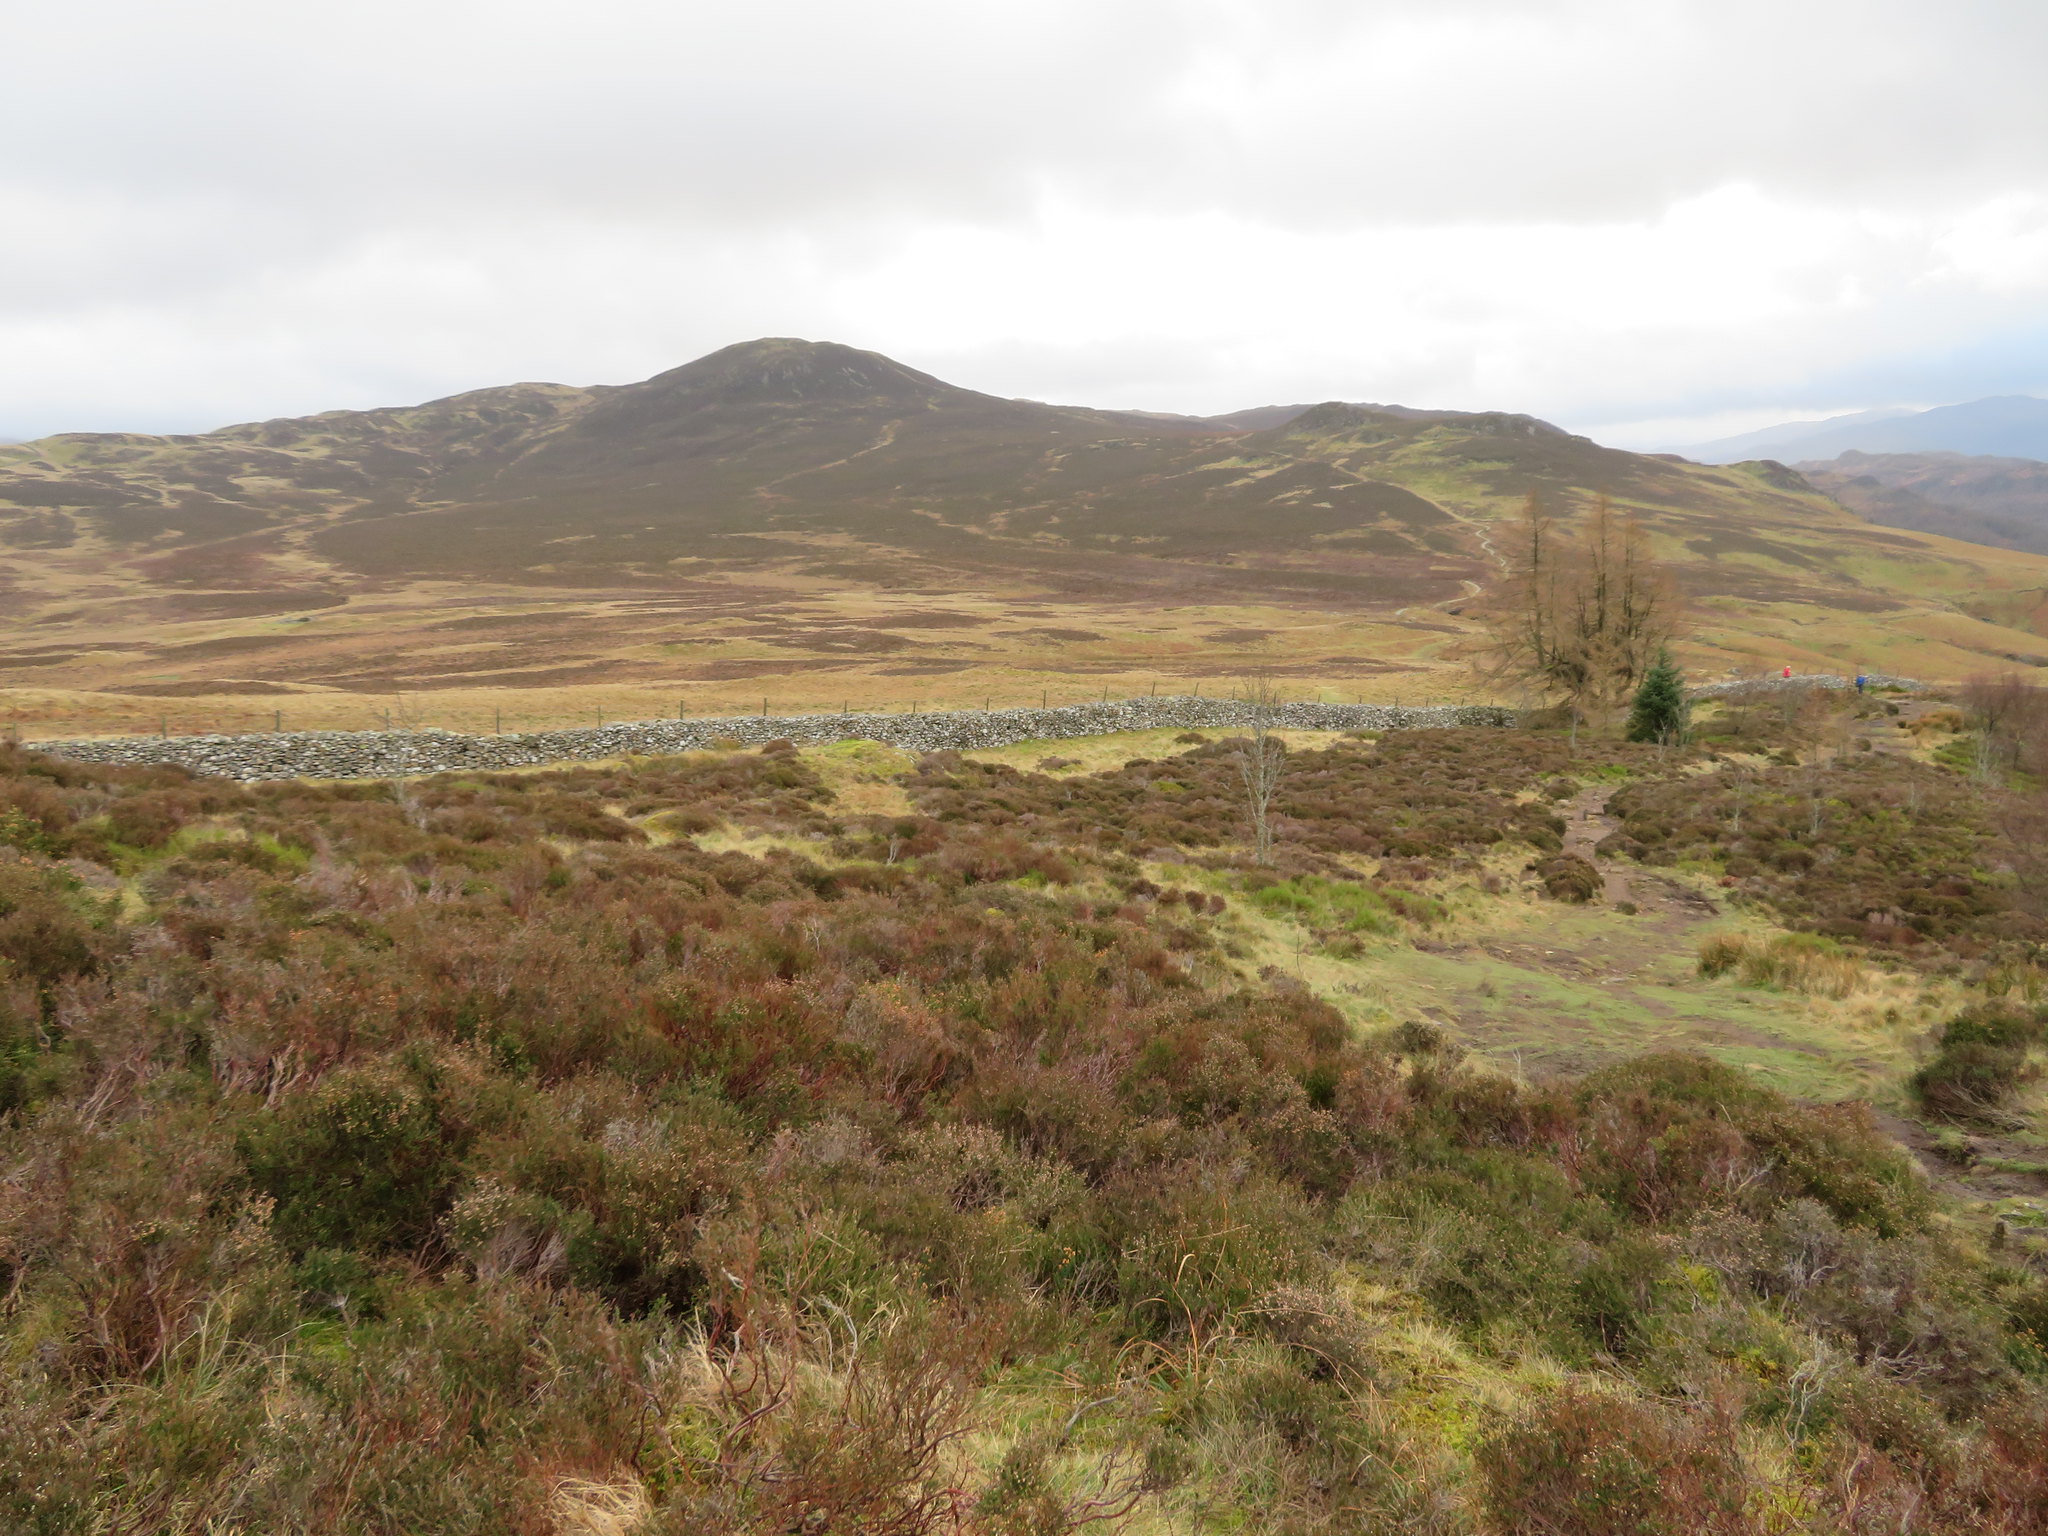 Bleaberry Fell showing the old and the new paths
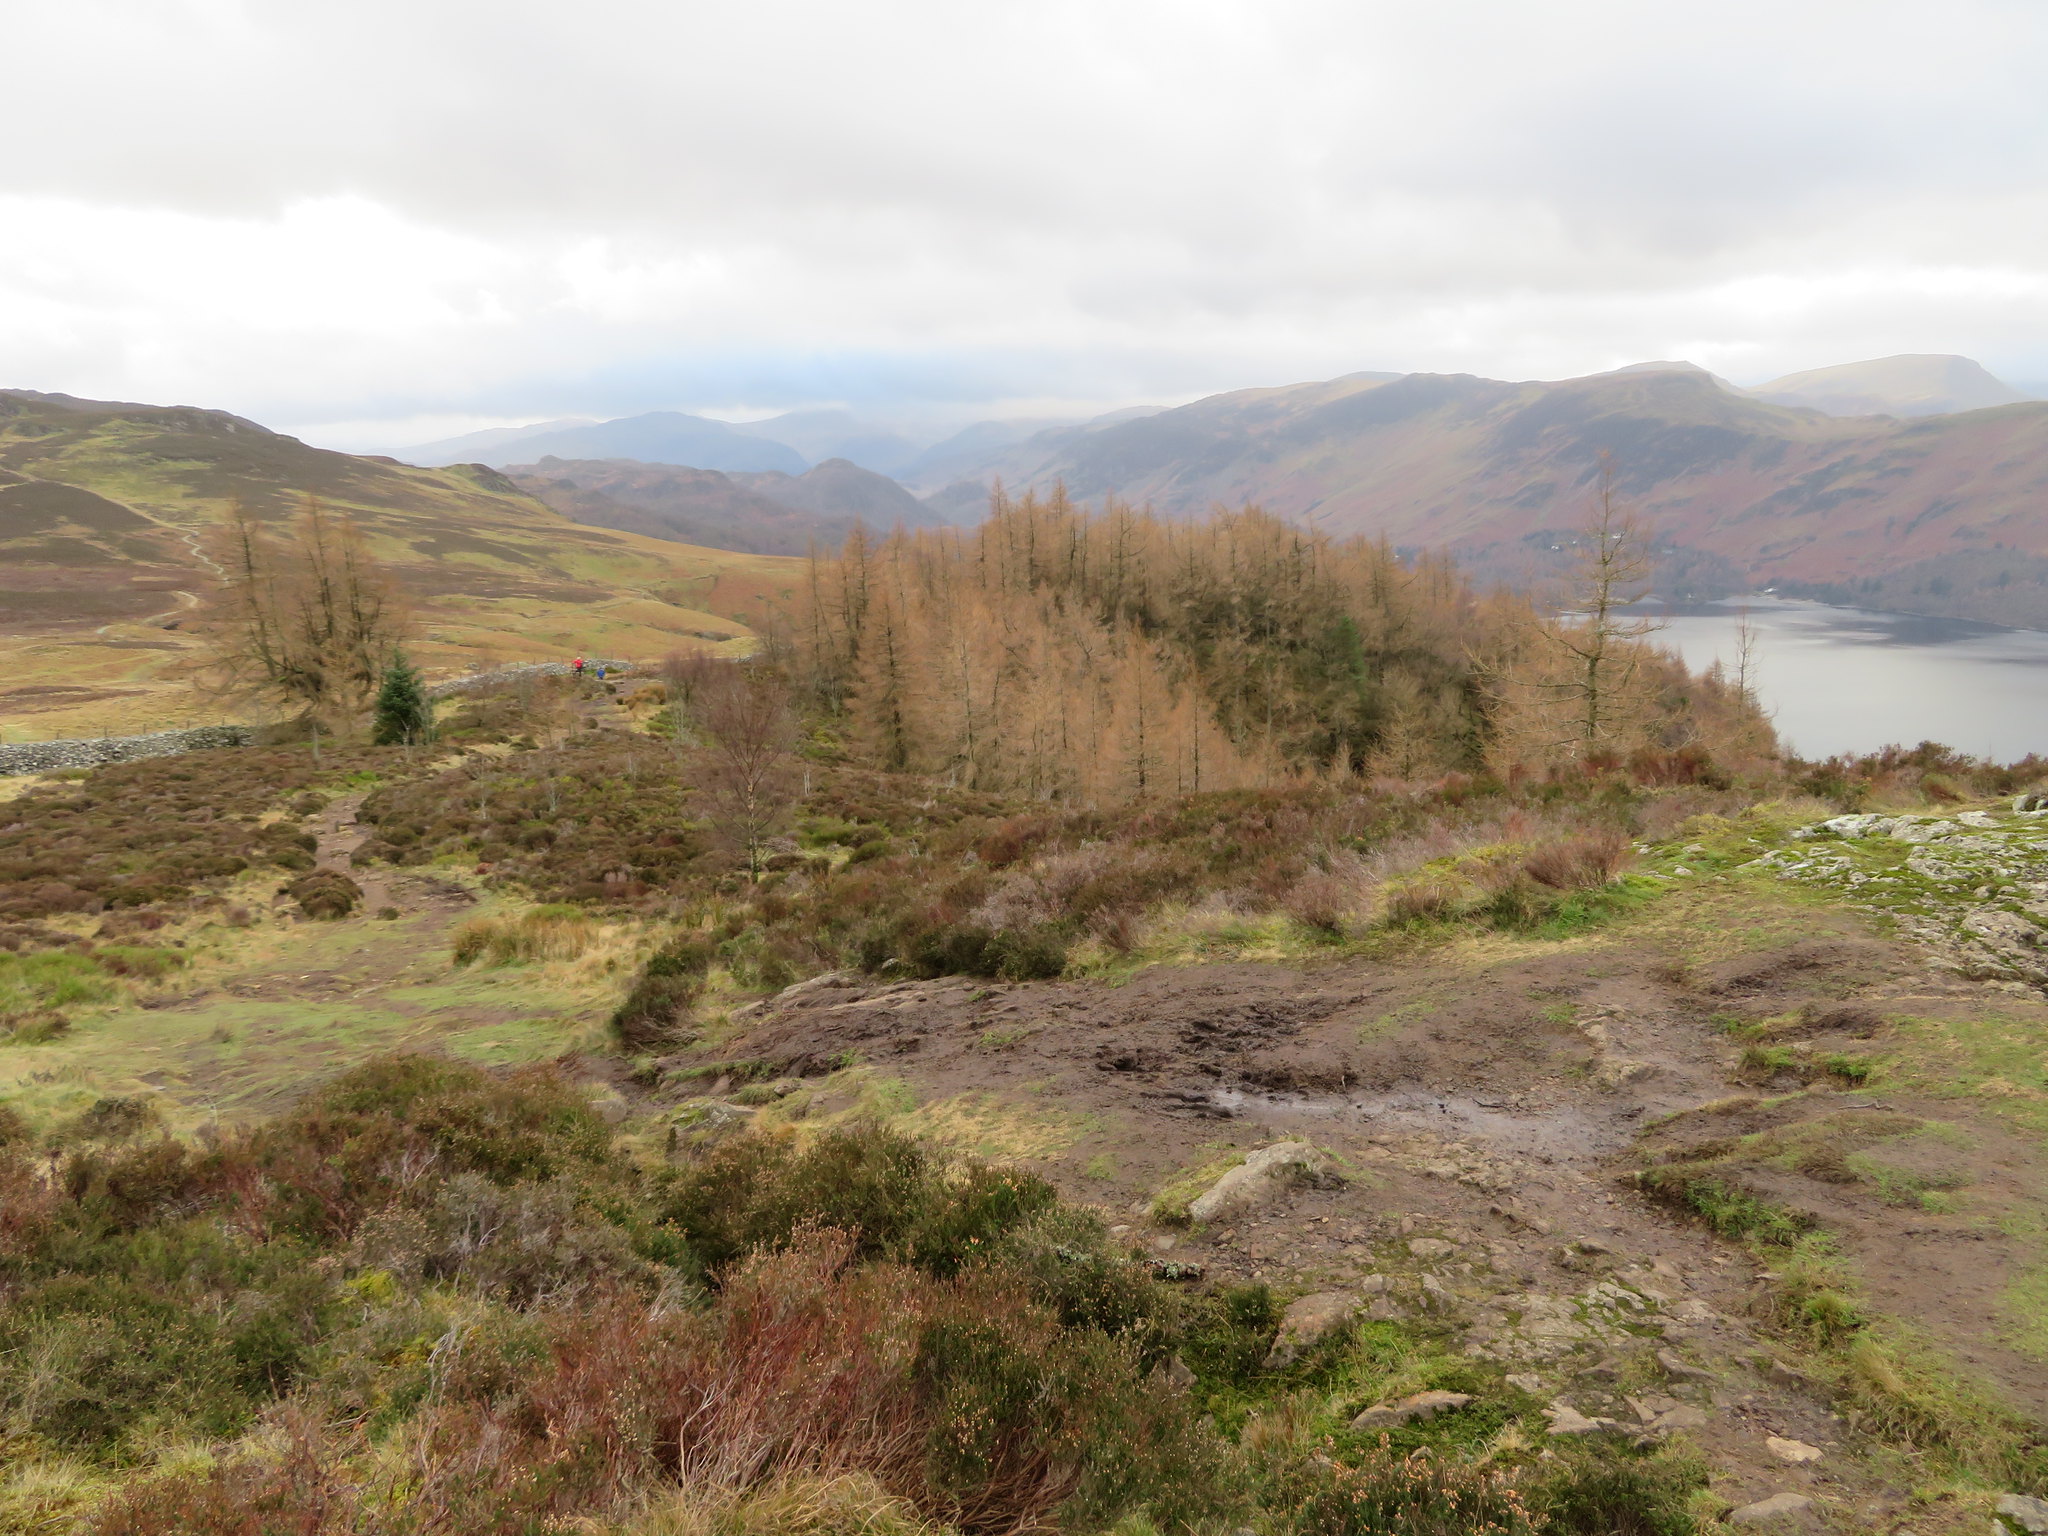 A view south towards the Borrowdale fells
 We need to leave this place as a drink is required, not of the water or coffee that we have left from this trip, but a proper drink, taken in front of a fire in some local hostelry, so steps have now to be taken south along a good and easy path that descends some 200 metres from Walla Crag to Ashness Bridge, a nice stroll before our car journey takes us to the inner delights of a place with a long counter full of burnished brass pumps.
 A final view of Derwent Water from the head of Cat Gill
 A foursome group of unsociables passed us with nary a glance or a response to our greeting, a response that we also got upon meeting them again at the car park. Just what is wrong with some people?
 The green Jaws of Borrowdale at the head of Derwent Water
 Upon reaching Ashness Bridge I took what must be the umpteenth millionth - and of course the best - photo of this classic scene that has inspired so many photo shoots and helped to promote this beautiful area.
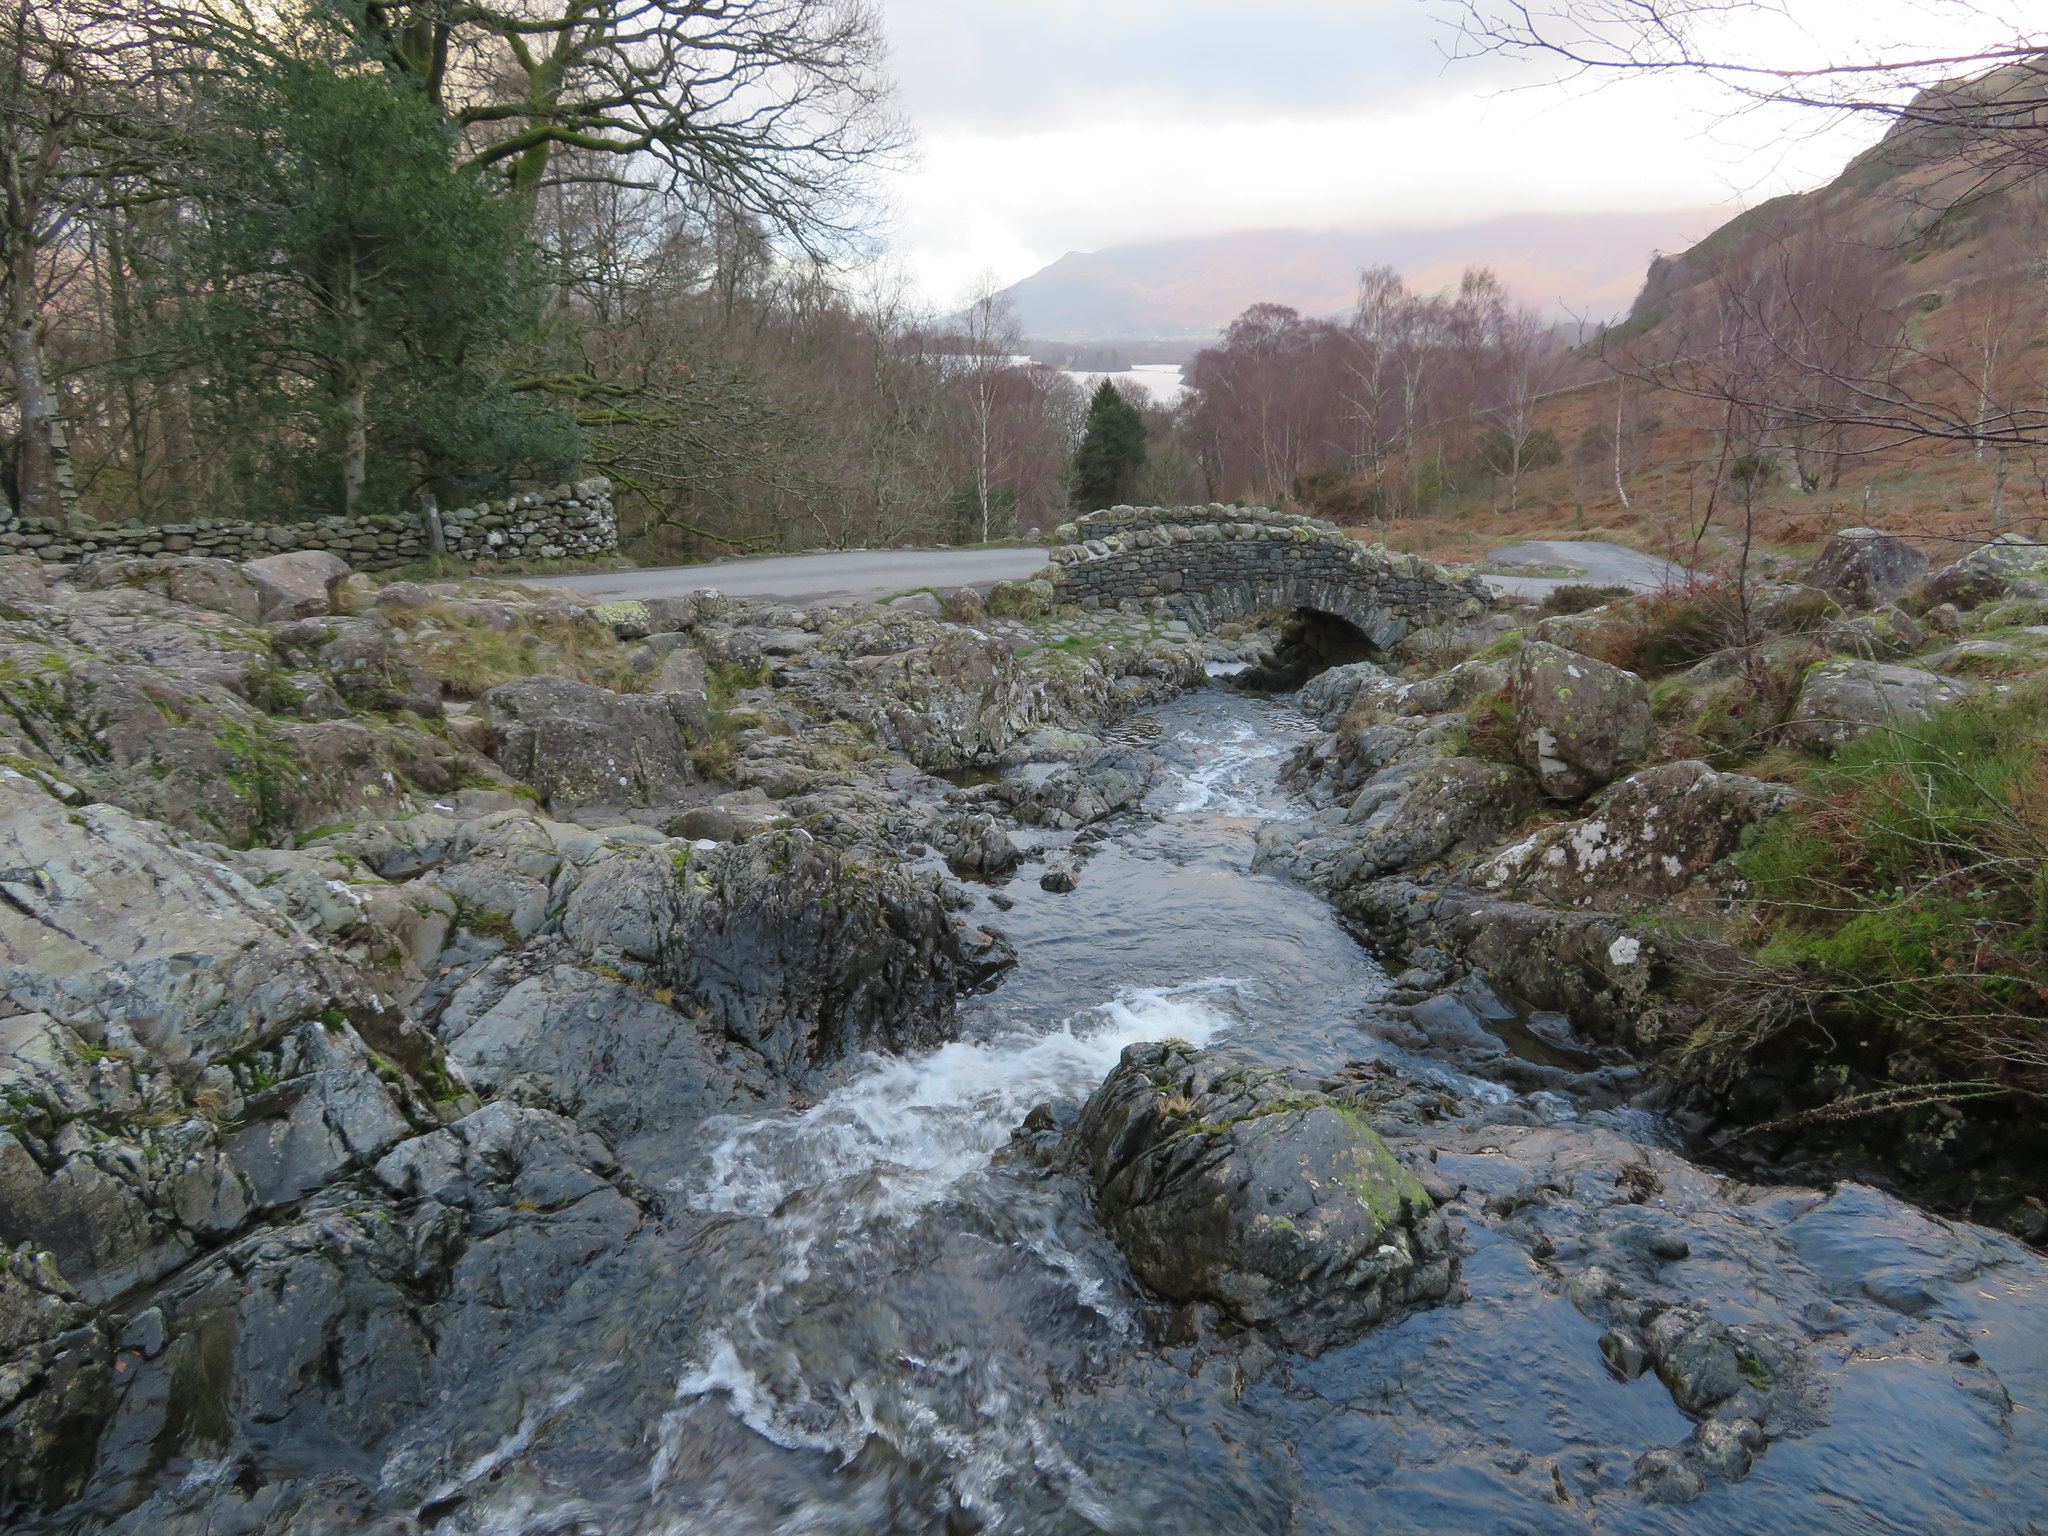 Ashness Bridge
 We've had just over 10 kilometres - 6 miles or so - of good walking, a bit testing at times for at least one of us, but the 3rd member of the group, Sonny, our four legged walking partner wasn't satisfied with a mere 6 miles as his newly attached tracker fixed to his collar displayed that he had done 13.7 miles - 22 kilometres - and achieved more height gain than is usually possible on this walk such was his energy that never seemed to abate as he ran up and down across the fellsides. O to be young again.
