free to be able to rate and comment on reports (as well as access 1:25000 mapping).
Had a rotten time of it in hospital recently with a kidney stone. Now obliged to mend my ways re. hydration but I am also prone to back pain so have to experiment a bit to find out how much I can carry or look more for routes where water is available en route or where I can drop some off en route.
Anyway, this was my first outing of my new hydrated walking lifestyle. Constrained as I was to selecting something undemanding but still wishing for some drama I turned to Skye again as there are a few such routes there I have stored up for future excursions, Biod an Athair being one such.
A few doubts as I set off in the early morning and even thoughts of doubling back to do something small and local for the sunrise but I persisted. A bit grim on Skye though first off with leaden skies, drizzle and rain. Didn't look promising at all but not unforecast so kept with the plan.
My original plan was to approach from the south to take in the line of cliffs there but my nominal parking spot was dominated by a large no parking sign so it was off to the more recognised route from the east, starting at Galtrigill. This would also make for a shorter walk and I didn't have too much difficulty persuading myself that this was a good idea as I wasn't strictly following post hospital medical advice. But I was feeling ok and was prepared to abandon if feeling unwell. Turned out great though so needn't have worried.
The first half a kilometre is over a farm track which gives way to a more vague path hugging the foot of the hillside ahead. This in turn disappears into the heather and grass at which point a barbed wire fence crossing and burn crossing beckon. I was pretty wary of the fence crossing because of my back but it was behaving well and I successfully balanced my way over. Once across the burn there followed a great stretch of easy walking over the lazybeds that adorn a lot of the burnside. That got me up to the bealach and a further half kilometre across more boggy ground. That was an hour up to the bealach start and my hydration plan was working well.
Once at the west end of the bealach there was a real spring in my step as the cliff edge was reached and my original approach was revealed. Not enough energy or inclination to go inspecting it from here though so I just took in the immediate cliff scenery and then turned north to cover the last kilometre to the top. I have to say this was a lot more spectacular than expected. I mean the hill gets a good write up but I don't think I've read anything that quite does it justice; a real hidden gem, or at least a neglected one.
I guess the core of my surprise was the number of twists and turns, crags and perches along the way to the top and beyond, each offering a new prospect of sea, boulder beach, crag and grassy summit.
Went half a kilometre north of the summit then descended over shortish, dryish grass before cutting more south to hit the lazybeds again and thereafter retrace my approach route. Tagged along with a crofter at the bottom. He'd only been up the hill once but often took his boat past. He was hearding his cows down the farm track so I thought I'd be better walking with him than getting caught up with the cows and the collie.
Well, I had this hill on my mind for some time so great to get over there and visit. A fantastic little hill and I find myself scratching my head at having not got round to this before, kind of dismissing it as of limited interest. How wrong I have been!
 DSCN8317
 by
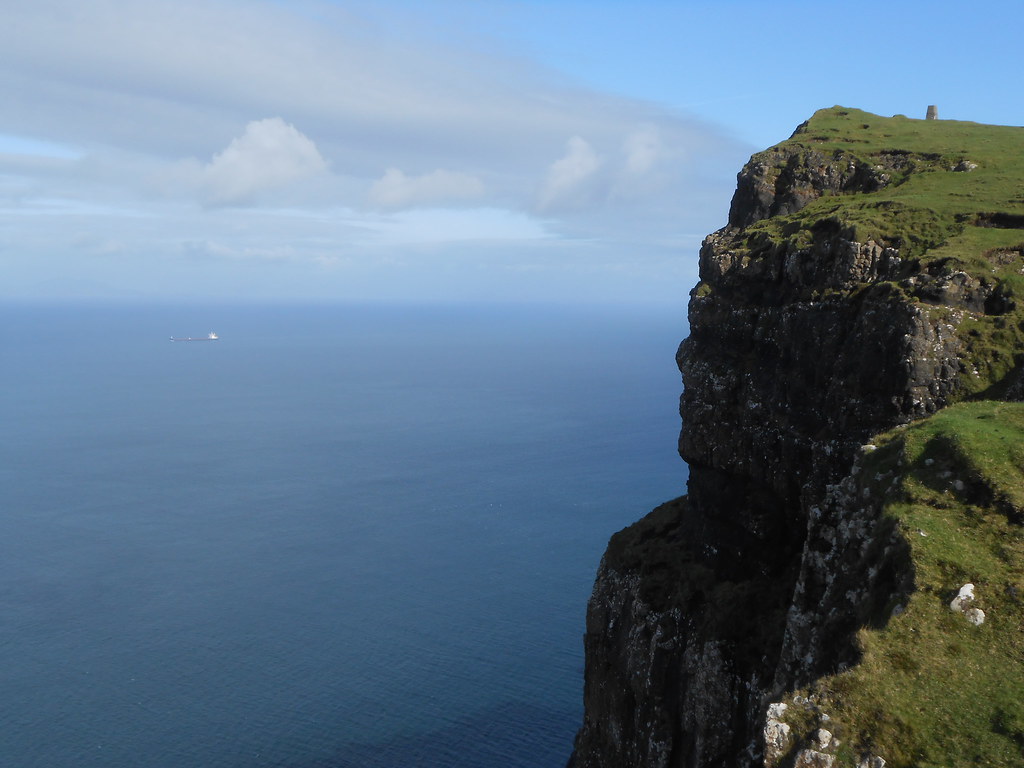
John Little, on Flickr
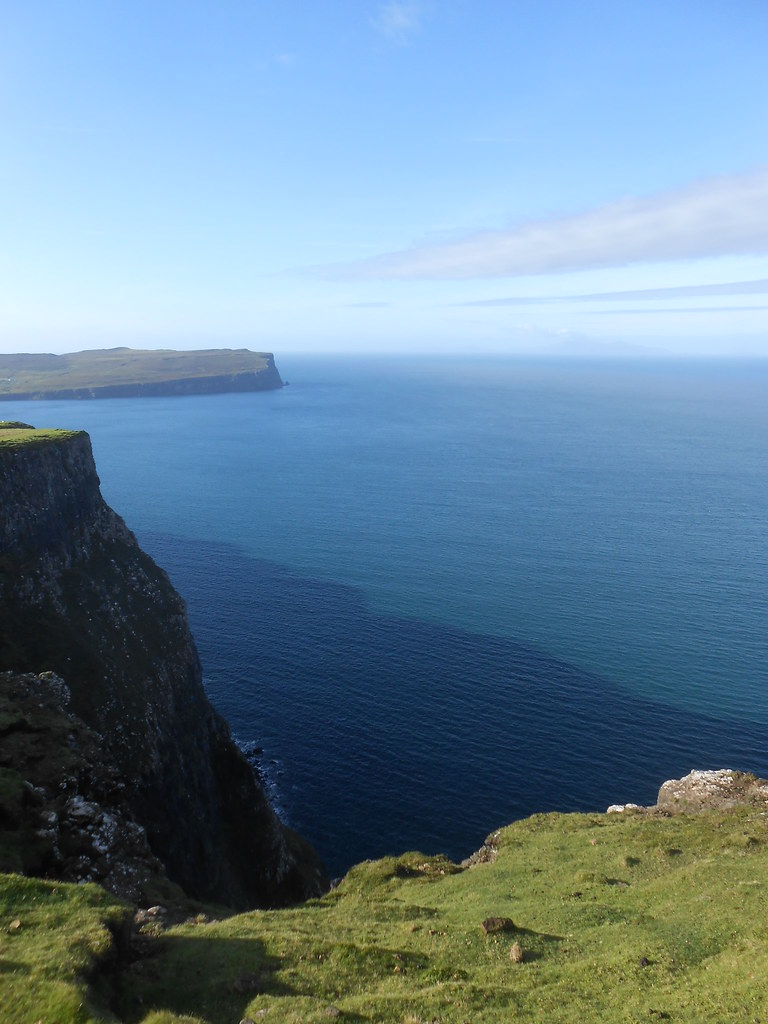
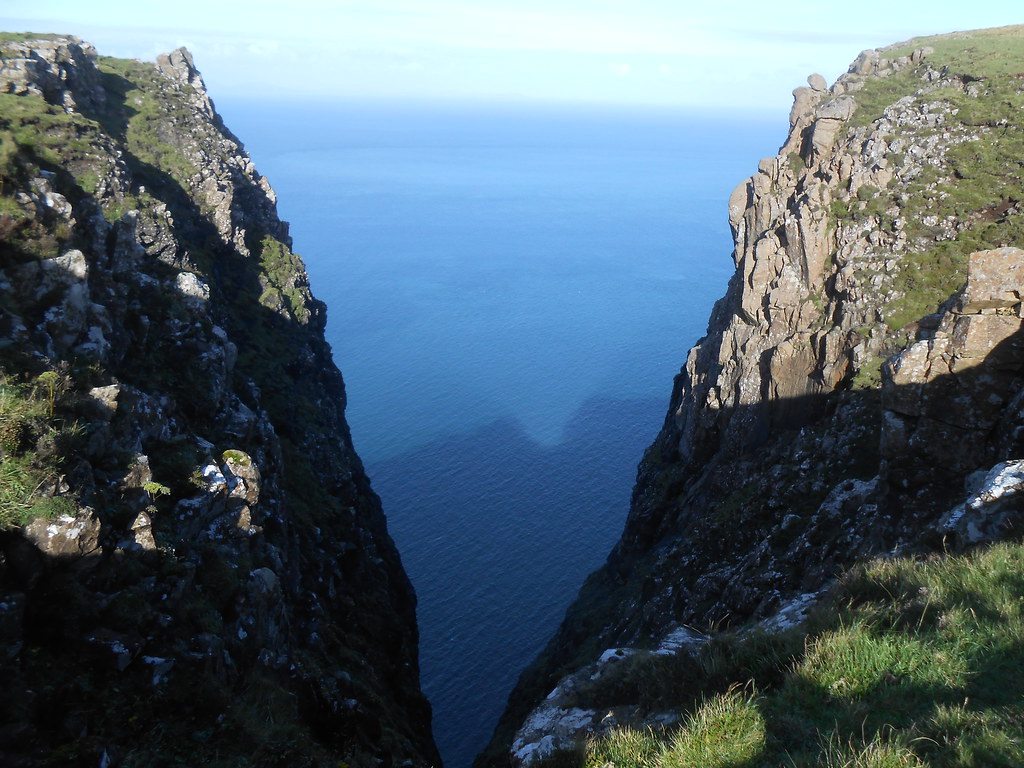
original planned route would've come over the cliffs on the left
 DSCN8345
 by
John Little, on Flickr
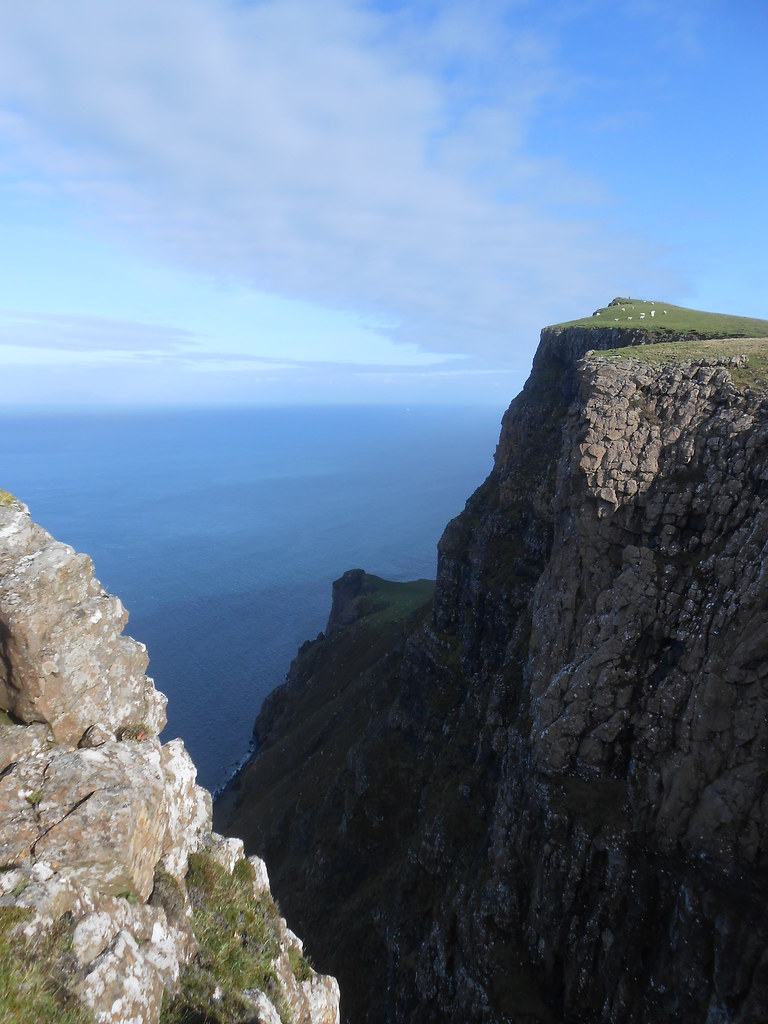
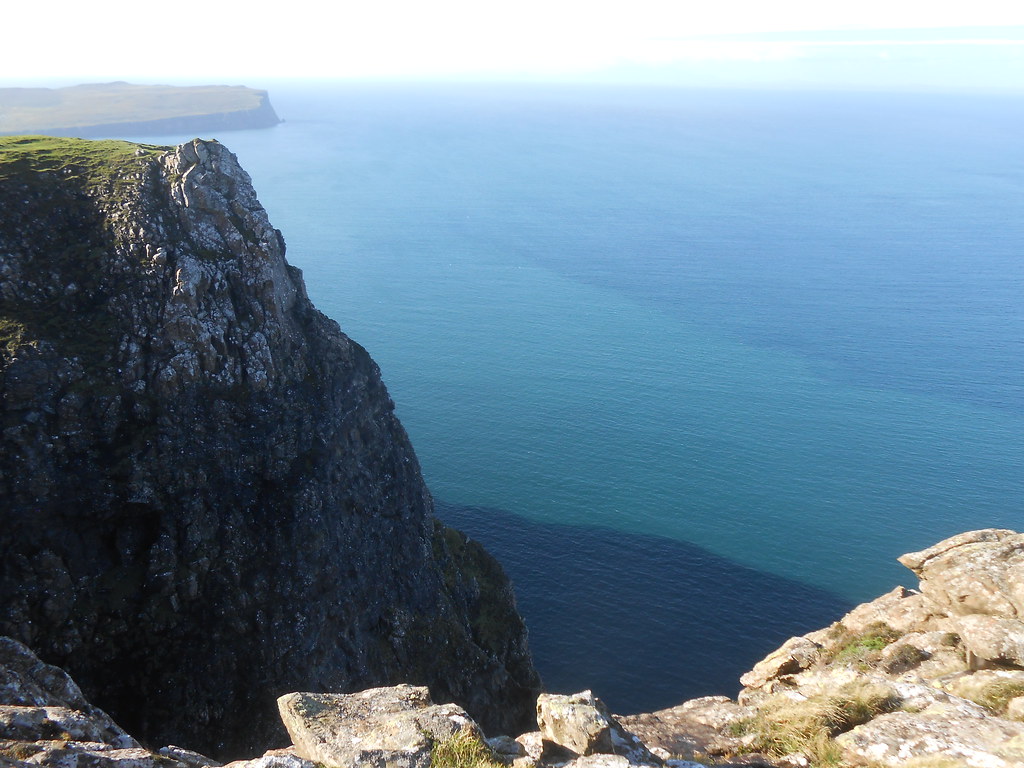
one of many yawning gaps in the cliff edge
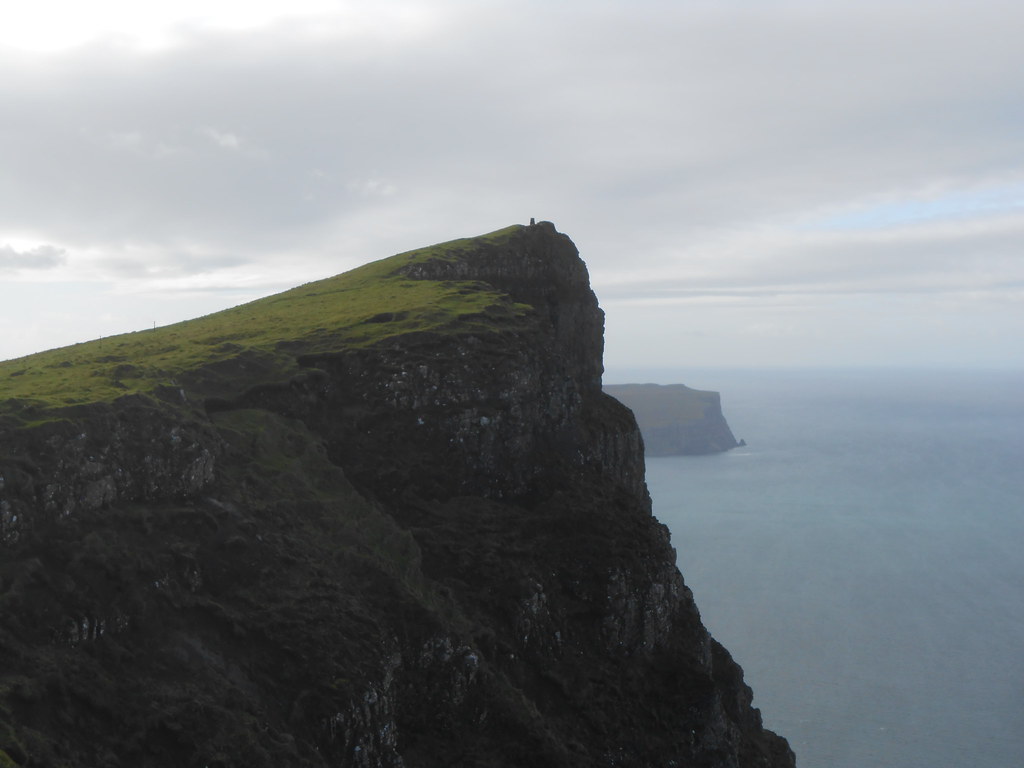
 DSCN8353
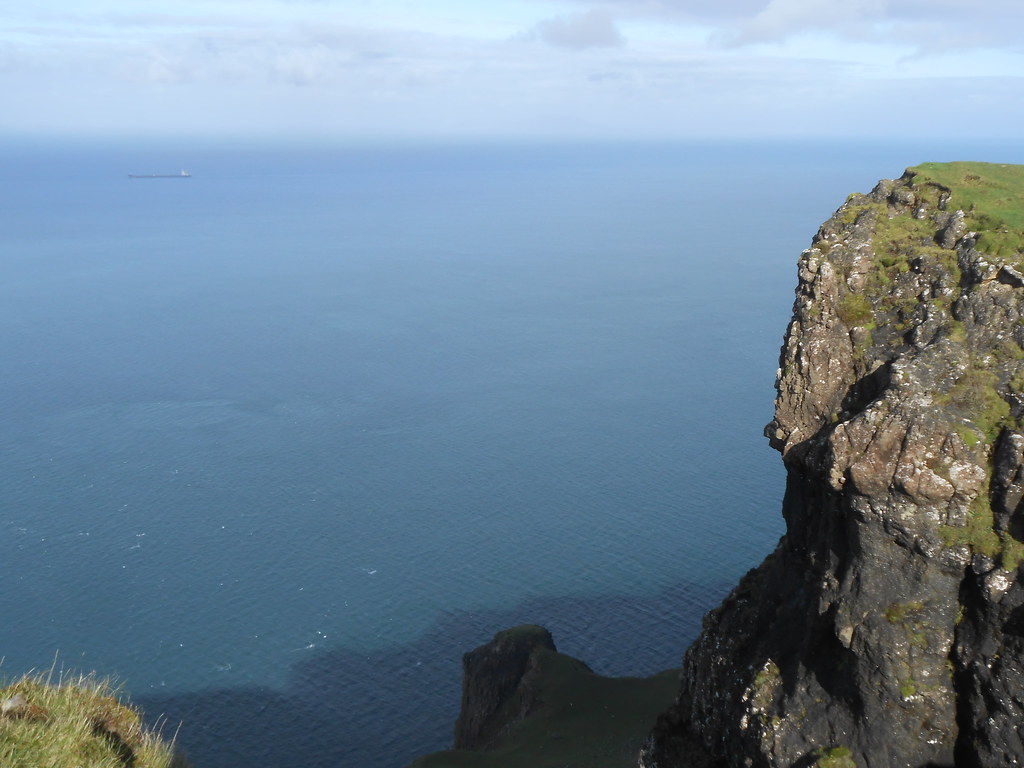
 by
John Little, on Flickr
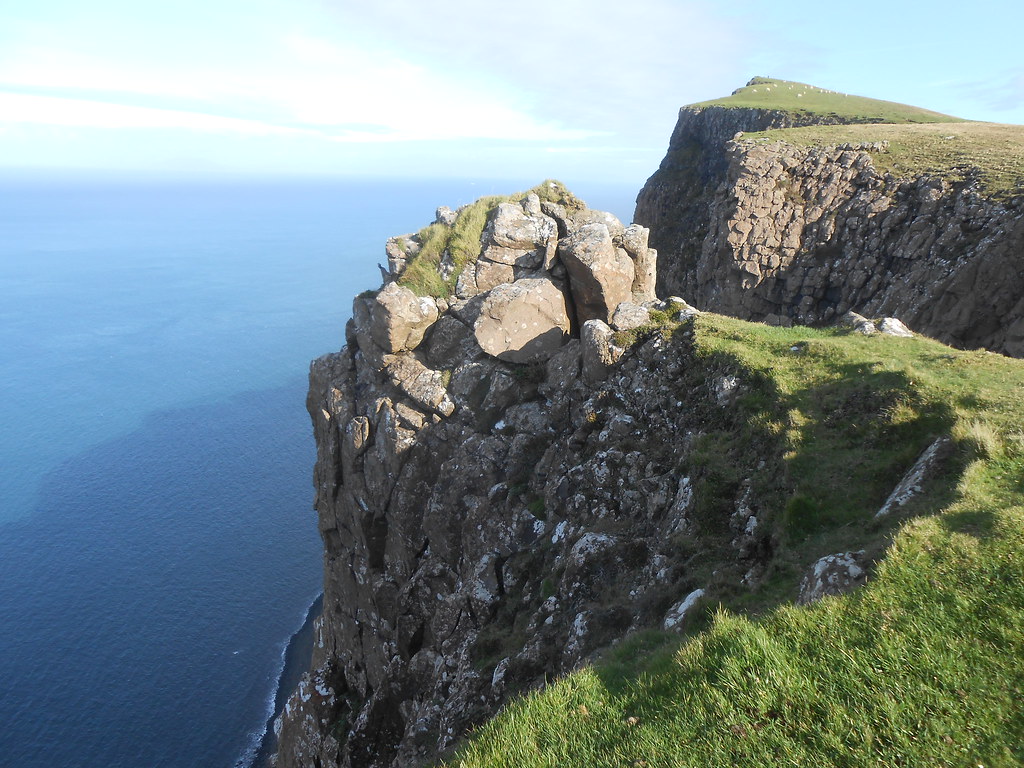
a dizzying pinnacle for the brave to stand on -I didn't
 DSCN8356
 by
John Little, on Flickr
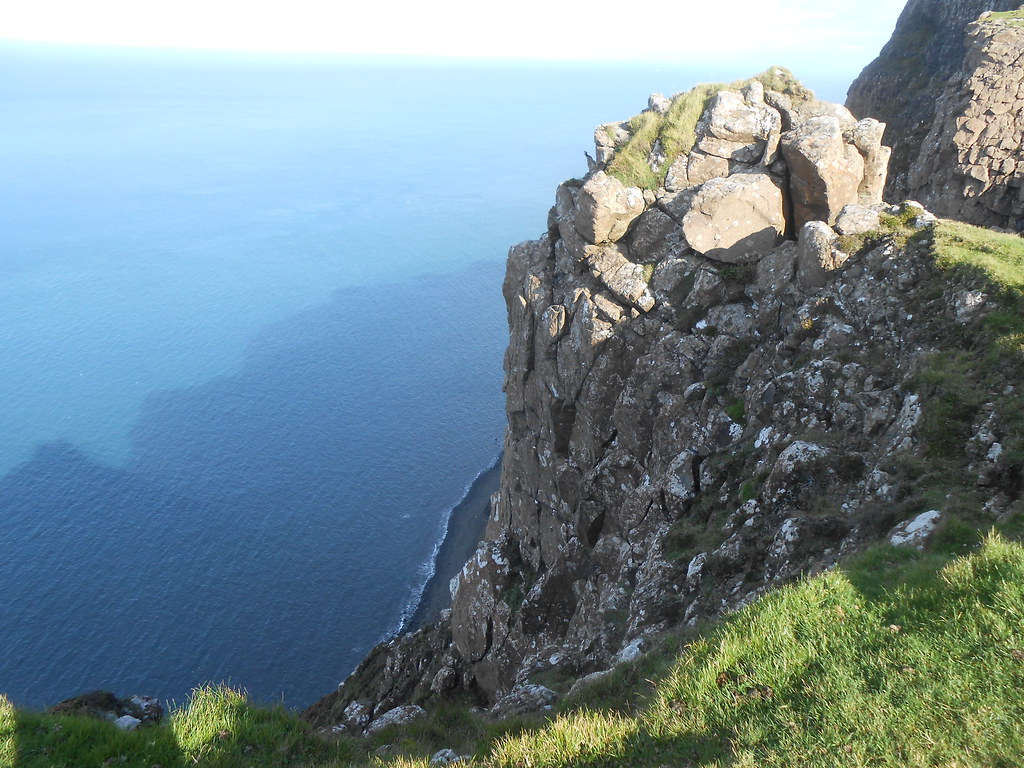
boulder beach below lends scale
 DSCN8365
 by
John Little, on Flickr
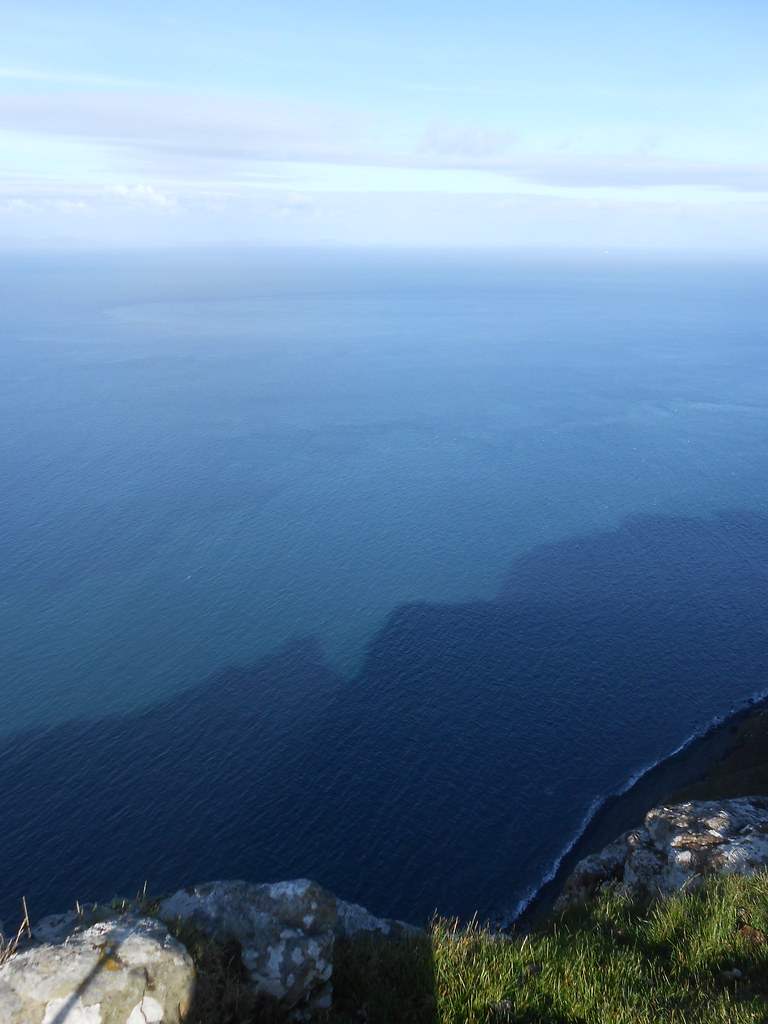
cliff shadow over the sea created some wonderful effects
 DSCN8374
 by
John Little, on Flickr
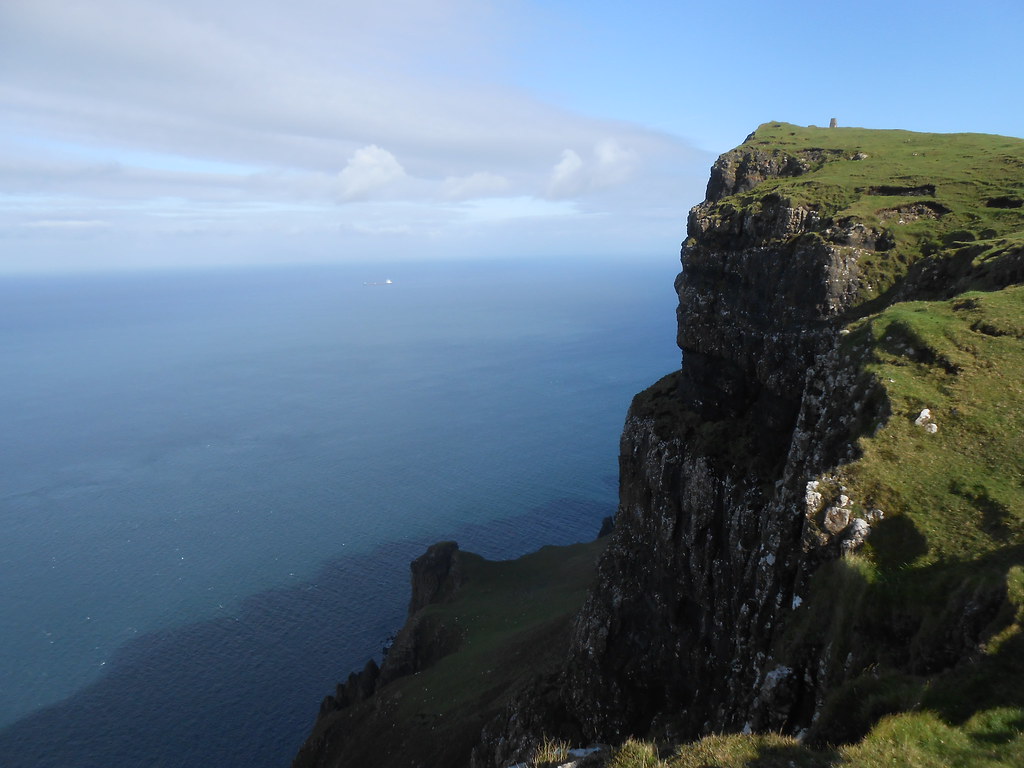
looking south again
 DSCN8386
 by
John Little, on Flickr
diffraction
 DSCN8410
 by
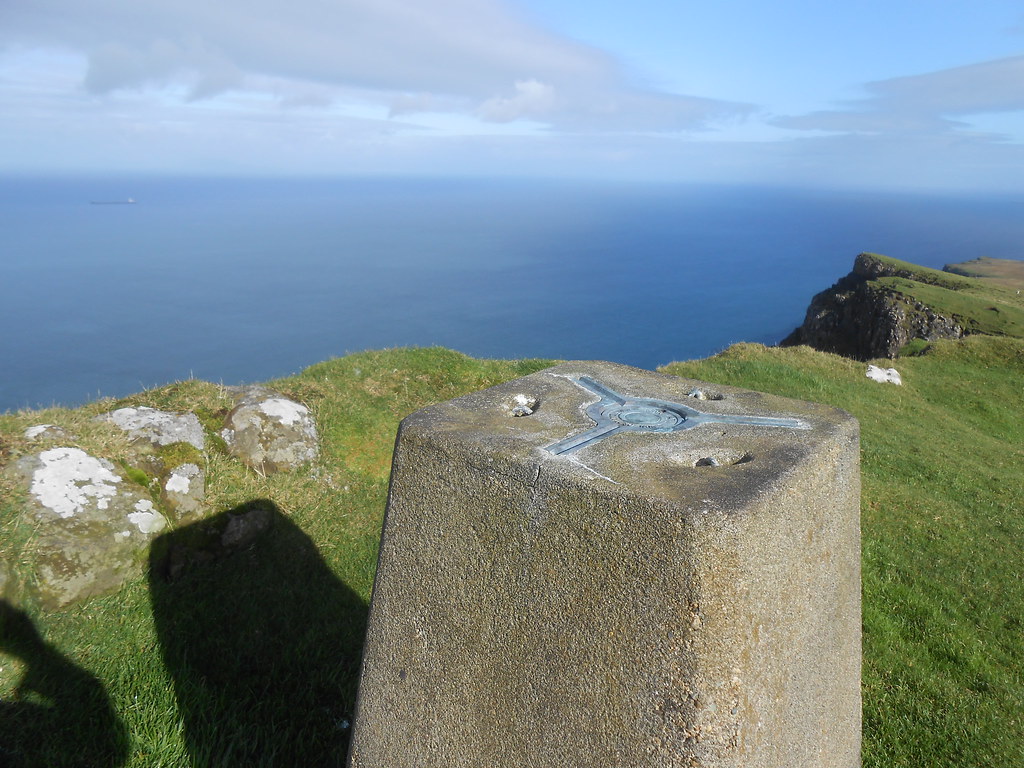
John Little, on Flickr
summit trig point
 DSCN8415
 by
John Little, on Flickr
 DSCN8416
 by
John Little, on Flickr
 DSCN8427
 by
John Little, on Flickr
Outer Hebrides don't show up well in photos but seemed very clear to the eye albeit amidst some haze
 DSCN8429
 by
John Little, on Flickr
the summit from a half km to the north
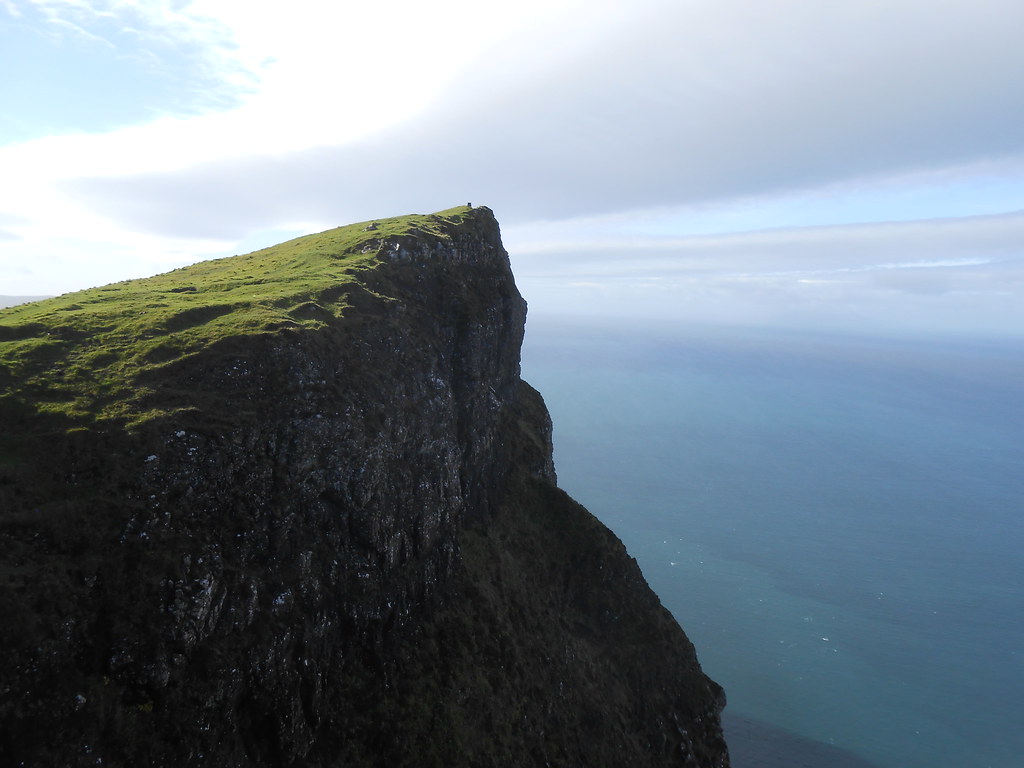
 DSCN8441
 by
John Little, on Flickr[/img]
