free to be able to rate and comment on reports (as well as access 1:25000 mapping).
Both Iain and I had another free day for a walk and decided to head for something a bit closer that would give us both a new hill to climb and a repeat of a hill we had already climbed before.
I had been up Beinn Each a few years back but never made it to Stuc a' Chroin, leaving it left to do inbetween Beinn Each and Ben Vorlich. Iain had done both Munros but not the Corbett so we settled on a Corbett ascent and the ridge walk along to Stuc a' Chroin, something I had wanted to do the last time I was here.
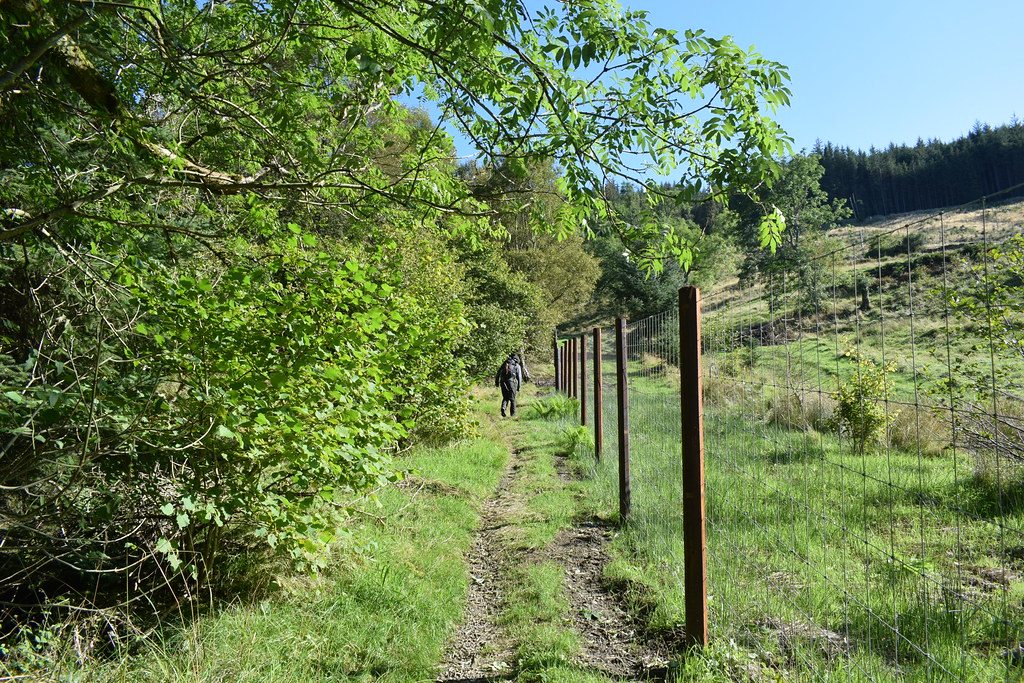
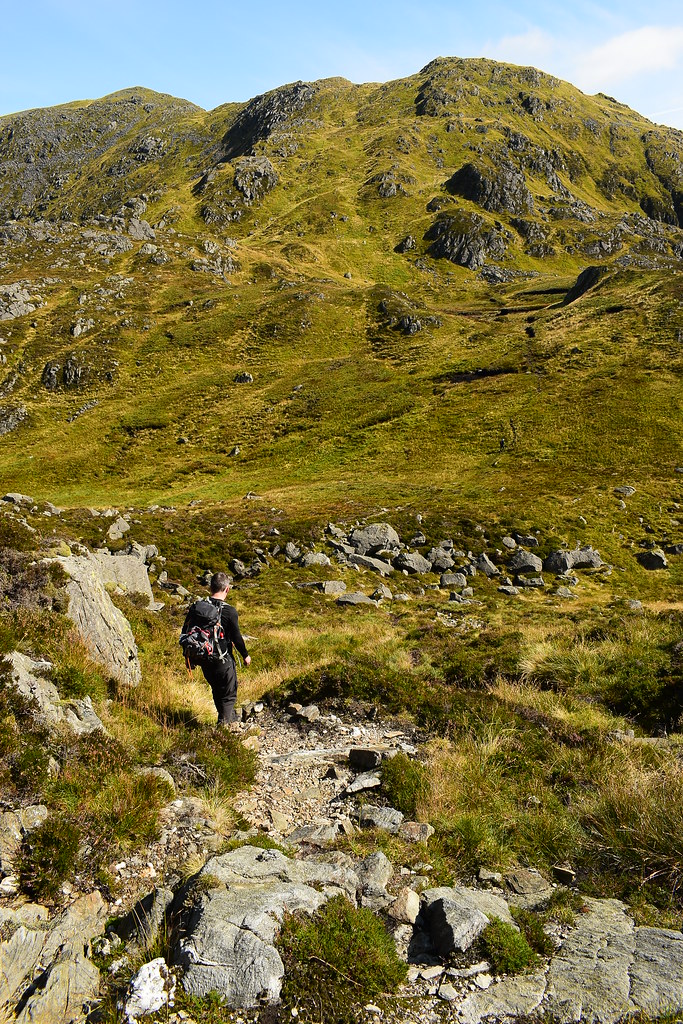
We set off fairly early and enjoyed a cracking breakfast in Callander before parking at Loch Lubnaig and setting off up the now improved path up into Glen Ample:
 Beinn Each-Stuc a' Chroin (1)
 by
Chris Mac, on Flickr
Looking back to Ben Ledi:
 Beinn Each-Stuc a' Chroin (2)
 by
Chris Mac, on Flickr
We had chosen well and it was already looking like being a very nice day as our ascent up Beinn Each presented itself:
 Beinn Each-Stuc a' Chroin (3)
 by
Chris Mac, on Flickr
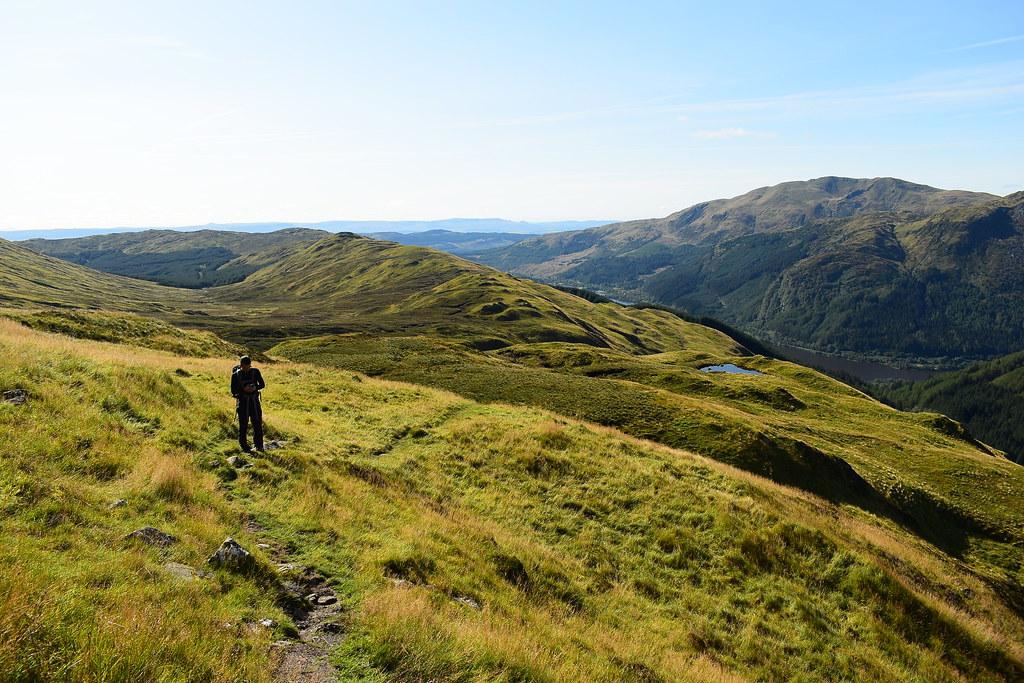
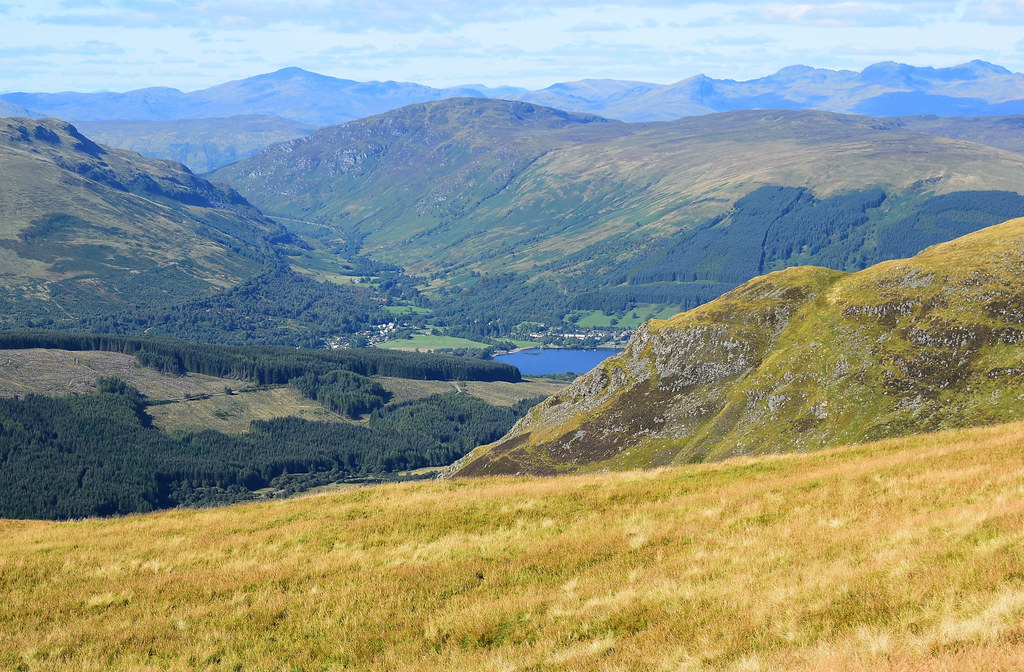
Iain was enjoying the route so far as we looked down Glen Ample towards Sgiath a' Chaise, Loch Earn and Meall nan Tarmachan:
 Beinn Each-Stuc a' Chroin (5)
 by
Chris Mac, on Flickr
 Beinn Each-Stuc a' Chroin (6)
 by
Chris Mac, on Flickr
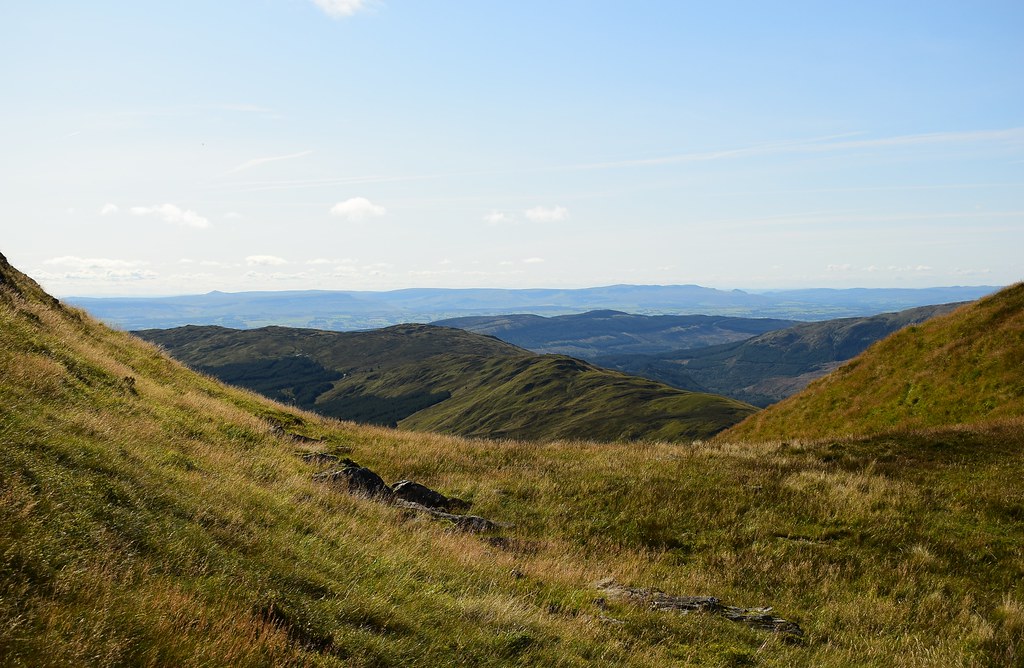
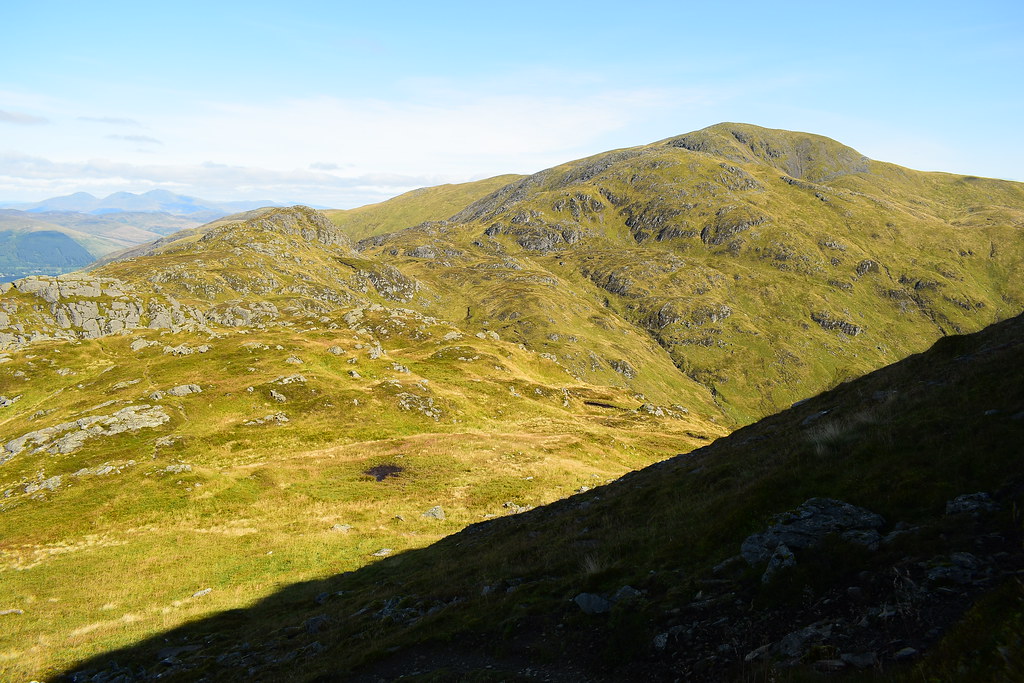
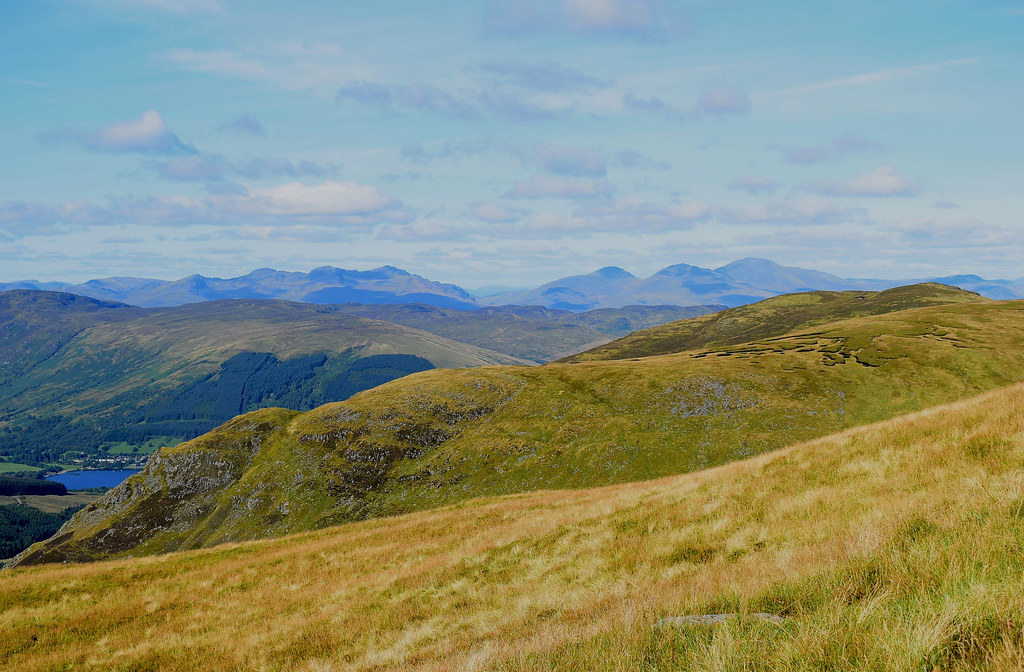
Bigger hills coming into view now as we continue ascending up the good path:
 Beinn Each-Stuc a' Chroin (9)
 by
Chris Mac, on Flickr
Meall Buidhe in front of the Loch Tay Munros:
 Beinn Each-Stuc a' Chroin (13)
 by
Chris Mac, on Flickr
It was turning out to be a nice day:
 Beinn Each-Stuc a' Chroin (17)
 by
djchrismac, on Flickr
The Glen of Plenty, Glen Ample down below us and our return route, with Meall Ghaordaidh, Meall nan Tarmachan and the Lawers group in the background.
 Beinn Each-Stuc a' Chroin (18)
 by
djchrismac, on Flickr
Worth a zoom:
 Beinn Each-Stuc a' Chroin (19)
 by
djchrismac, on Flickr
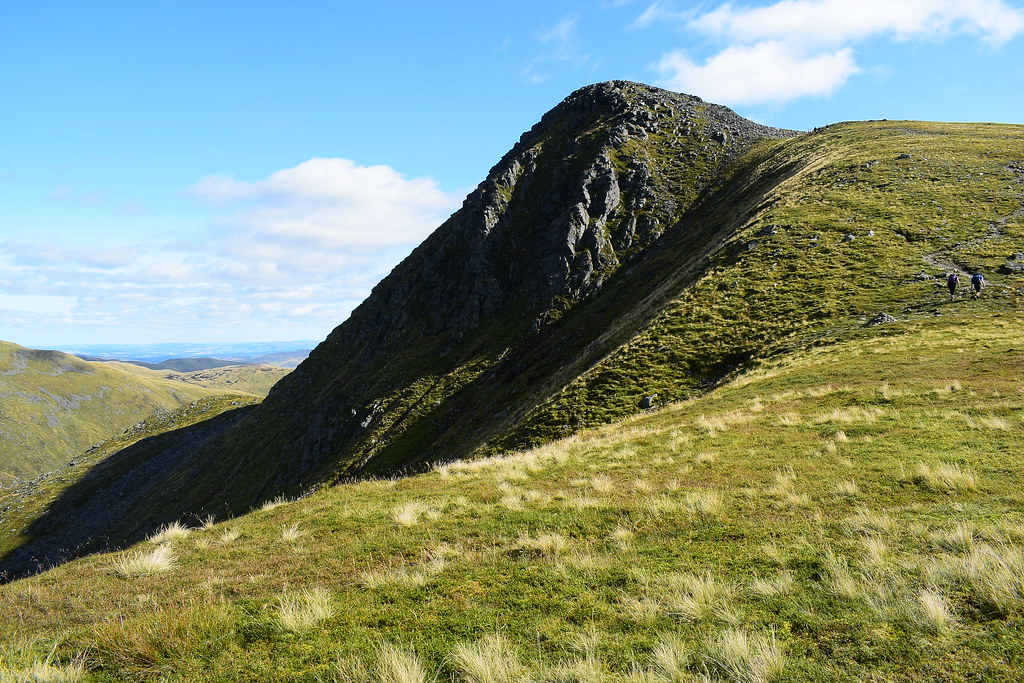
Now at the bit where the summit is in view and the final ascent is in front of you. Not only that but we also get a good preview of our route along the rocky ridge en route to Stuc a' Chroin:
 Beinn Each-Stuc a' Chroin (20)
 by
djchrismac, on Flickr
Beinn Each North Top in the centre with Beinn Each Far North Top not very visible behind, both in front of the taller Stuc a' Chroin West Top:
 Beinn Each-Stuc a' Chroin (21)
 by
djchrismac, on Flickr
Iain enjoying a water break and the view:
 Beinn Each-Stuc a' Chroin (24)
 by
djchrismac, on Flickr
View south to the Campsies:
 Beinn Each-Stuc a' Chroin (25)
 by
djchrismac, on Flickr
A quick look west the around to the north - Ben Venue and Ben Lomond:
 Beinn Each-Stuc a' Chroin (27)
 by
djchrismac, on Flickr
Benvane, Arrochar hills and Stob a' Choin:
 Beinn Each-Stuc a' Chroin (28)
 by
djchrismac, on Flickr
Crianlarich and Tyndrum hills:
 Beinn Each-Stuc a' Chroin (29)
 by
djchrismac, on Flickr
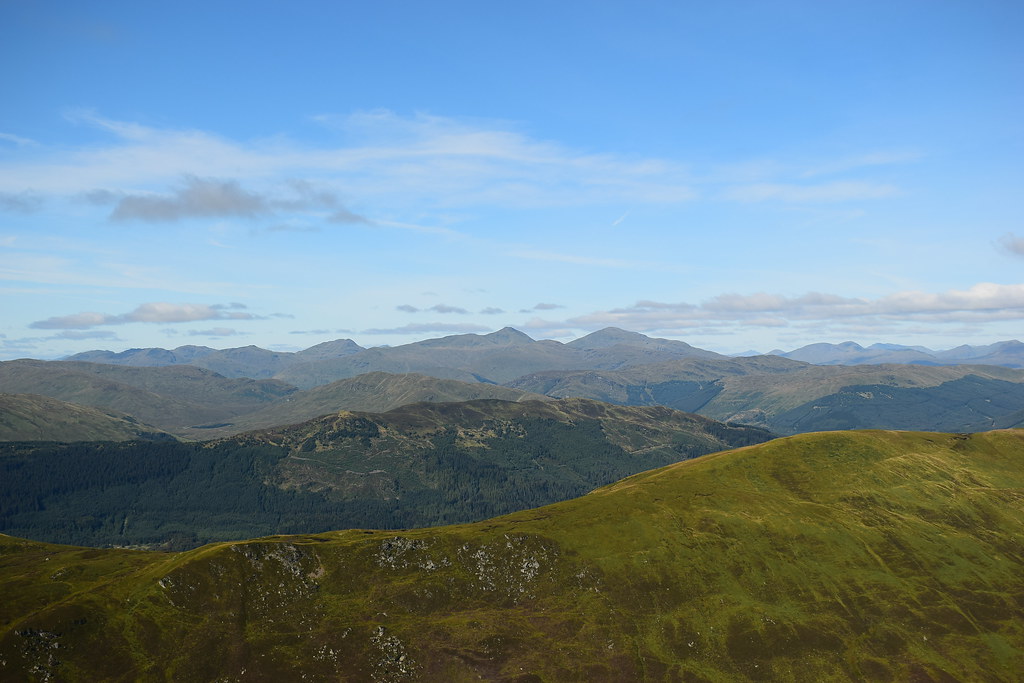
North and slightly west to the Glen Lochay hills with Meall an t-Seallaidh and Creag Mac Rannaich in front :
 Beinn Each-Stuc a' Chroin (31)
 by
djchrismac, on Flickr
Meall Ghaordaidh, you owe me a view:
 Beinn Each-Stuc a' Chroin (32)
 by
djchrismac, on Flickr
It's just a short pull up to the summit behind the pointy rocky outcrop that looks like it should be the summit:
 Beinn Each-Stuc a' Chroin (26)
 by
djchrismac, on Flickr
Someone already approaching the summit:
 Beinn Each-Stuc a' Chroin (34)
 by
djchrismac, on Flickr
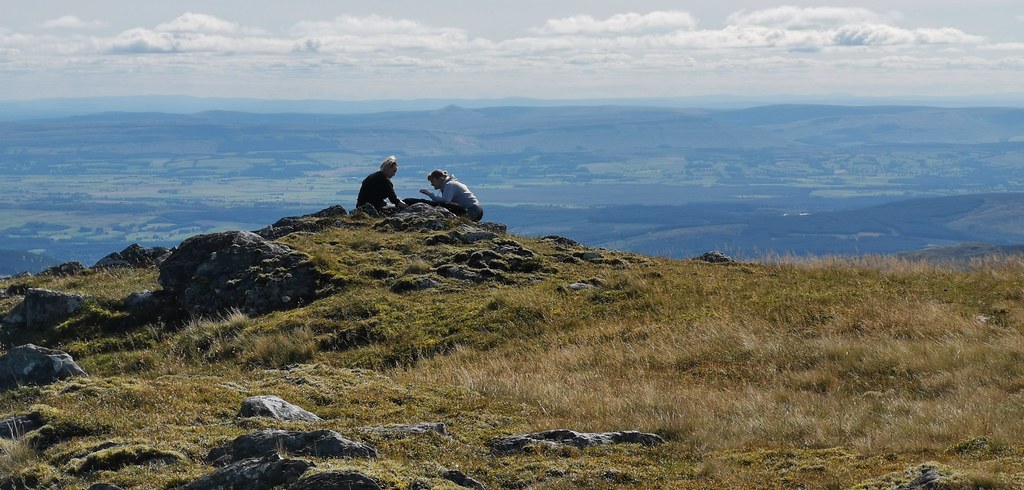
We arrived to find an elderly gent about to tuck into his sandwich, said hi then sat down to give him peace and take some photos.
Our route ahead:
 Beinn Each-Stuc a' Chroin (36)
 by
djchrismac, on Flickr
South east to the Ochils, Dumyat and the Firth of Forth with the Pentlands in the background:
 Beinn Each-Stuc a' Chroin (56)
 by
djchrismac, on Flickr
South west to Dumgoyne and Glasgow:
 Beinn Each-Stuc a' Chroin (61)
 by
djchrismac, on Flickr
It only took us just over an hour to summit Beinn Each and with a long way to walk still we decided lunch would be best saved for the big hill in front of us so set off down the north side of the summit on the good path which zig-zags you carefully down through the crags:
 Beinn Each-Stuc a' Chroin (63)
 by
djchrismac, on Flickr
Beinn Each north face, care required:
 Beinn Each-Stuc a' Chroin (64)
 by
djchrismac, on Flickr
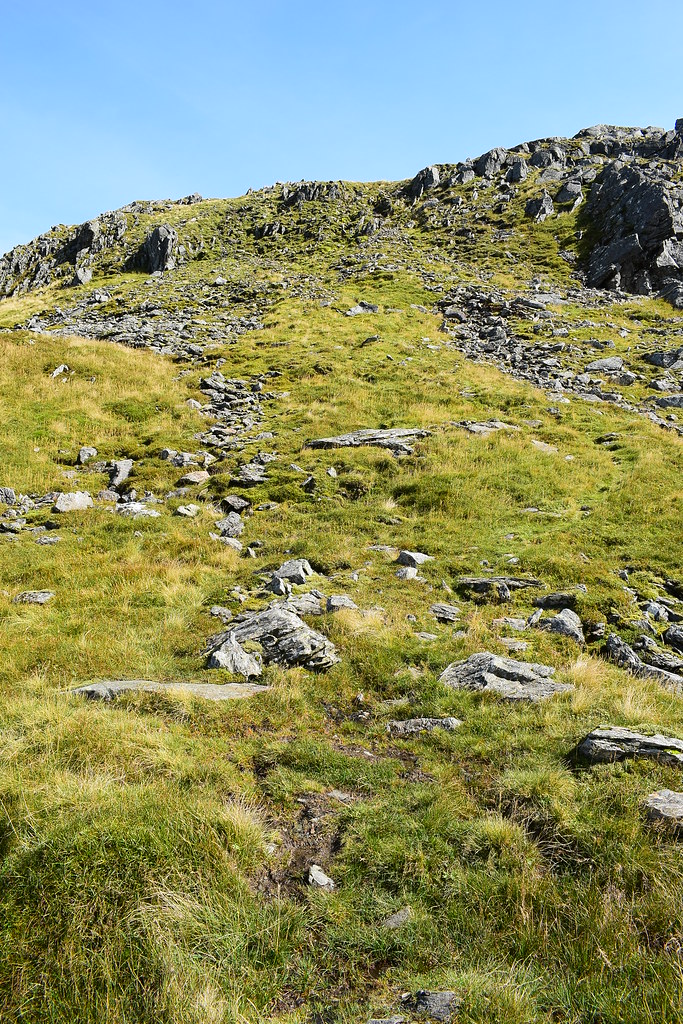
Although not marked on the OS map there is a good path that will take us all the way to Stuc a' Chroin:
 Beinn Each-Stuc a' Chroin (66)
 by
djchrismac, on Flickr
Facing the rock wall of Beinn Each North Top:
 Beinn Each-Stuc a' Chroin (68)
 by
djchrismac, on Flickr
There is a path up this breach in the defence:
 Beinn Each-Stuc a' Chroin (69)
 by
djchrismac, on Flickr
It's a decent gradient but poses no problems:
 Beinn Each-Stuc a' Chroin (71)
 by
djchrismac, on Flickr
North Top summit, or is it that rock over there? We end up walking over all possible summits:
 Beinn Each-Stuc a' Chroin (75)
 by
djchrismac, on Flickr
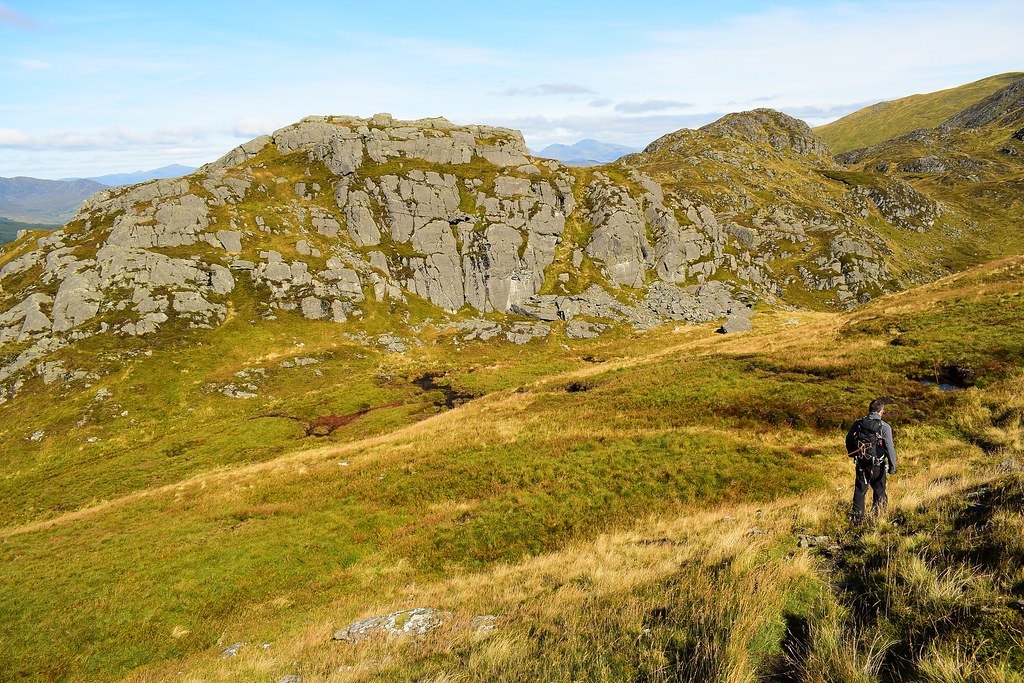
There are some impressive rocks and crags on the way along:
 Beinn Each-Stuc a' Chroin (78)
 by
djchrismac, on Flickr
 Beinn Each-Stuc a' Chroin (79)
 by
djchrismac, on Flickr
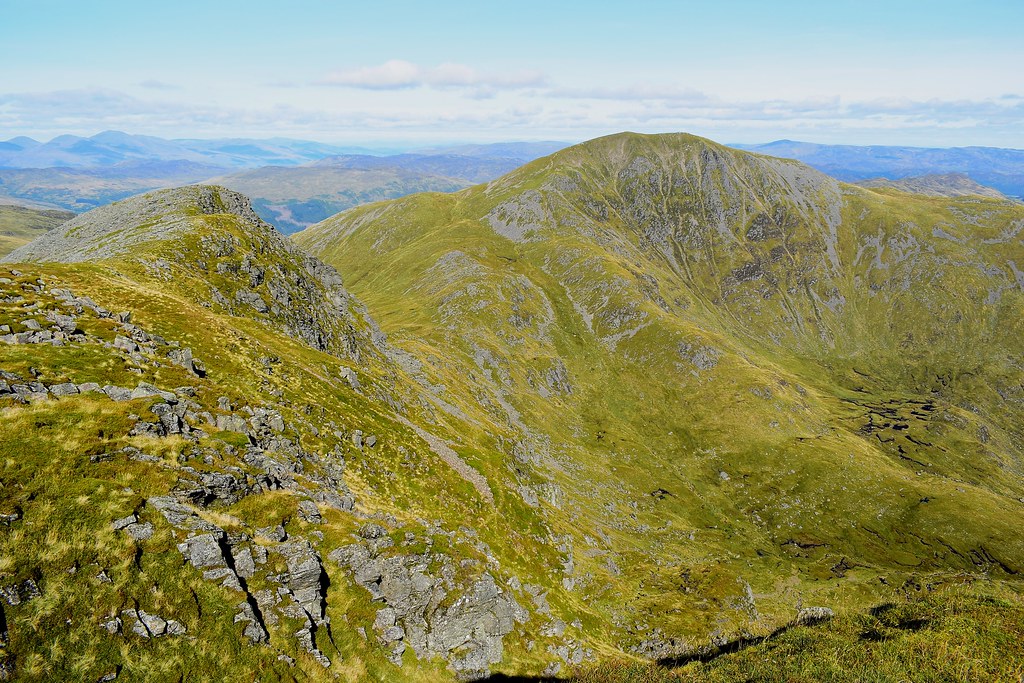
We head over the far north top on the way to Stuc a' Chroin West Top and look back - in shot is Beinn Each, below right of that is the North Top with the Far North Top below right of it. It doesn't even make Tump status which is why it is barely noticeable:
 Beinn Each-Stuc a' Chroin (83)
 by
djchrismac, on Flickr
Two targets left now that Beinn Each is done, starting with the west top of Stuc a' Chroin:
 Beinn Each-Stuc a' Chroin (84)
 by
djchrismac, on Flickr
Arivurichardrich where a friend is at this exact moment with some scouts. I take this photo then send it to him and say we're spying on them!
 Beinn Each-Stuc a' Chroin (88)
 by
Chris Mac, on Flickr
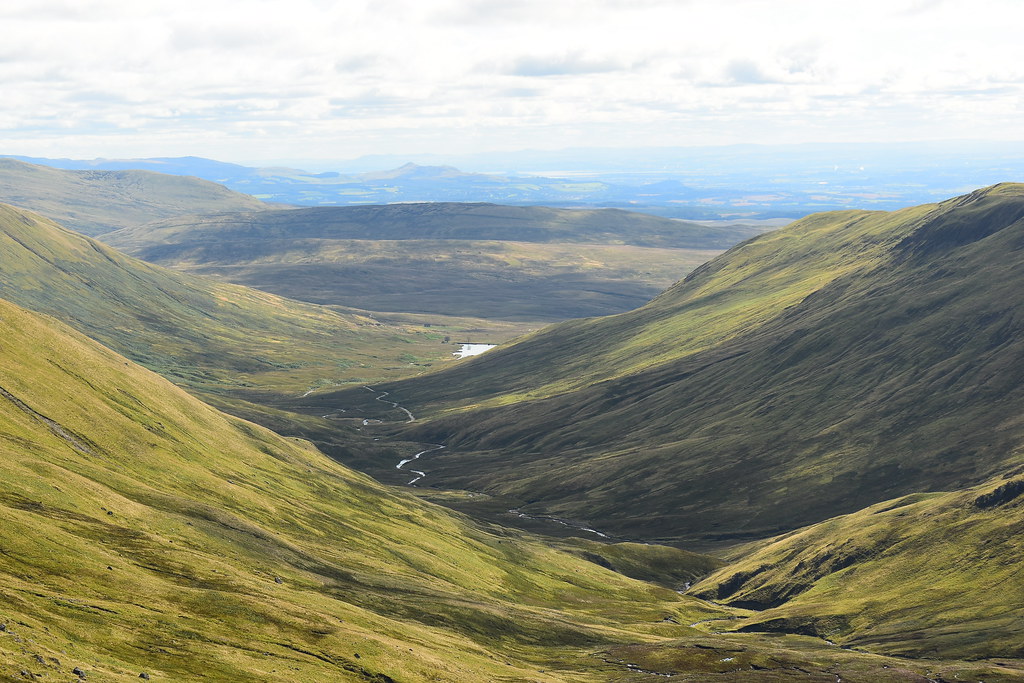
Looking down Gleann a' Chroin:
 Beinn Each-Stuc a' Chroin (89)
 by
djchrismac, on Flickr
At the summit we stop for a snack and drink as I survey the way ahead:
 Beinn Each-Stuc a' Chroin (90)
 by
djchrismac, on Flickr
Someone is following us as we bask in sunshine and enjoy a break while preparing for the final ascent up the Munro:
 Beinn Each-Stuc a' Chroin (92)
 by
djchrismac, on Flickr
We chat to the guy and he's come all the way up Gleann a' Chroin from Callander up to Beinn Each then Stuc a' Chroin before his return to Callander down the Munro's south east ridge back to the start!

We thought we were doing a decent day of walking but his route was much more impressive!

After a brief chat he then moved on ahead of us as we finished sunbathing and snoozing.
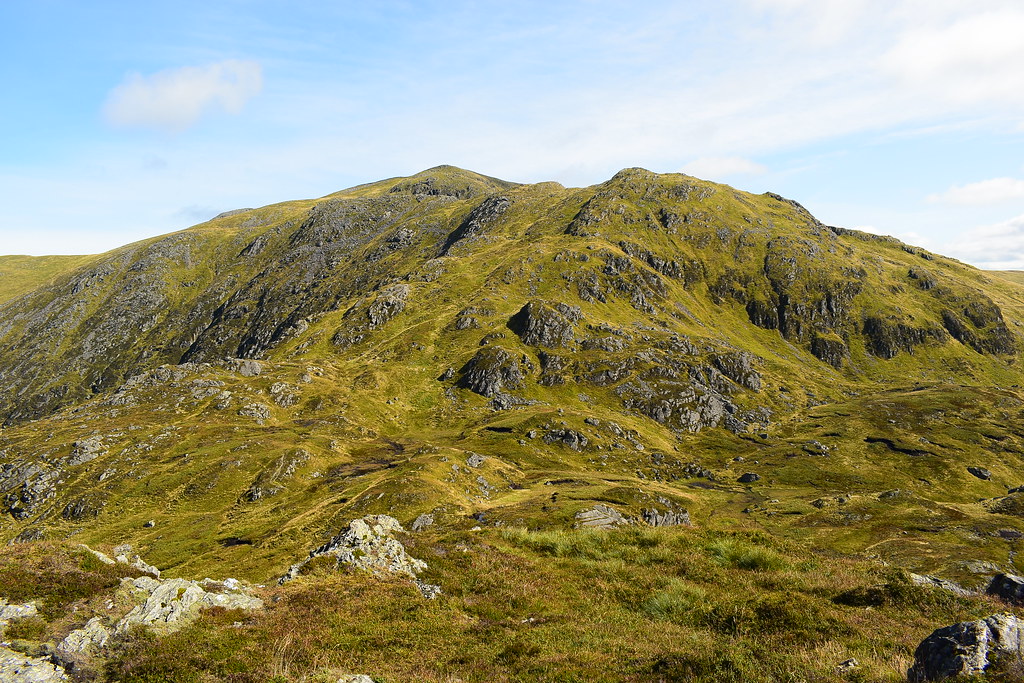
Just this big lump to get up now and it looks even more energy sapping from further down:
 Beinn Each-Stuc a' Chroin (94)
 by
djchrismac, on Flickr
When we were on the West Top the Callander walker mentioned the crag on one side, seen here as we look back at the route travelled so far:
 Beinn Each-Stuc a' Chroin (95)
 by
djchrismac, on Flickr
Another summit you don't want to just blindly wander off in bad visibility!
 Beinn Each-Stuc a' Chroin (96)
 by
djchrismac, on Flickr
Break time for the other guy who we would pass on the way up. I'll not lie though, I found this part pretty heavy going on the legs but we were both a bit out of practice:
 Beinn Each-Stuc a' Chroin (97)
 by
djchrismac, on Flickr
Looking back down from half way up, impressive surroundings:
 Beinn Each-Stuc a' Chroin (98)
 by
djchrismac, on Flickr
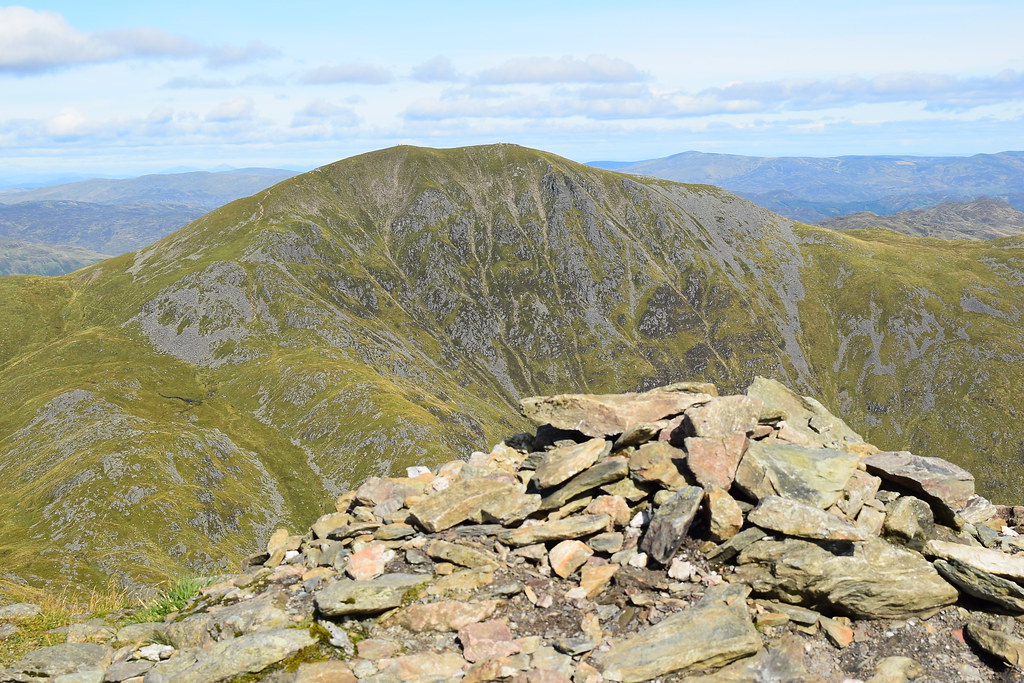
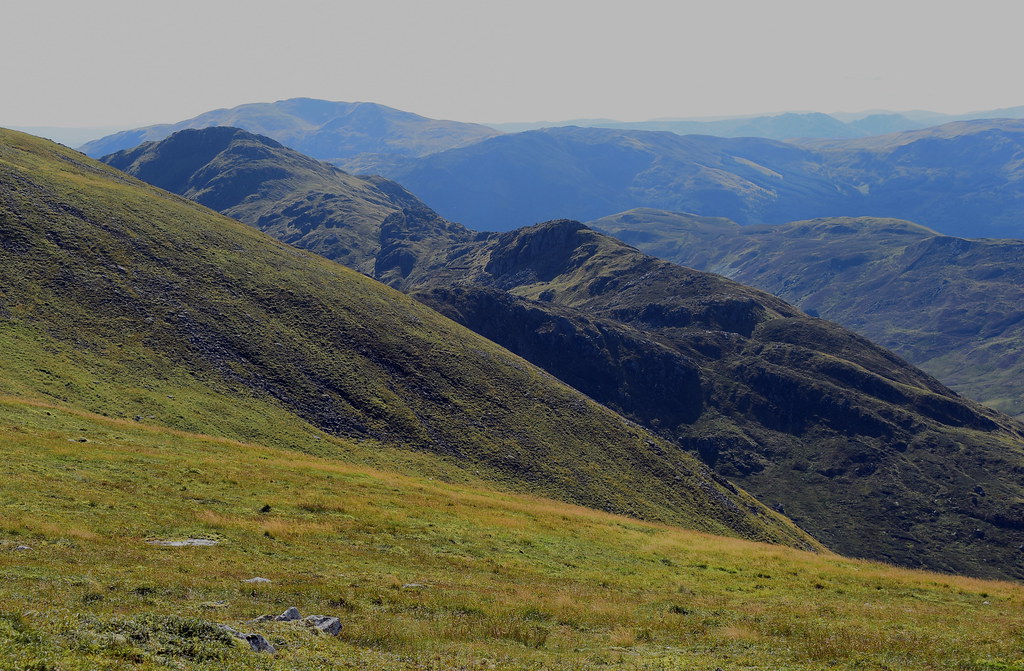
Another shot looking back to Beinn Each and it's two northern tops:
 Beinn Each-Stuc a' Chroin (99)
 by
djchrismac, on Flickr
Finally over the worst of it and onto a flatter section before the final pull up to the summit:
 Beinn Each-Stuc a' Chroin (102)
 by
djchrismac, on Flickr
Still being followed:

 Beinn Each-Stuc a' Chroin (104)
 by
djchrismac, on Flickr
Now the final ascent:
 Beinn Each-Stuc a' Chroin (106)
 by
djchrismac, on Flickr
I mean final final ascent!

 Beinn Each-Stuc a' Chroin (107)
 by
djchrismac, on Flickr
Looking down to Lochan a' Chroin:
 Beinn Each-Stuc a' Chroin (109)
 by
djchrismac, on Flickr
 Beinn Each-Stuc a' Chroin (110)
 by
djchrismac, on Flickr
We reach the western summit cairn, say hello to a couple then make the final walk to the actual summit with Ben Vorlich now in view as Iain tells us how big the fish he caught was again:
 Beinn Each-Stuc a' Chroin (112)
 by
djchrismac, on Flickr
We made it, time for a well earned break and Iain remembered the coffee this time!


He's caught up at last:
 Beinn Each-Stuc a' Chroin (114)
 by
djchrismac, on Flickr
We all settle down to have lunch and coffee:
 Beinn Each-Stuc a' Chroin (118)
 by
djchrismac, on Flickr
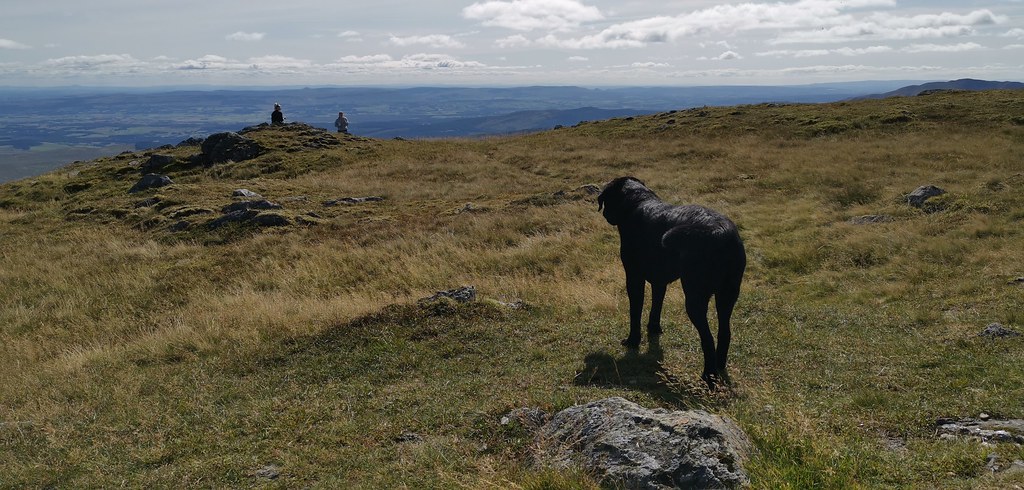
The hill is fairly busy and we are soon joined by another new friend, Zak:

 Beinn Each-Stuc a' Chroin (119)
 by
djchrismac, on Flickr
He was of course only interested in our food and after receiving a few snacks and scratches he then spotted his next target, two girls who had just arrived on the summit:
 Beinn Each-Stuc a' Chroin (120)
 by
djchrismac, on Flickr
Success for Zak!
He's a greedy boy:
 Beinn Each-Stuc a' Chroin (121)
 by
djchrismac, on Flickr
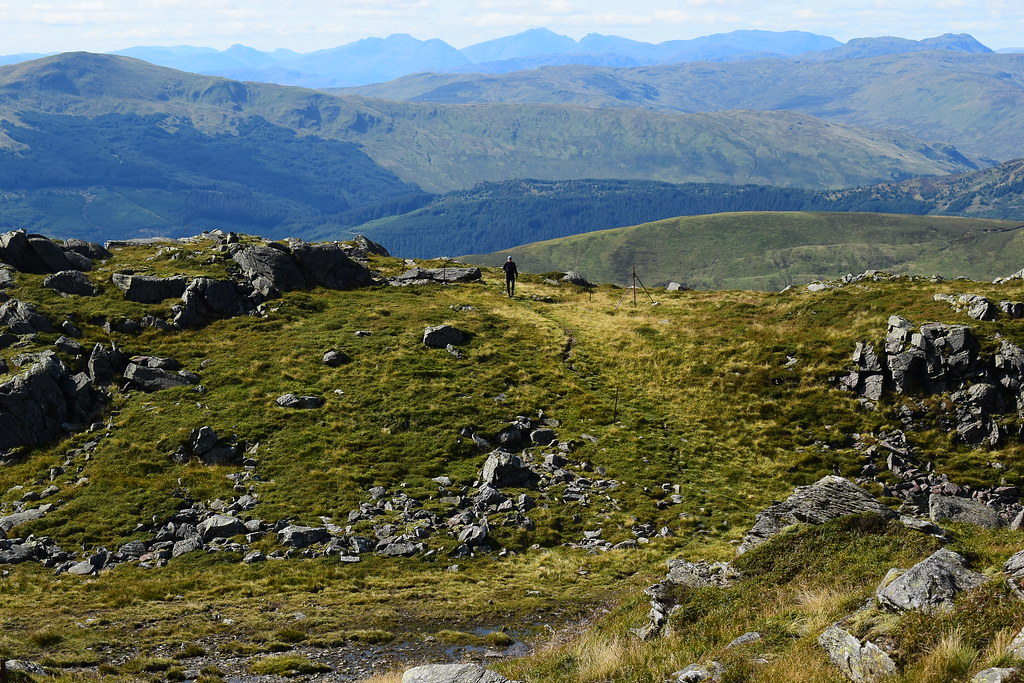
More and more people kept arriving and leaving, quite a popular Munro this one!
 Beinn Each-Stuc a' Chroin (122)
 by
djchrismac, on Flickr
The prow and route over to Ben Vorlich:
 Beinn Each-Stuc a' Chroin (124)
 by
djchrismac, on Flickr
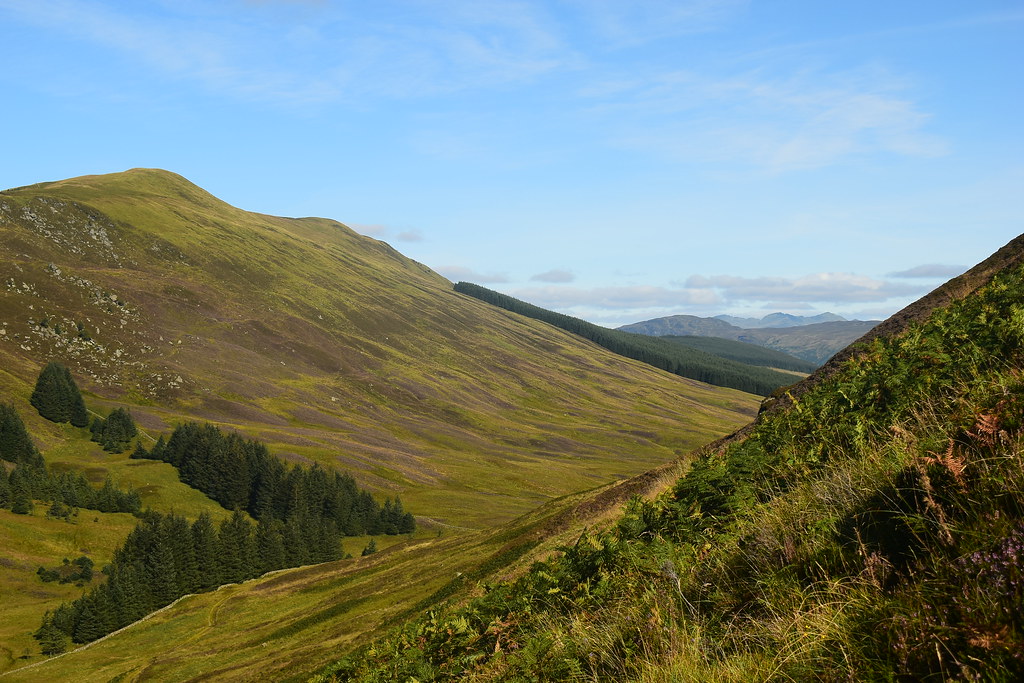
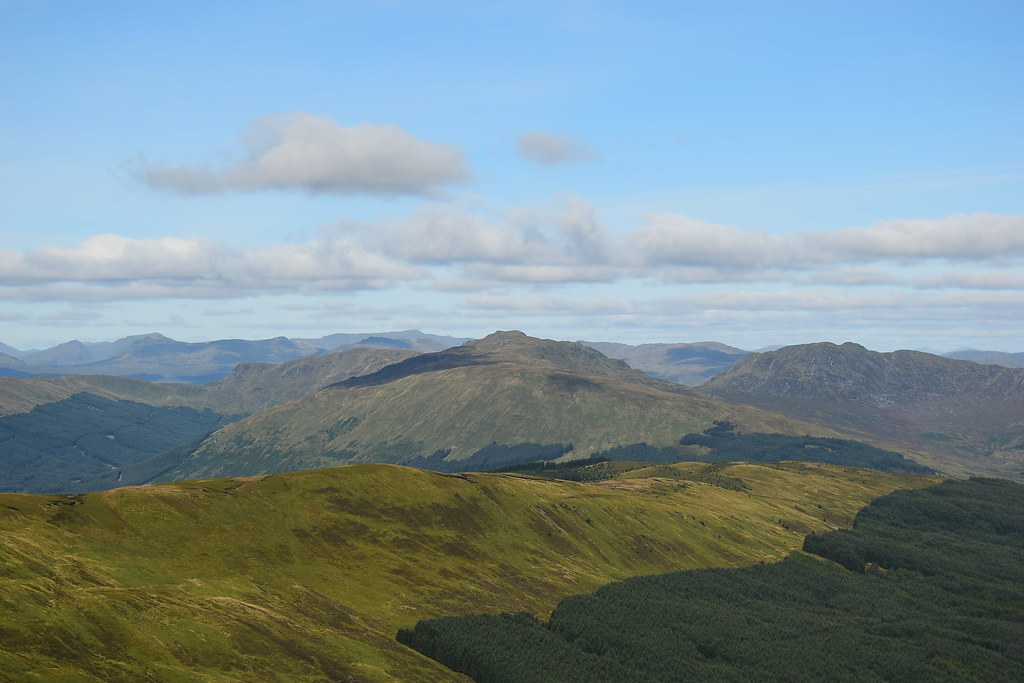
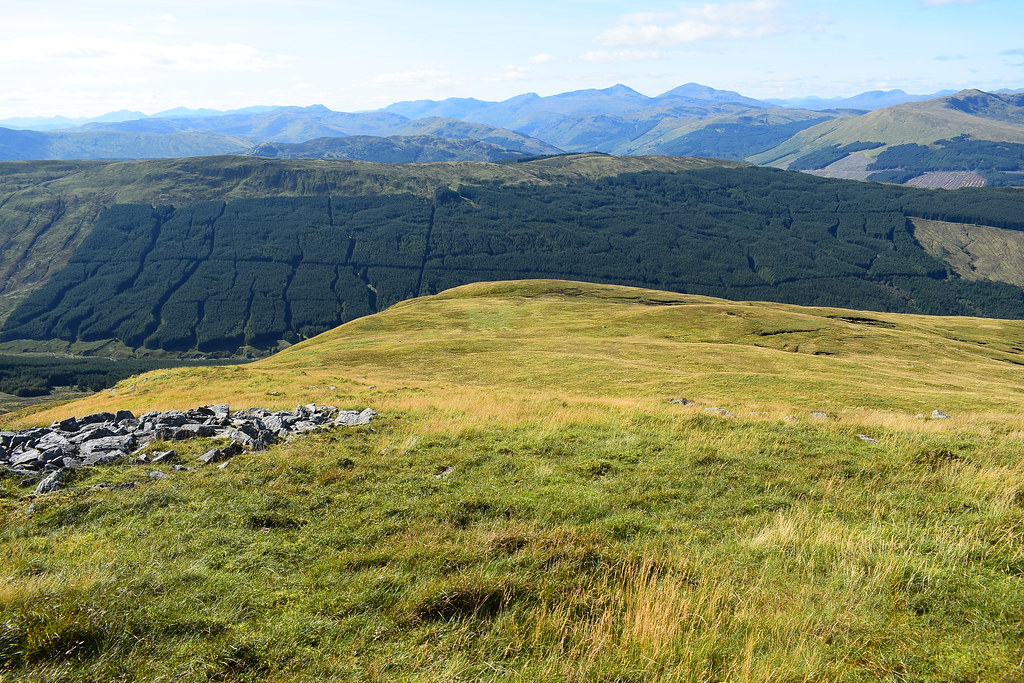
Big Balquhidder hills:
 Beinn Each-Stuc a' Chroin (128)
 by
djchrismac, on Flickr
Iain and I have a good view of our descent route off Meall an t-Seallaidh when we were chased by lightning last year and it only took us 30 minutes to descend 532m over 2.5km!
 Beinn Each-Stuc a' Chroin (129)
 by
djchrismac, on Flickr
Ben Vorlich:
 Beinn Each-Stuc a' Chroin (132)
 by
djchrismac, on Flickr
The view east over the Forest of Glenartney hills:
 Beinn Each-Stuc a' Chroin (133)
 by
djchrismac, on Flickr
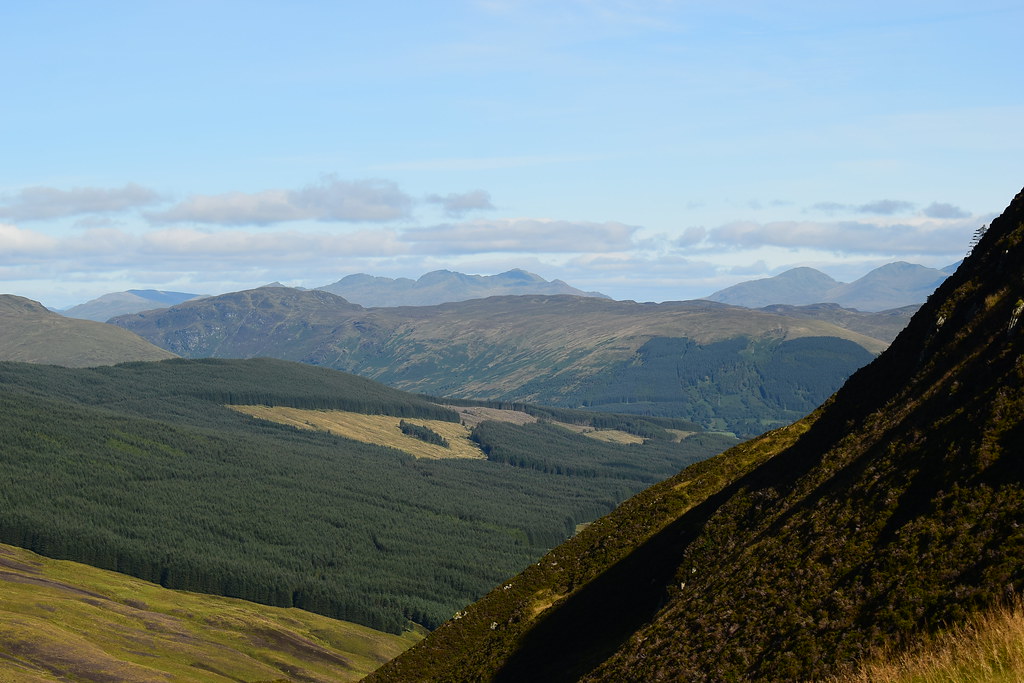
Distand wee Lomonds and Ochils
 Beinn Each-Stuc a' Chroin (135)
 by
djchrismac, on Flickr
Looking south east to Stirling, Edinburgh and the Forth:
 Beinn Each-Stuc a' Chroin (136)
 by
djchrismac, on Flickr
Iain sunbathing again!
 Beinn Each-Stuc a' Chroin (141)
 by
djchrismac, on Flickr
Looking west from ben Lomond to Ben More and there are still people coming and going:
 Beinn Each-Stuc a' Chroin (142)
 by
djchrismac, on Flickr
Conscious of the sun getting lower in the sky, we decide we should probably get moving as we still have a fair hike to go before reaching the car:
 Beinn Each-Stuc a' Chroin (145)
 by
djchrismac, on Flickr
Iain sunbathing again!
 Beinn Each-Stuc a' Chroin (146)
 by
djchrismac, on Flickr
Wrong summit mate!

 Beinn Each-Stuc a' Chroin (147)
 by
djchrismac, on Flickr
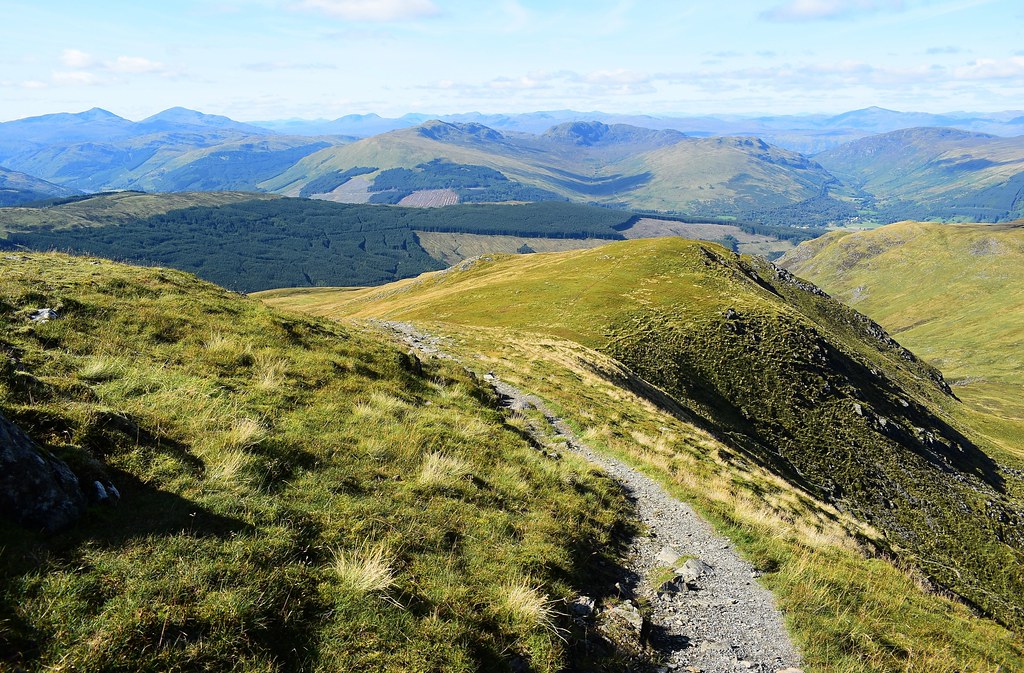
We start following the path to the prow then will veer left and head down the steep looking hillside seen here:
 Beinn Each-Stuc a' Chroin (149)
 by
djchrismac, on Flickr
 Beinn Each-Stuc a' Chroin (150)
 by
djchrismac, on Flickr
This path will run out soon:
 Beinn Each-Stuc a' Chroin (152)
 by
djchrismac, on Flickr
Stuc a' Chroin's prow looks impressive close up:
 Beinn Each-Stuc a' Chroin (154)
 by
djchrismac, on Flickr
We had flirted with the idea of heading down the path just to do the scramble up again but decided against it, no point pushing ourselves too much:
 Beinn Each-Stuc a' Chroin (155)
 by
djchrismac, on Flickr
Ben Vorlich, my 10th Munro and a lovely mountain:
 Beinn Each-Stuc a' Chroin (156)
 by
djchrismac, on Flickr
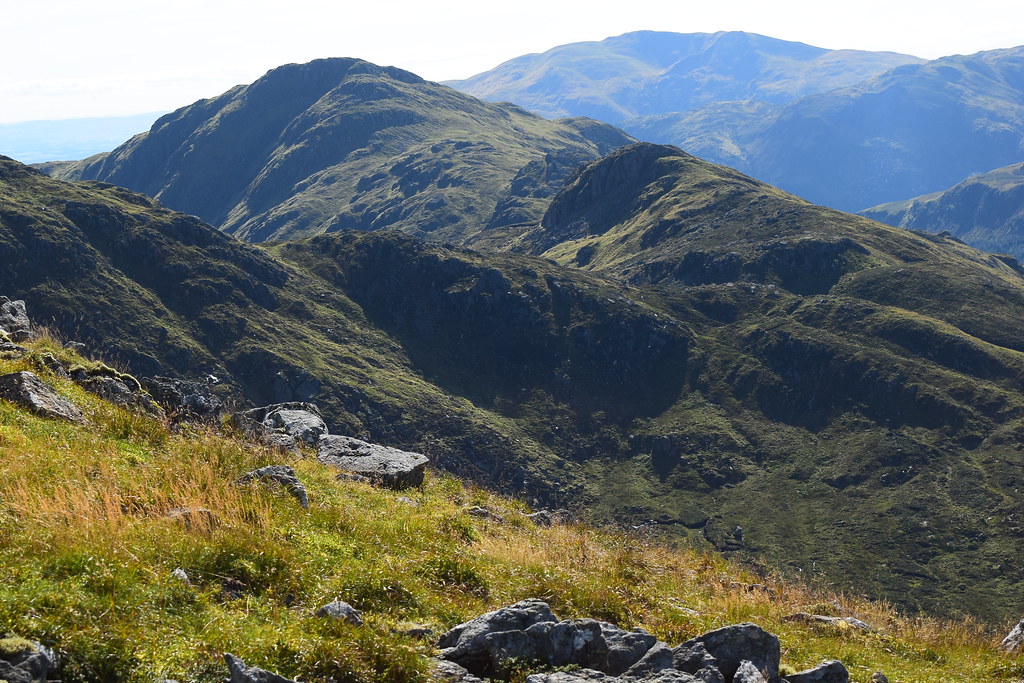
Prow on left and summit on right, Stuc a' Chroin is one big and bulky hill:
 Beinn Each-Stuc a' Chroin (157)
 by
djchrismac, on Flickr
We've come a long way so far:
 Beinn Each-Stuc a' Chroin (158)
 by
djchrismac, on Flickr
You may recall the pic a few before this, showing an easier way down into Coire Chroisg, which we definitely should have taken, except the path and prow distraction led us to remain on top for longer to leave us with a much steeper and rougher descent down just north of there. We definitely recommend heading down hill before this point!
 Beinn Each-Stuc a' Chroin (159)
 by
djchrismac, on Flickr
We've come a long way so far:
 Beinn Each-Stuc a' Chroin (160)
 by
djchrismac, on Flickr
The evening light was getting better and better as we made our way down and the view from here was well worth the detour:
 Beinn Each-Stuc a' Chroin (161)
 by
djchrismac, on Flickr
Loch Tay mountains:
 Beinn Each-Stuc a' Chroin (162)
 by
djchrismac, on Flickr
Another dip and down towards and even steeper dip:
 Beinn Each-Stuc a' Chroin (163)
 by
djchrismac, on Flickr
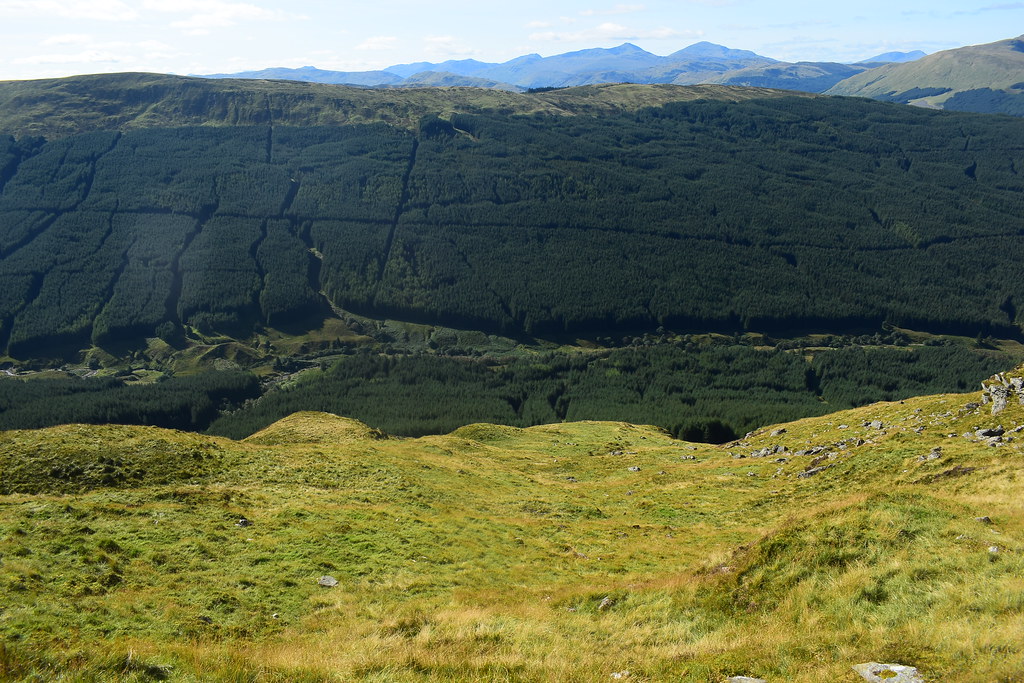
Looking left and behind us you can see the terrain is pretty rough so care is definitely required if going off-piste here. Coire Chroisg is :
 Beinn Each-Stuc a' Chroin (165)
 by
djchrismac, on Flickr
Our route down:
 Beinn Each-Stuc a' Chroin (166)
 by
djchrismac, on Flickr
We set off down the steep slopes and end up navigating our own routes:
 Beinn Each-Stuc a' Chroin (167)
 by
djchrismac, on Flickr
Sorry Iain, it doesn't look like this descent is getting any easier!
 Beinn Each-Stuc a' Chroin (168)
 by
djchrismac, on Flickr
After a bit of cursing we eventually reached the bottom and made our way to the large fence which was easily crossed, once you spotted some lurking danger first that is!
 Beinn Each-Stuc a' Chroin (169)
 by
djchrismac, on Flickr
We had a fair few ferns and bracken to get through as we stuck to the edge of the forest, which was too think to go in to:
 Beinn Each-Stuc a' Chroin (170)
 by
djchrismac, on Flickr
A path of sorts was soon being followed that took us down to the Glen Ample track, at last:
 Beinn Each-Stuc a' Chroin (171)
 by
djchrismac, on Flickr
We keep doing this Iain, getting off the hills then having a long walk back!
 Beinn Each-Stuc a' Chroin (172)
 by
djchrismac, on Flickr
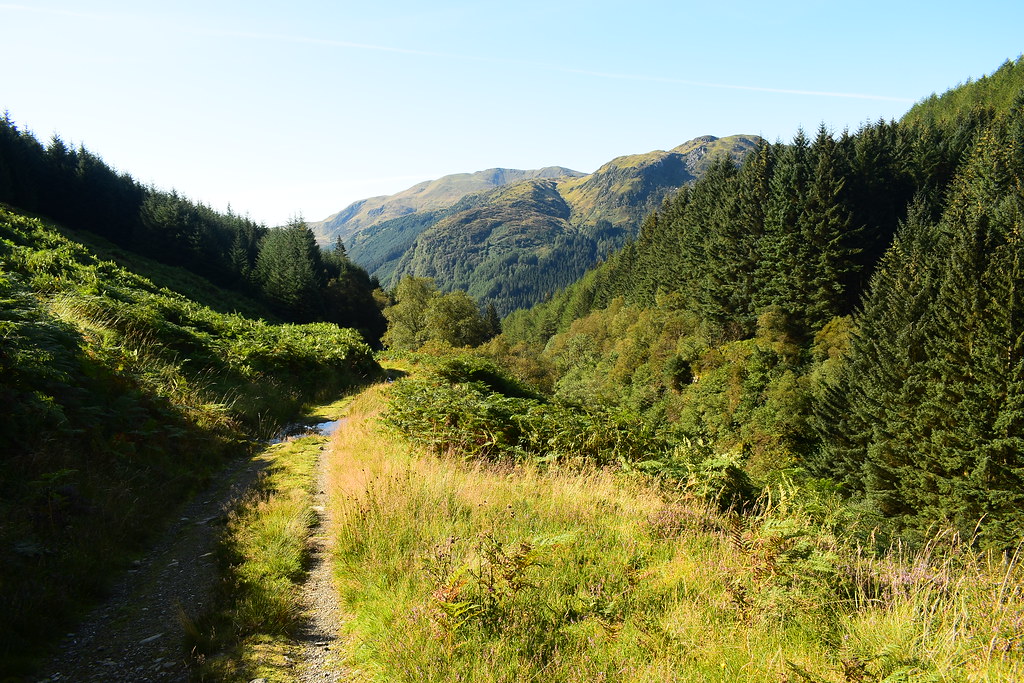
Glen Ample was an enjoyable stroll to finish with though and with both of us in trail shoes instead of boots it was good to get on a good track again:
 Beinn Each-Stuc a' Chroin (173)
 by
djchrismac, on Flickr
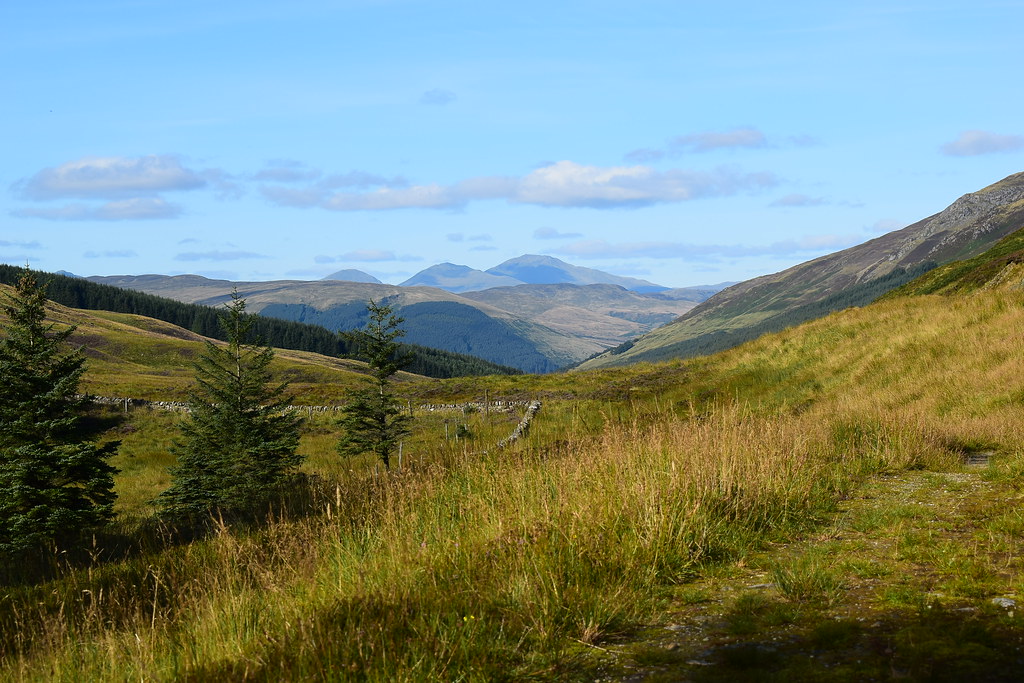
Waterfall with Sgiath a' Chaise behind:
 Beinn Each-Stuc a' Chroin (174)
 by
djchrismac, on Flickr
Beinn Each, even more enjoyable if you add in the ridge:
 Beinn Each-Stuc a' Chroin (175)
 by
djchrismac, on Flickr
The race against shadows continues:
 Beinn Each-Stuc a' Chroin (176)
 by
djchrismac, on Flickr
A final look back at Ben Lawers and co.:
 Beinn Each-Stuc a' Chroin (177)
 by
djchrismac, on Flickr
Ben Ledi:
 Beinn Each-Stuc a' Chroin (178)
 by
djchrismac, on Flickr
We took a few final photos coming through the woods at the end:
 Beinn Each-Stuc a' Chroin (179)
 by
djchrismac, on Flickr
 Beinn Each-Stuc a' Chroin (180)
 by
djchrismac, on Flickr
It took us just over an hour to walk the 5.5km or so back to the car after reaching the Glen Ample path, making it a 6 and a half hour walk to cover 16.5km, most of it on good paths and tracks apart from our daring steep descent which neither of us fancy repeating.
It felt great to be out again and we got a smashing day for it which was a bonus, as well as meeting lots of nice fellow walkers and greedy dogs.
We both got a new hill to climb, another to revisit and the ridge walk along between both hills was very enjoyable with the view from both well worth the effort on a clear day. If you can handle the steep descent or find an easier descent route then doing a loop like this is recommended. We like our long walks, but we doubt we will ever do this walk from Callander and back, hats off to that man!
