free to be able to rate and comment on reports (as well as access 1:25000 mapping).
With the weather forecasts suggesting that the only place worth being was the NE corner of the Cairngorms, it seemed a no-brainer to head up to Loch Morlich and tackle Bynack More and Creag Mhor from there. The initial plan was to take in those two hills before dropping down to the Fords of Avon and west along Glen Avon to The Saddle, from where we would head up Cairngorm before heading back to the car below. As it transpired, we decided to alter our route, as I will explain.
The day started well with Liam and I managing to get off on the wrong track to the Ryvoan Pass. I'm not going to attempt a justification - it was sheer laziness with navigation (not at all related to the 35 year old OS map I was using!). Nevertheless, after a little heather hopping we were down on the correct path, with great views up through the native woodland towards Cairngorm.
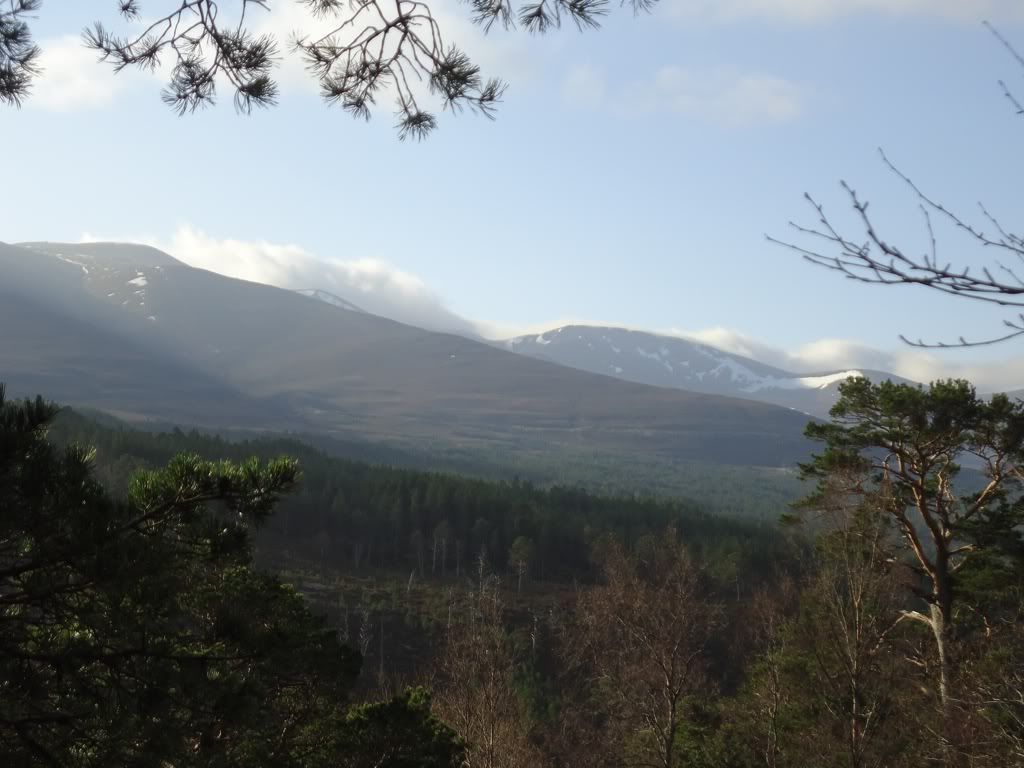
Towards the Northern corries
We reached the lochan soon and found it to be a truly stunning spot (which my awful photography really doesn't do justice to!) The steep scree slopes running down into the lochan make it a cracking location, and I'll assume the green colour of the loch is down to a radioactive algae infestation. (Can anyone offer a better explanation?!)
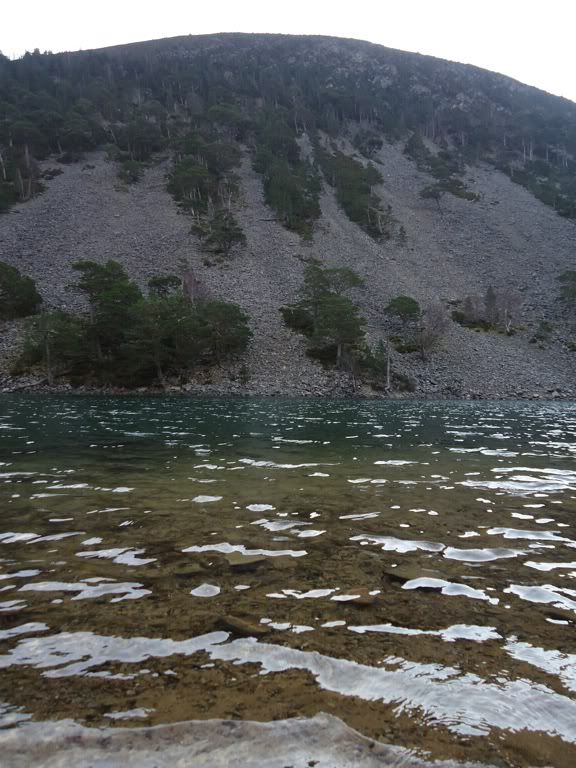
An Lochan Uaine
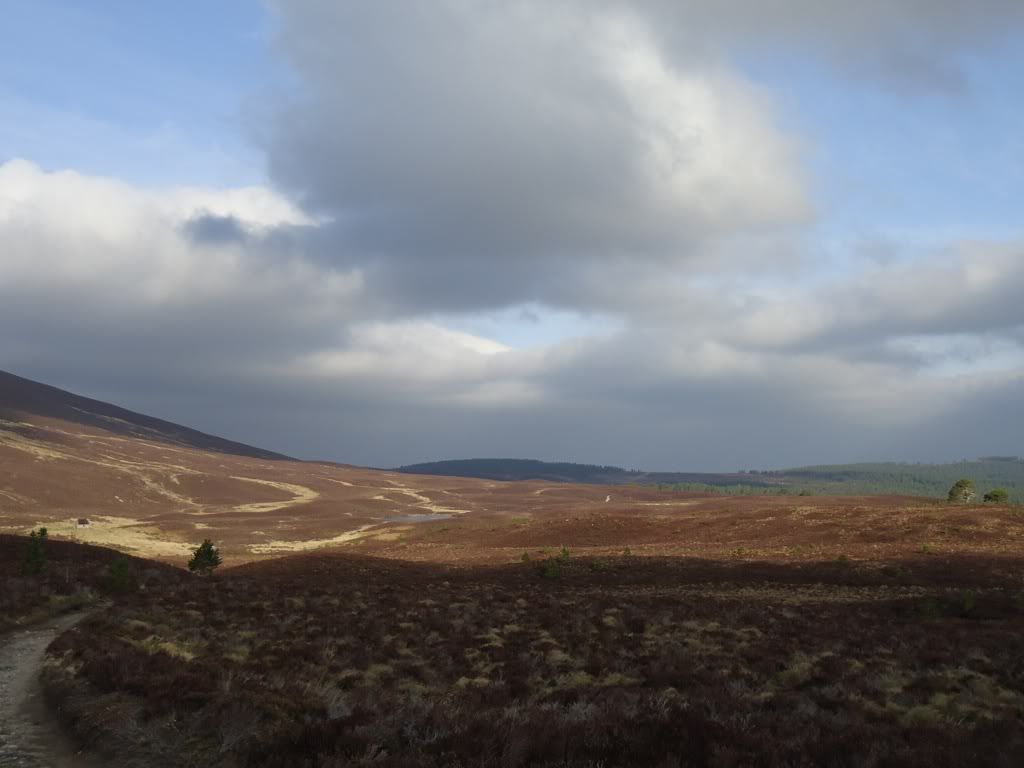
Anyway, we headed out of the pass following the obvious path round to Strath Nethy, watching an enormous cloud bank sitting just to the north of Meall a' Bhuachaille. The hills to the north and east were shrouded in cloud - it seemed the forecast had absolutely nailed the cloud cover. The wide open space around the River Nethy to the NE was really quite impressive - a sparse landscape dotted with Scots Pines and wee lochans.
The path (Ryvoan bothy at far left)
We eventually reached the footbridge in Strath Nethy, and we could see our summit up in the sky - it seemed a lot further than it turned out to be.
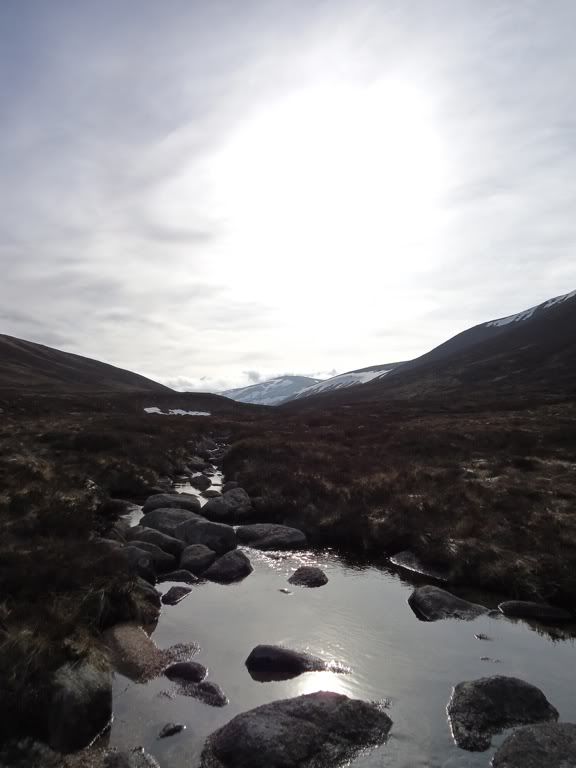
Up Strath Nethy with Bynack More just in sight
From here it was a relentless slog up the 400m onto the main bulk of the hill and, with the sun now blasting down on us, this was somewhat sweaty work. There are some strange landscape formations just to the south of Stac na h-Iolaire that became visible as we gained height - weird erosion marks from streams creating an obscure wee gorge. Unfortunately I didn't think to take a photo of this - go and see for yourself! Anyway, we reached the height much more quickly than anticipated and could see our target clearly now.
Bynacks More and Beg
Looking SW towards Bynack Beg with NE ridge of Cairngorm visible
From here the ascent was straightforward - a nice bouldery ridge leading up to the summit. On the way up we found a big snow sheet and practiced some ice axe arrests, a nice way to spend time in the sun. The views E down to the rolling moorland were really quite stunning.
Ptarmigan on summit ridge
Reaching the summit in just under 3 hours from the carpark, we had our first real views to the SW.
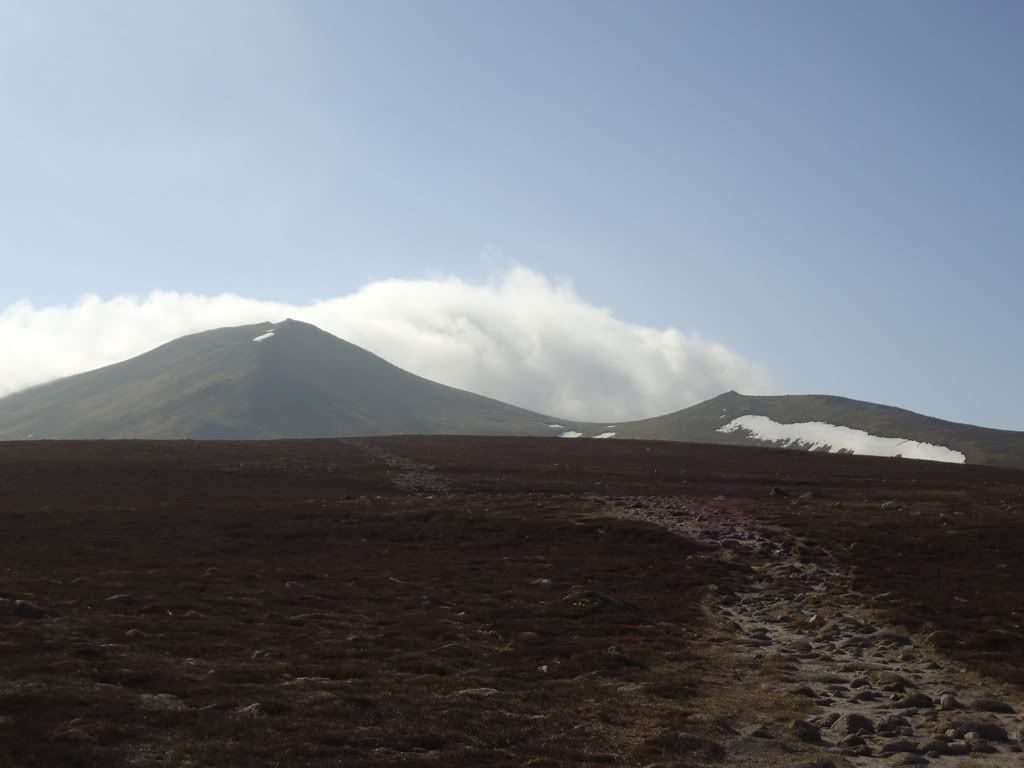
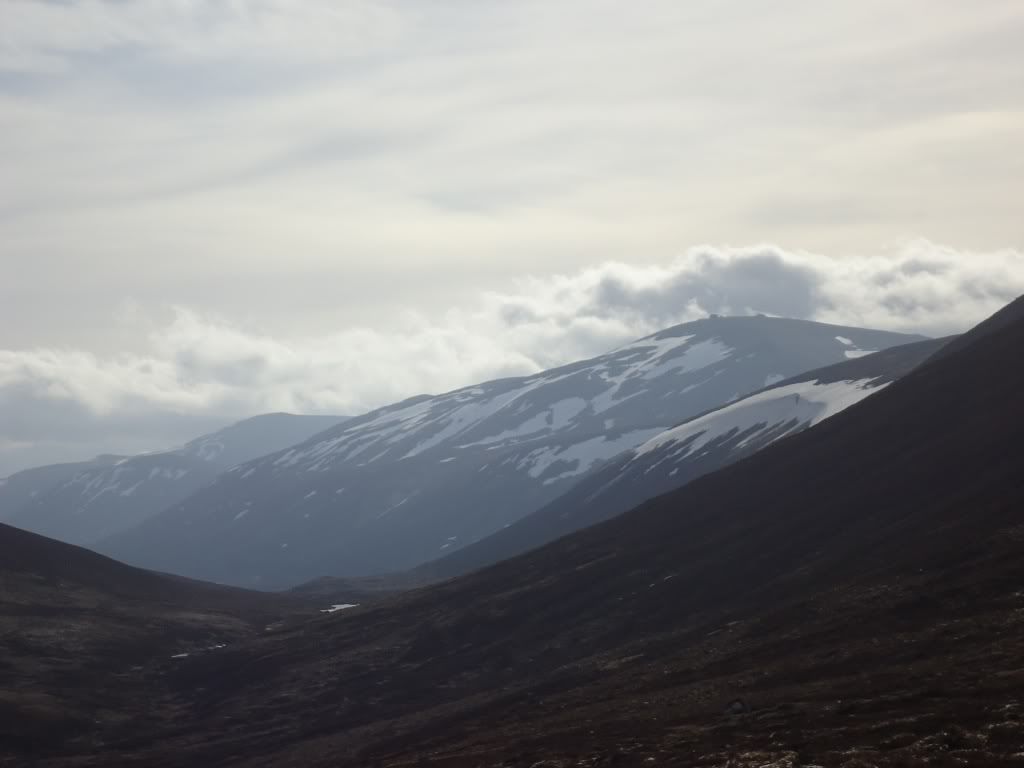
A snowy Cairngorm hiding in the cloud
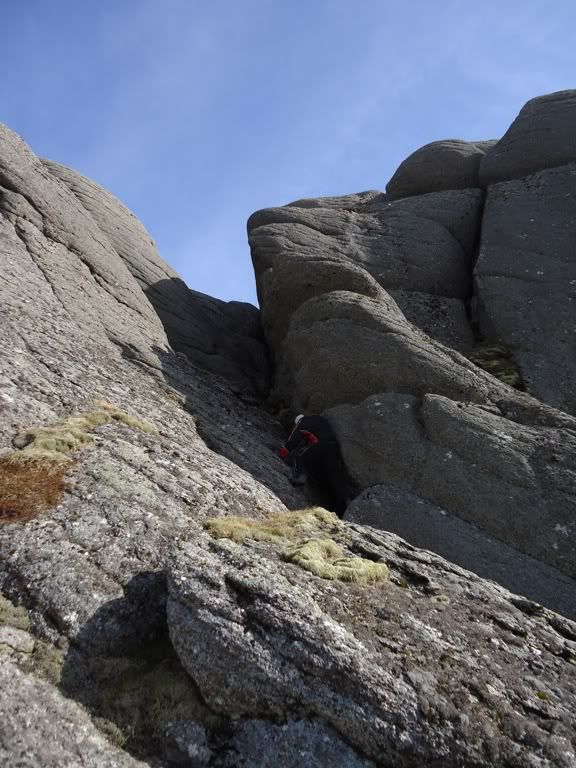
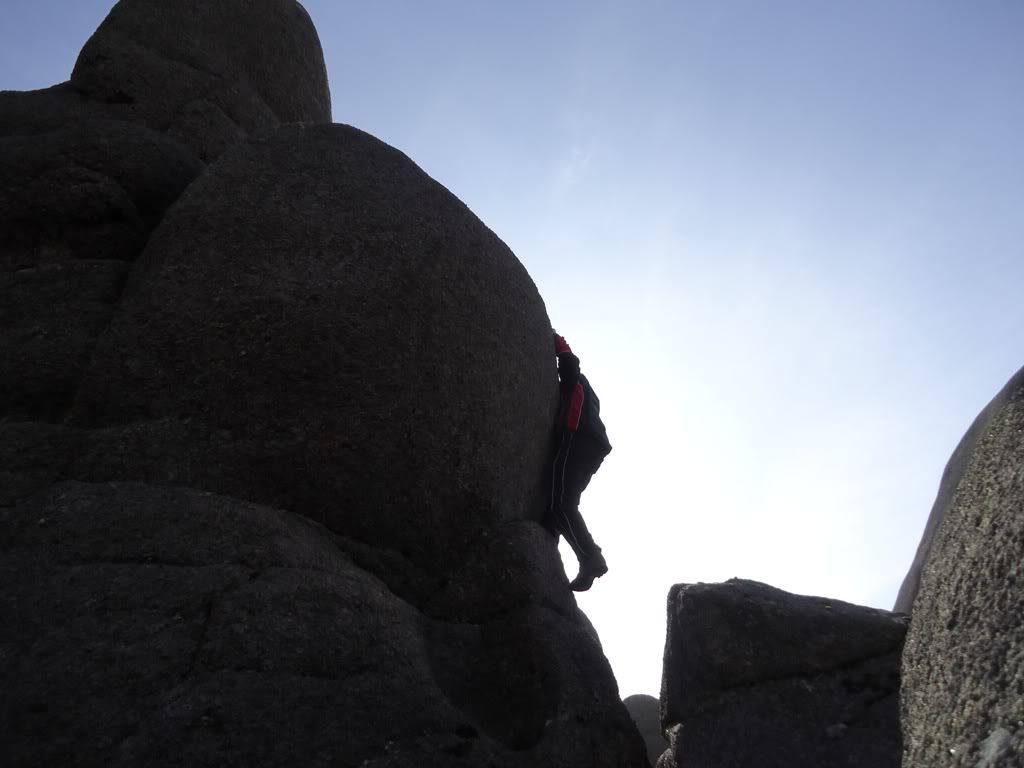
From the summit we planned to head across to Creag Mhor via the Barns of Bynack. We headed down to the Barns and scrambled around on on the rocks for a bit. We eventually decided that we'd rather spend a while climbing on the rocks and not bother including Cairngorm in our route - it meant we could make the most of these really interesting formations. A few snow fields nearby provided an opportunity for a bit more ice axe practice. As it was, we ended up staying on Bynack More for almost 3 hours.
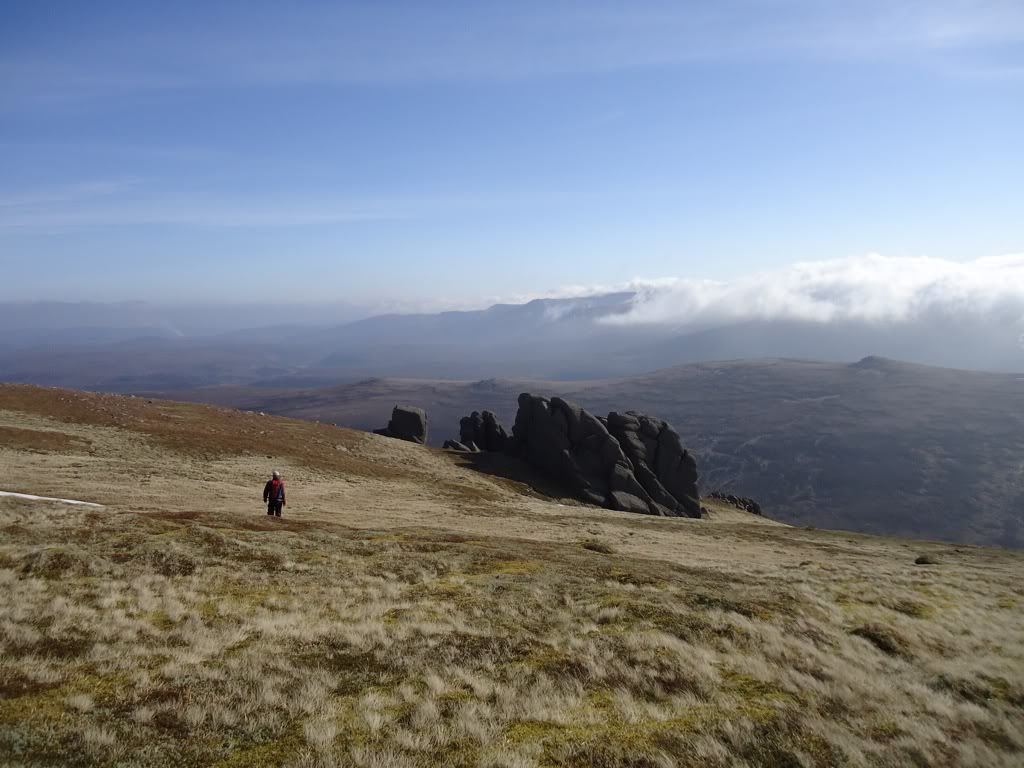
The Barns
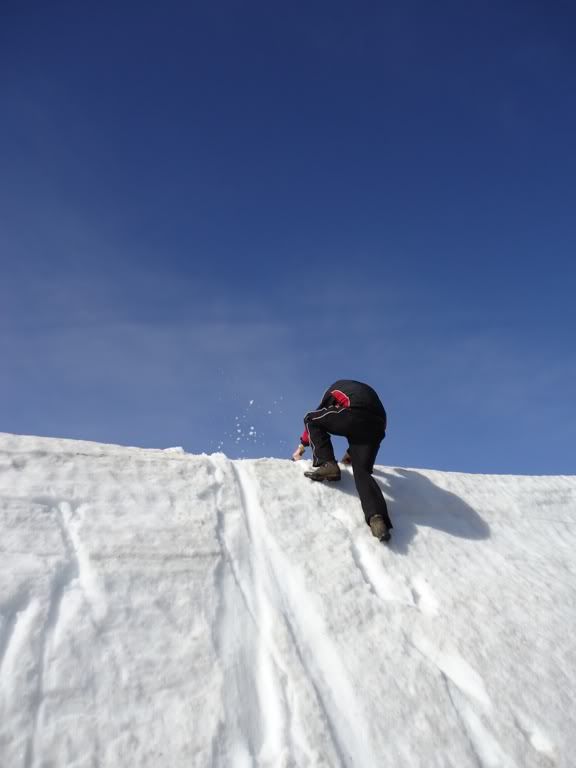
A little snow

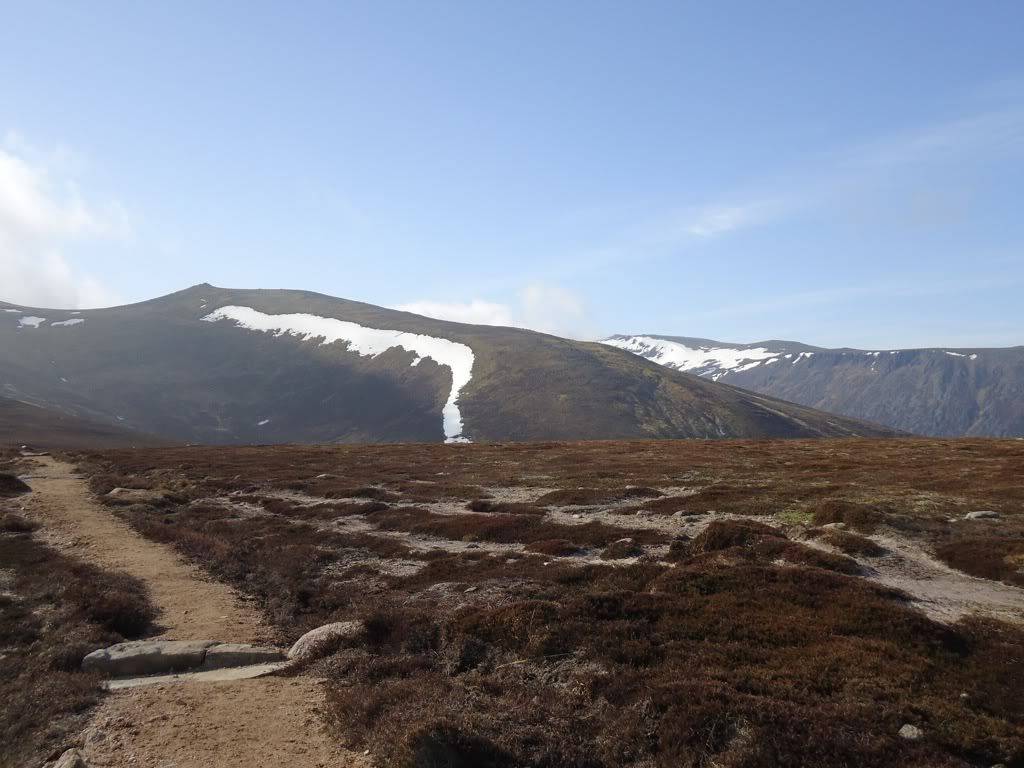
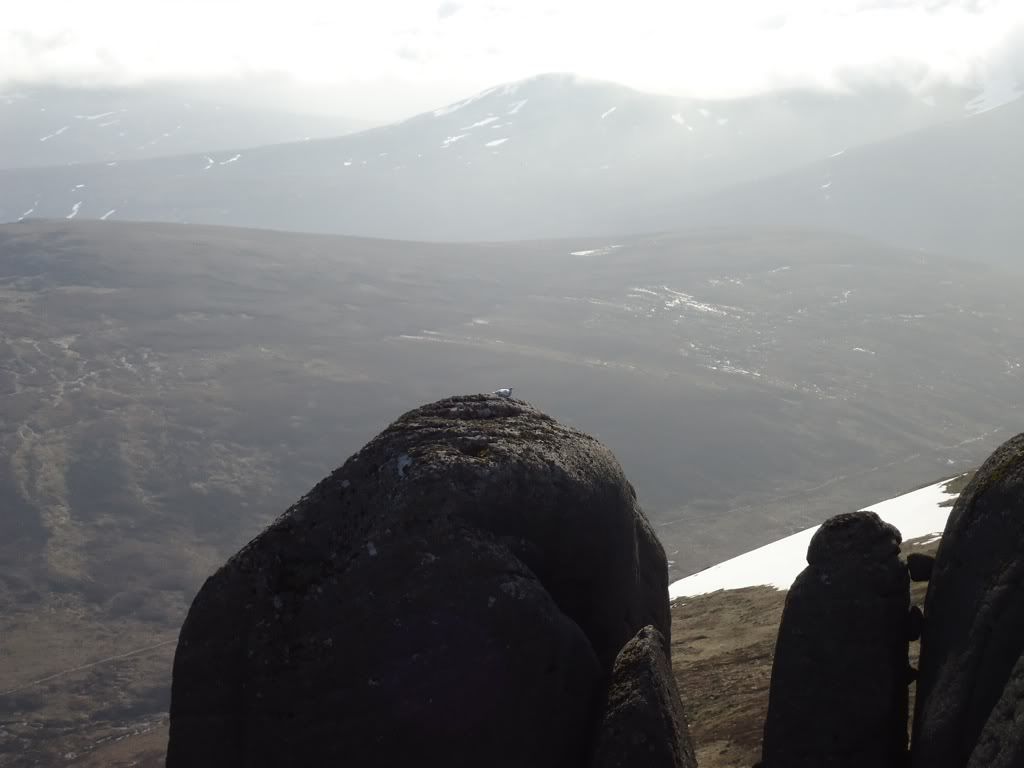
Towards Creag Mhor form the Barns
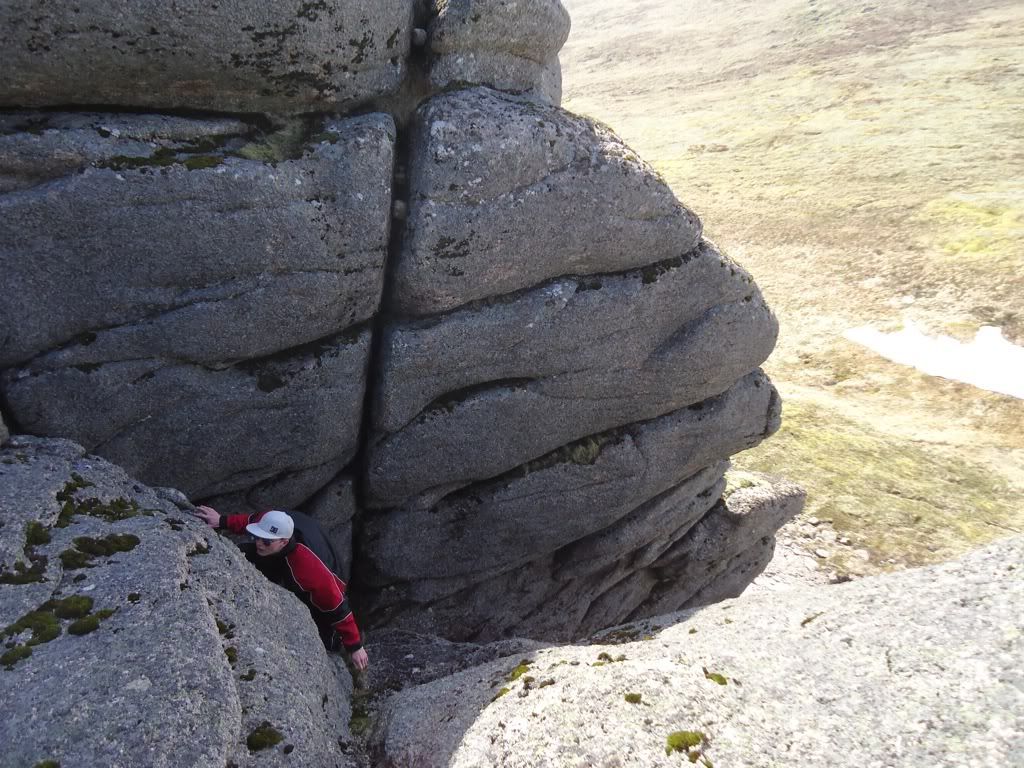
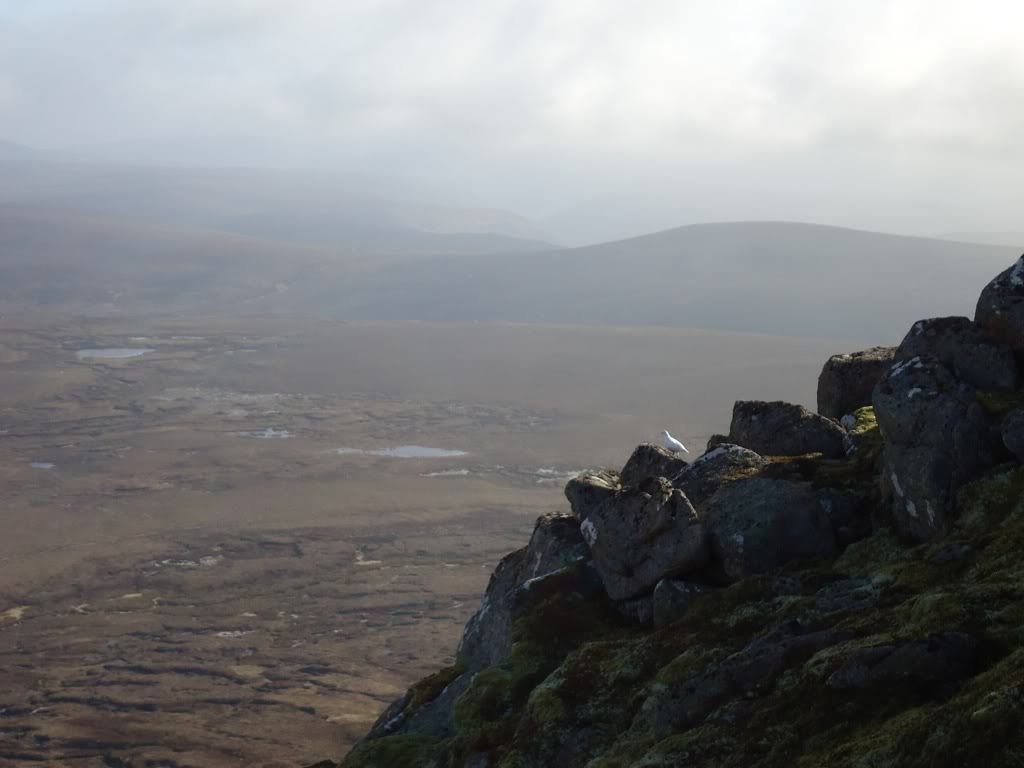
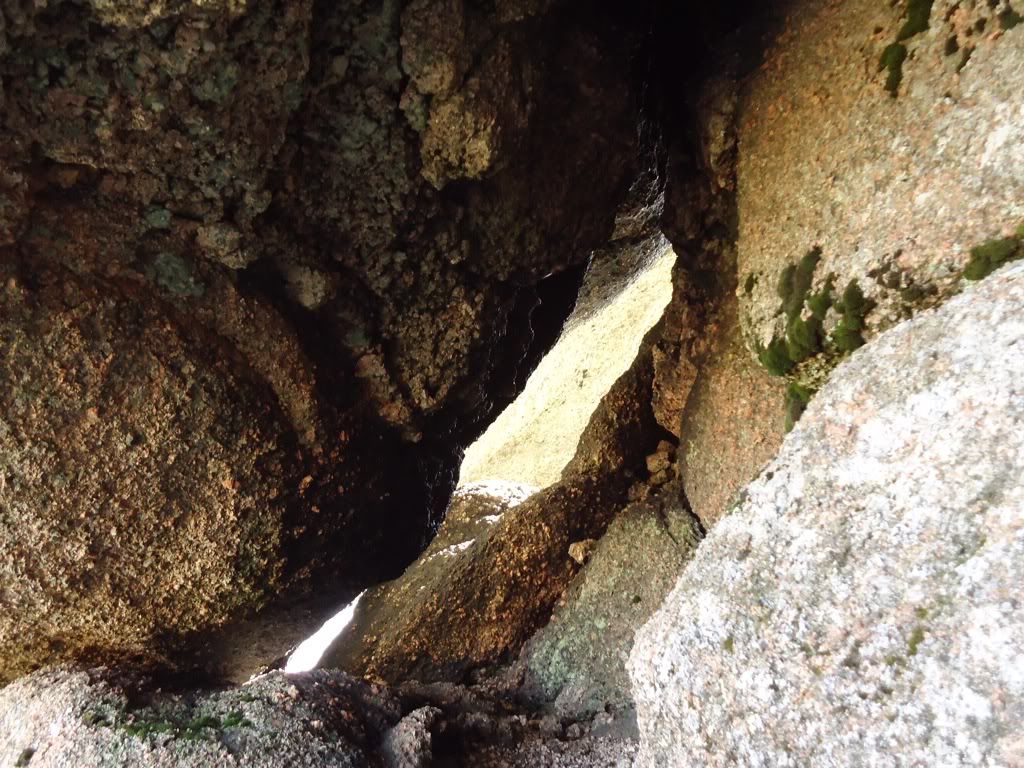
An interesting resting place for a ptarmigan
That same resting place in context (the rock at the left of the photo)
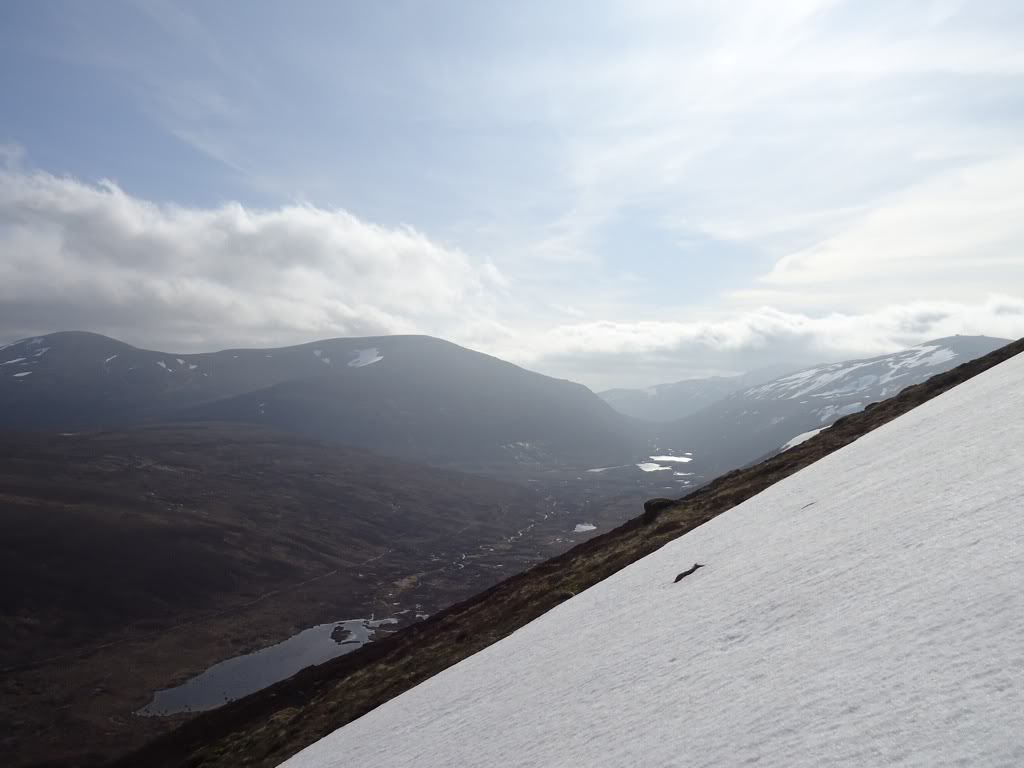
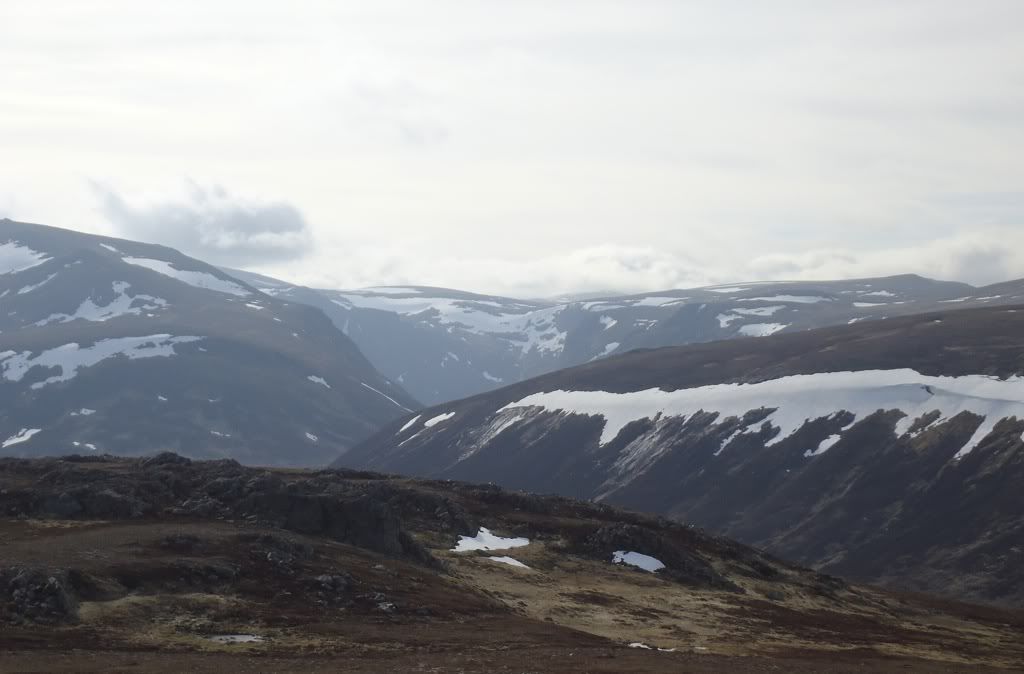
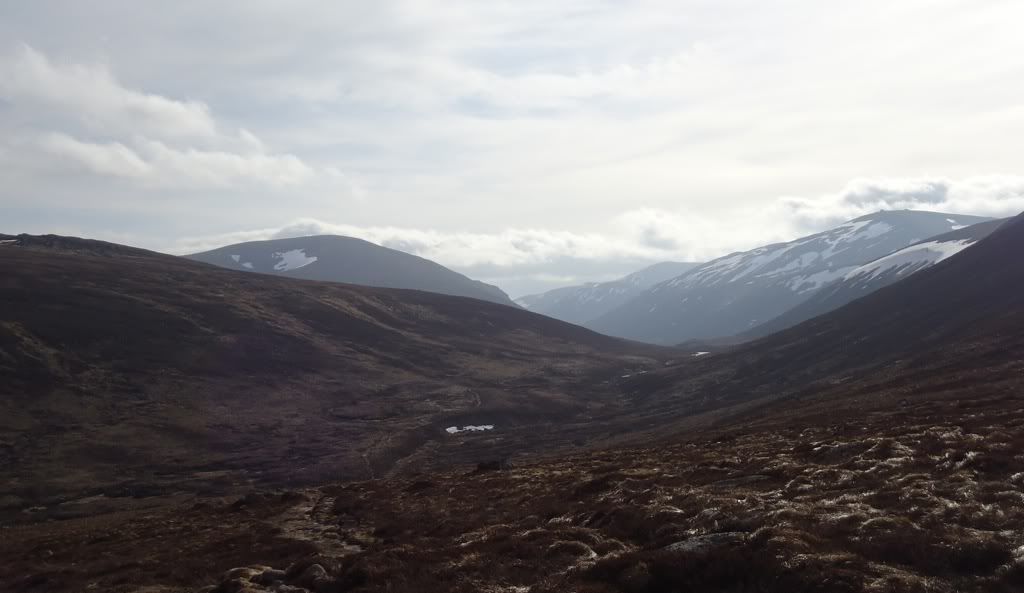
Down towards the Fords of Avon with Lochan a' Bhainne
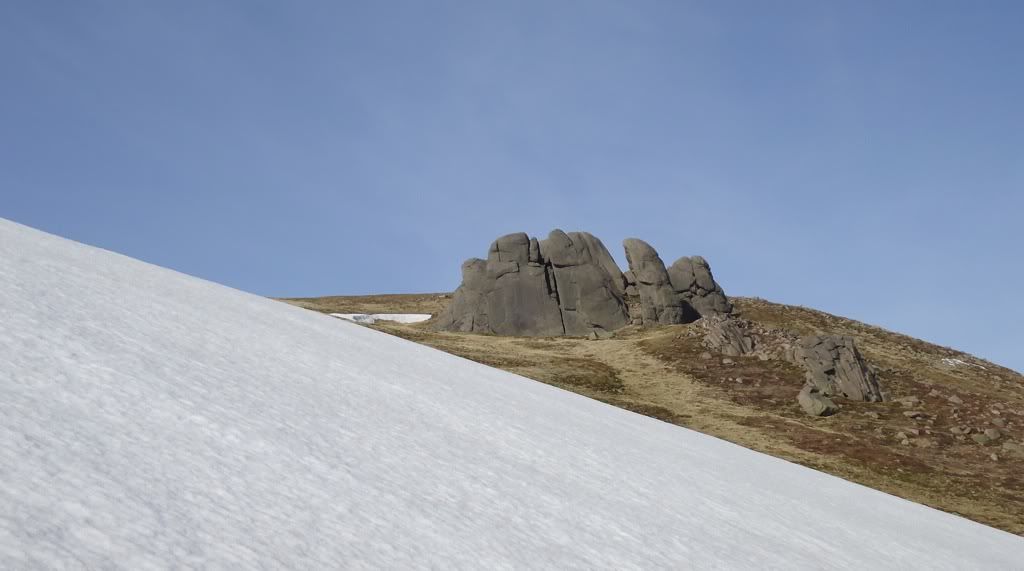
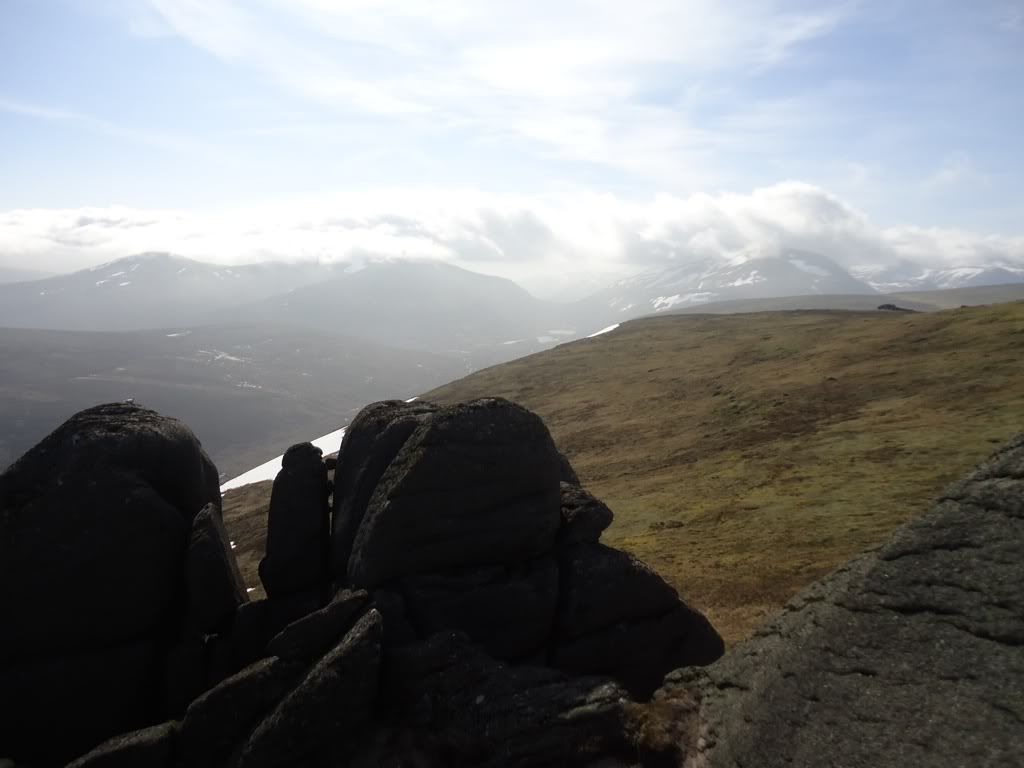
Back to the Barns
After leaving the Barns, we drew a straight line across to the Creag Mhor summit and proceeded to drop down into the glen. The ascent of Creag Mhor was much more tiring than we anticipated - we had knackered ourselves out with all out climbing on the Barns and the snowsheets. Nevertheless, we hit the summit tors in just over 30 minutes from the Barns.
Bynack More from Creag Mhor
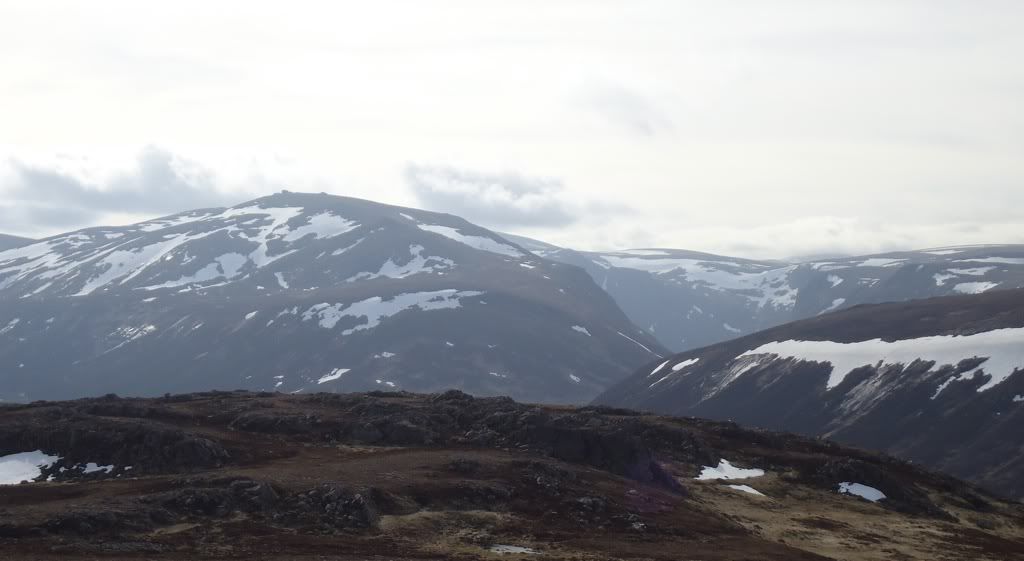
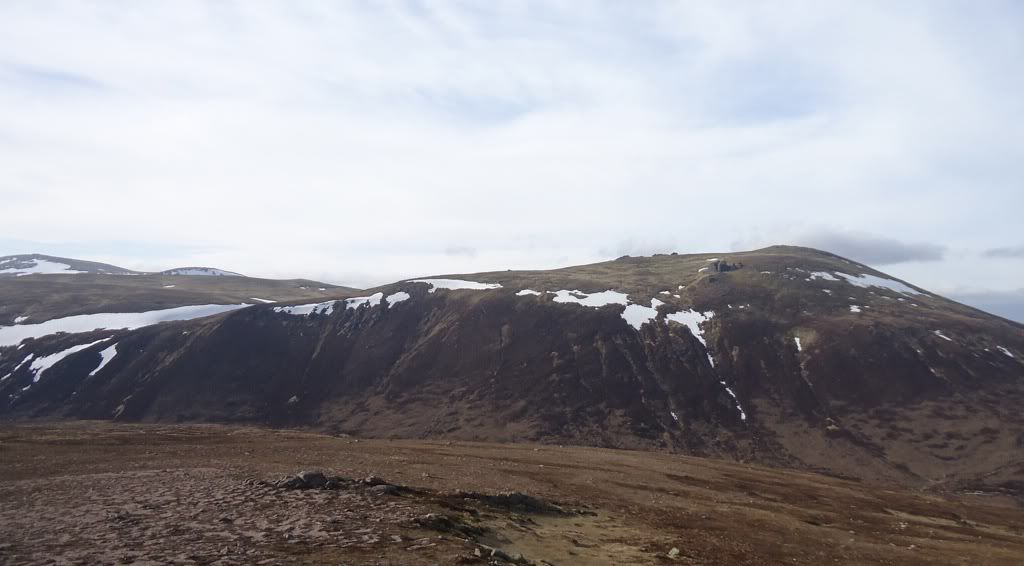
Beinn Mheadhoin from Creag Mhor
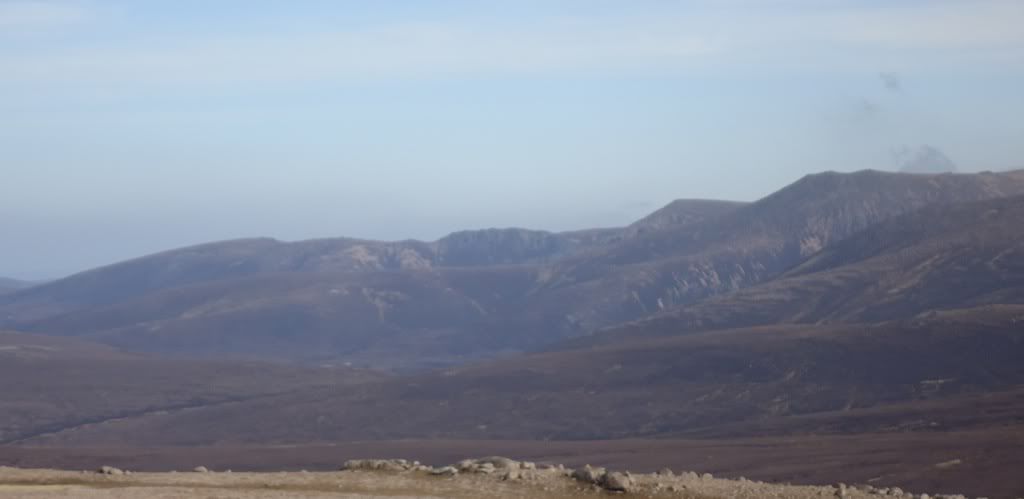
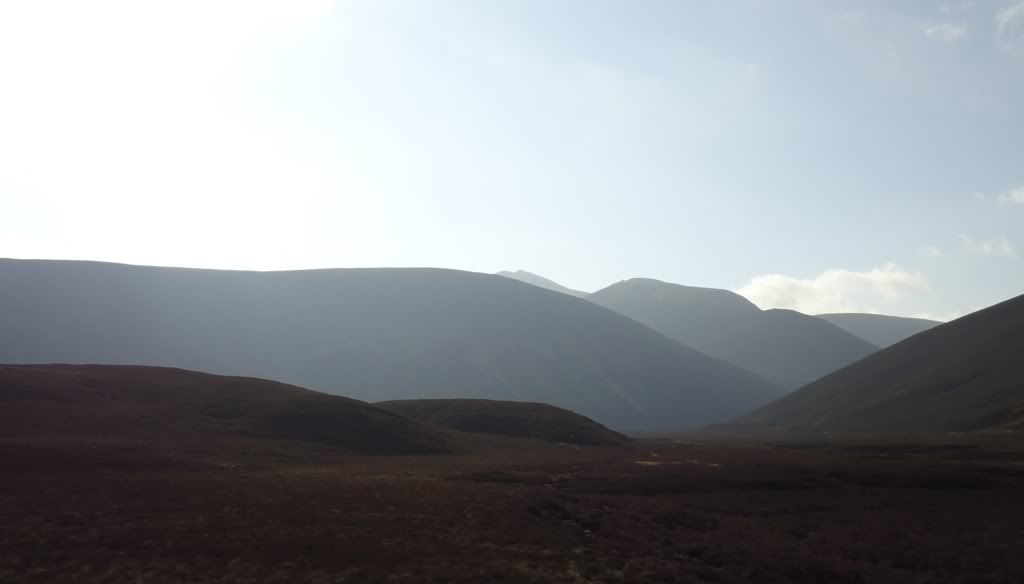
Towards (a now cloud-free) Ben Avon
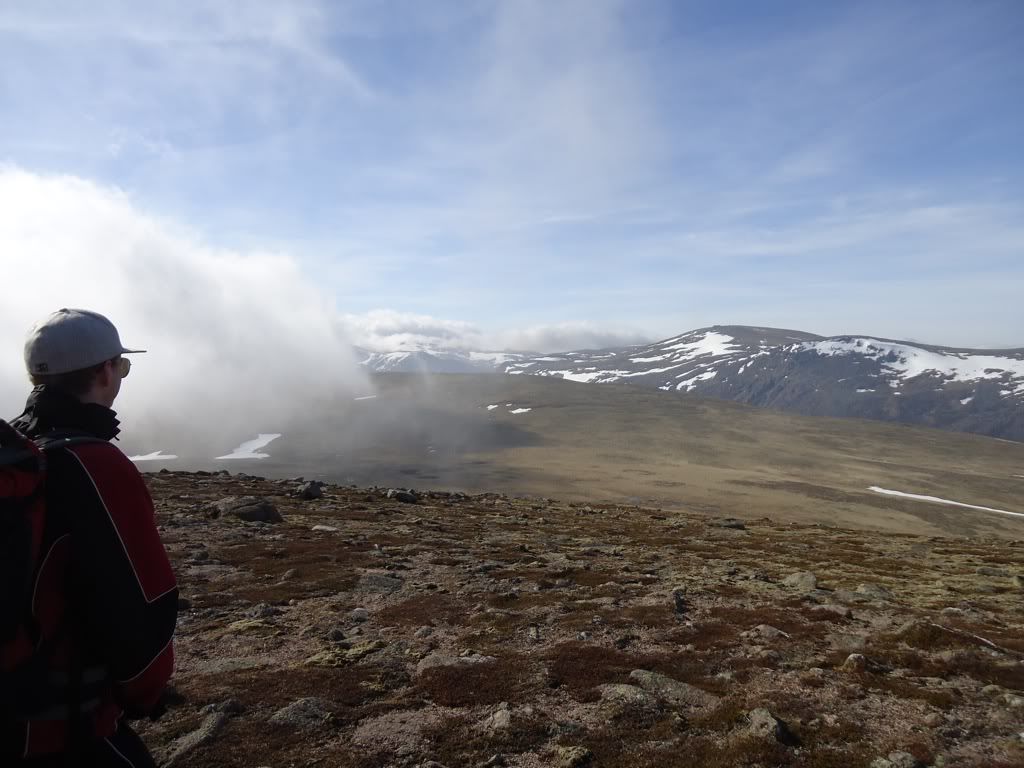
Into the depths of the main plateau
We headed back down to the path that we would follow all the way back to the Ryvoan pass and Loch Morlich. It was a long trudge from here - the distance we ended up covering was no less than if we had stuck to our original route (although obviously that would have included significantly more ascent). The path is terribly eroded until you get back onto the main bulk of Bynack More, where it has been recently repaired, making for nice walking.
Looking up Glasath towards Beinn Mheadhoin
Looking back towards Beinn a' Chaorainn and Beinn Mheadhoin from the flank of Bynack More
One last look at Mheadhoin
So we eventually reached the Ryvoan pass and, from here, it was an easy walk back along the correct path to Glenmore Lodge and the car. Altogether this was an absolutely fantastic day, and the change of plans meant we could really enjoy a bit of bouldering on the Barns. On a day like this, I think it would be difficult to beat this walk - the slightly isolated location of the hill (and even more so of Creag Mhor) means it has views of the main Cairngorms that perhaps can't be fully appreciated from within the main plateau. The stunning woodland and Ryvoan pass make it a really enjoyable route, and Bynack More itself is such an impressive hill, not to be avoided. I would certainly count this as my favourite hill in the Cairngorms to date.
