Summary
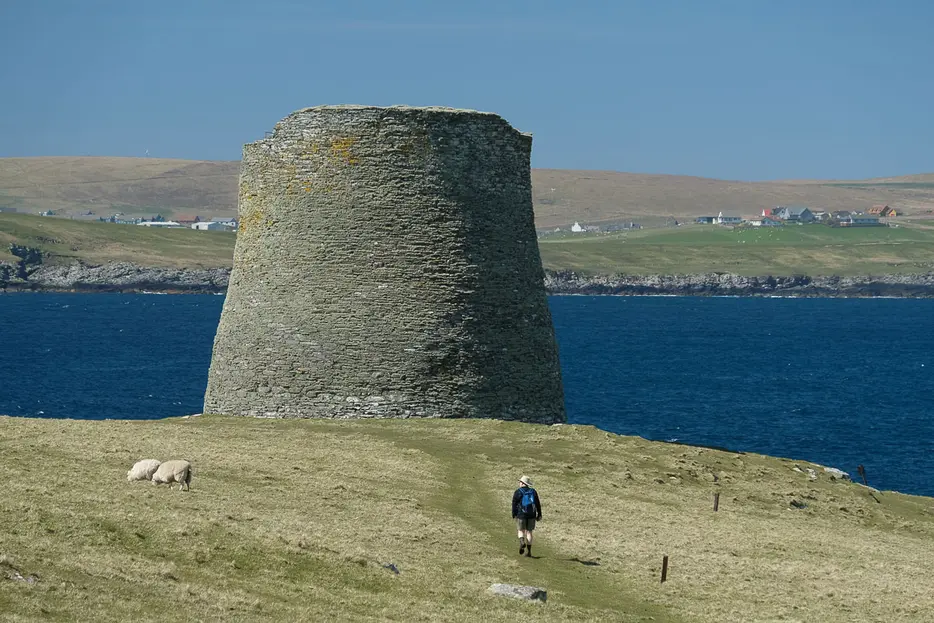
The island of Mousa - off the east coast of Shetland's mainland is famed for its spectacular iron age broch - the most complete and best preserved of all such structures. The whole experience of taking the boat over and exploring the island - an RSPB reserve - on foot is a magical one; one of Shetland's finest excursions.


Terrain
Grazing land, some boggy areas, narrow steps and restricted access to the broch itself.
Getting there
Start
Jetty on the island of Mousa.
Public Transport
Ferry to Mousa from Sandsayre on Shetland mainland; Sandwick Central is the nearest bus stop.
Start Grid Ref
HU455244

Stage 1
The Mousa Boat departs from Sandsayre pier where an old boat shed has been converted into a fascinating exhibit about Mousa and the local area. Sailings are weather dependent, operate daily except Saturdays from April to mid-September, check sailing times and whether the boat is running by phoning 07901 872339 or www.mousa.co.uk. The daytime sailing leaves plenty of time to complete this walk and explore the broch, there are also evening summer sailings to see the storm petrels that live in the broch and surrounding stone walls. Once ashore on Mousa, which means the Mossy Island in Norse, head past the small building at the jetty and turn left.

Stage 2
Head inland for a very short distance before turning right to cross a boggy area of ground with some boardwalk and then aim up to the right to begin the walk along west coast of the island for this anti-clockwise route. Mousa is almost split in two at the narrow neck of land where the jetty lies and the part the walk covers is known as South Isle. Go through a gap in the fence and continue round the coast and very soon the remains of Mousa Broch come into view across the next bay.

Stage 3
Iron-age brochs were relatively common in Scotland, thought to be built as defensive structures and perhaps also as displays of power and wealth, the one on Mousa is the best preserved. The remains of a twin broch on the other side of the water at Noness which can also be explored on foot, has had many of its stones removed and used for other buildings or walls over the years, the situation of the Mousa broch on a small island with an abundance of readily available stones has protected it. Go through gaps in two stone walls and as you near the broch follow the boardwalk which is there to protect the nests of terns and storm petrels hidden amongst the adjacent stones.

Stage 4
You can climb the spiral staircase of the broch (take a torch from the cabinet on the way in) there is a great view from the top as well as a chance to admire the workmanship of this impressive, ancient building. Today the walls of the broch provide a unique nesting side for hundreds of storm petrels.

Stage 5
When you have finished exploring the broch take the waymarked, grassy path east climbing very gently to a gap in a stone wall - be sure to take a last look back at that amazing broch.

Stage 6
From here the route keeps to the right (south) side of a lochan before bearing left around the back of West Pool, the ground is boggy and stony in places, keep to the path to avoid disturbing nesting terns and the many seals which use the West Pool as a safe place to haul out and pup.

Stage 7
The route goes through a gap in a stone wall and continues alongside this wall alongside East Pool which is also home to a breeding colony of seals at the right time of year. Towards the end of the wall bear left to follow the faint coastal path as it heads up the east side of Mousa. There are occasional waymarks but the route sticks to the coast eventually reaching the narrow neck of the island at East Ham.

Stage 8
The sheltered water here is a good place to sit and watch for seals and the occasional otter. At the end of the inlet follow a path along the left side of a stone bank and go through a gap in a fence and continue straight ahead soon reaching the building and the jetty for the return boat trip.

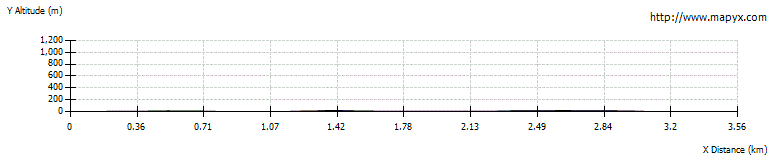
Route Profile